3-28
BRC-300/300P
BRU-300/300P
3-2. BRC-300/300P Camera Block Electrical Alignment
3-2-16. F No. & ND Light Quantity
Compensation
Compensate for the unevenness of the light quantity of the
iris meter and ND filter.
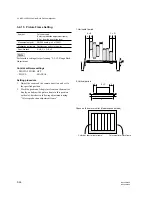
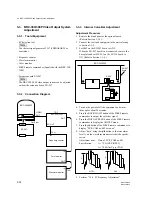
Subject
Clear chart (All white)
(Approx. 33 cm from the front of the
lens)
n
Shoot the clear chart with the zoom
WIDE end. And adjust the camera
direction so that the whole screen is
white.
Adjustment page
F
Adjustment addresses
1C to 23
m
.
Perform this adjustment after performing “3-2-15. MAX
GAIN Adjustment”.
.
The data of page: 0, address: 10 must be “00”.
.
Check that the data of page: 6, address: 02 is “00”. If
not, set data: 00 to page: 6, address: 01, and press the
PAUSE button.
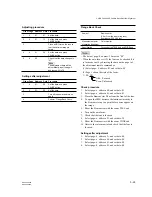
Control software settings
.
ZOOM:
WIDE end
.
DIGITAL ZOOM: OFF
Compensation procedure
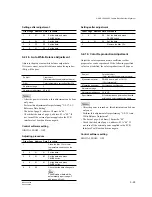
Order Page Address Data Procedure
1
0
01
01
Set the data.
2
6
30
01
Set the data.
3
6
01
BB
Set the data, and press
PAUSE button.
4
6
02
Check that the data changes to
“01”.
n
The adjustment data will be
automatically input to page: F,
addresses: 1C to 23.
Settings after compensation
Order Page Address Data Procedure
1
6
01
00
Set the data, and press
PAUSE button.
2
6
30
00
Set the data.
3
0
01
00
Set the data.
3-2-17. LV Reference Data Setting
Adjust the normal coefficient of the light value.
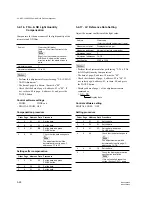
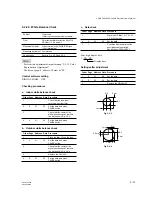
Subject
Clear chart
(Color reproduction adjustment frame)
Measurement point
Display data of page 1
Measuring instrument
Adjustment remote commander
Adjustment page
F
Adjustment addresses
1A, 1B
Specification
0FE0 to 1020
m
.
Perform this adjustment after performing “3-2-16. F No.
& ND Light Quantity Compensation”.
.
The data of page: 0, address: 10 must be “00”.
.
Check that the data of page: 6, address: 02 is “00”. If
not, select page: 6, address: 01, set data: 00, and press
the PAUSE button.
.
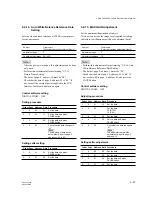
Displayed data of page 1 of the adjustment remote
commander.
1 : XX : XX
Display data
Control software setting
DIGITAL ZOOM:
OFF
Setting procedure
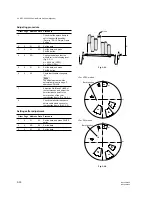
Order Page Address Data Procedure
1
0
01
01
Set the data.
2
6
30
01
Set the data.
3
6
01
0D
Set the data, and press
PAUSE button.
4
6
02
Check that the data changes to
“01”.
n
The adjustment data will be
automatically input to page: F,
addresses: 1A, 1B.
5
6
04
1E
Set the data.
6
1
Check the display data that the
specification is satisfied.
n
If it is not satisfied, repeat the
setting (Section 3-2-17) again.

