2-1
BRC-300/300P
BRU-300/300P
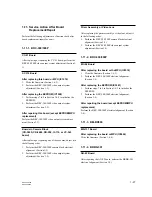
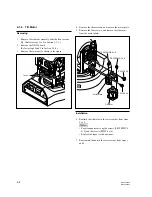
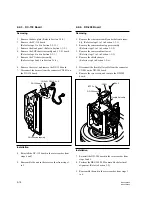
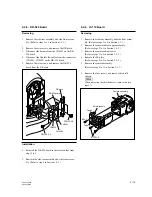
Camera assembly
Connector
Harness
cap
2-1. BRC-300/300P Main Parts
n
Tighten the screws as following torque.
PSW2.5/PSW2.6 screws:
26.0
x
10
_
2
N
.
m
B2/BTP2/PSW2 screws:
18.0
x
10
_
2
N
.
m
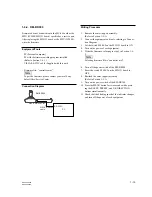
2-1-1. Camera Assembly
Removing
1.
Remove the side rear assembly and side front assem-
bly. (Refer to steps 1 to 3 in Section 1-3-1.)
2.
Remove the camera cabinet upper assembly.
(Refer to steps 2 to 5 in Section 1-3-2.)
3.
Remove the camera cabinet lower.
(Refer to steps 3 to 5 in Section 1-3-3.)
4.
Remove the SE plate.
(Refer to steps 2 to 4 in Section 2-2-9.)
5.
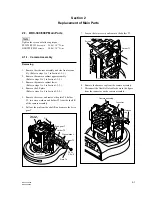
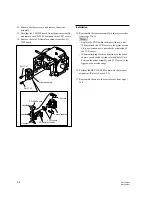
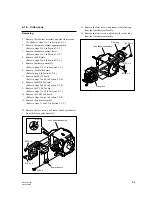
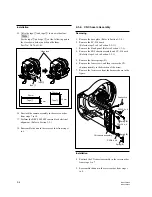
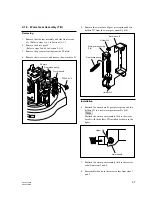
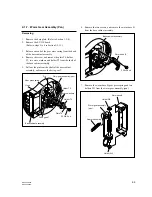
Remove the screw, and remove the plate T4, holder
T3, two wave washers and holder T2 from the shaft R
of the camera assembly.
6.
Pull out the pin from the shaft R, and remove the drive
gear T.
Section 2
Replacement of Main Parts
7.
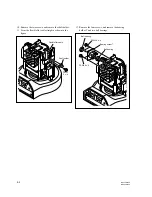
Loosen the two screws, and remove the holder T1.
8.
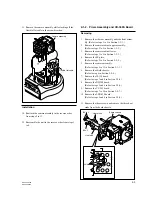
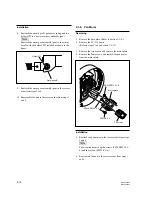
Remove the harness cap from the camera assembly.
9.
Disconnect the flexible flat cable shown in the figure
from the connector on the camera assembly.
Camera
assembly
Drive gear T
Holder T2
Holder T3
Plate T4
Shaft R
Wave washer
Pin
PSW
2.6
x
6
Holder T1
Screws

