3-25
BRC-300/300P
BRU-300/300P
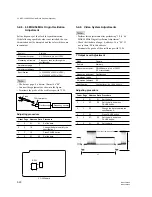
3-2. BRC-300/300P Camera Block Electrical Alignment
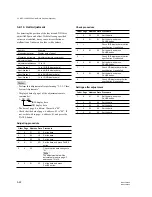
Adjusting procedure
Order Page Address Data Procedure
1
0
01
01
Set the data.
2
6
01
13
Set the data, and press
PAUSE button.
3
Place a ND filter on the lens so
that the optimum image is
obtain.
4
6
01
29
Set the data, and press
PAUSE button.
5
6
02
Check that the data changes to
“01”.
n
The adjustment data will be
automatically input to page: F,
addresses: 60 to 70.
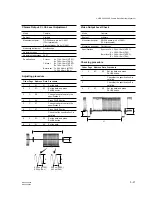
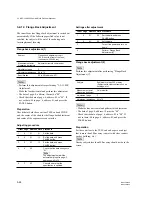
Settings after adjustment
Order Page Address Data Procedure
1
6
01
00
Set the data, and press
PAUSE button.
2
0
01
00
Set the data.
3
Turn off the power and turn on
again
4
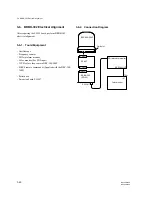
Perform “Flange Back Check”
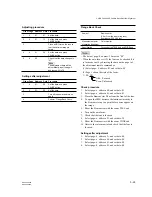
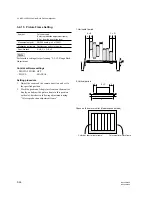
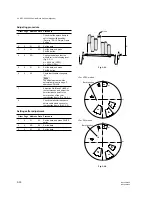
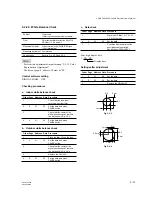
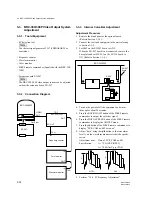
Flange Back Check
Subject
Siemens star
(2.0 m from the front of the lens)
(Luminance: 350
±
50 lux)
Measurement point
Color monitor
Measuring instrument
Specification
Focused at the TELE end and WIDE end.
m
.
The data of page: 0, address: 10 must be “00”.
.
When the auto focus is ON, the lens can be checked if it
is focused or not by observing the data on the page 1 of
the adjustment remote commander.
(1) Select page: 0, address: 03, and set data: 0F.
(2) Page 1 shows the state of the focus.
1 : 00 : XX
Odd: Focused
Even: Unfocused
Check procedure
1.
Select page: 6, address: 40, and set data: 01.
2.
Select page: 6, address: 41, and set data: 01.
3.
Place the Siemens star 2.0 m from the front of the lens.
4.
To open the IRIS, decrease the luminous intensity to
the Siemens star up to a point before noise appear on
the image.
5.
Shoot the Siemens star with the zoom TELE end.
6.
Turn on the auto focus.
7.
Check that the lens is focused.
8.
Select page: 6, address: 21, and set data: 10.
9.
Shoot the Siemens star with the zoom WIDE end.
10 Observe the color monitor and check that the lens is
focused.
Settings after adjustment
1.
Select page: 6, address: 21, and set data: 00.
2.
Select page: 6, address: 40, and set data: 00.
3.
Select page: 6, address: 41, and set data: 00.
4.
Select page: 0, address: 03, and set data: 00.


