Configuration
33
Siemens Building Technologies
SISTORE AX4_EN.doc
Fire & Security Products
09.2004
3.7
Configuring Recording Settings
NOTE:
When the DVR is recording video, a red dot appears on the monitor.
Your DVR offers a variety of flexible recording modes. You can set it up to record
all the time or to only record events. It can be set up to continue recording once
the hard disk drive is full by recording over the oldest video, or you can set it up to
alert you when the hard disk is full and stop recording.
3.7.1
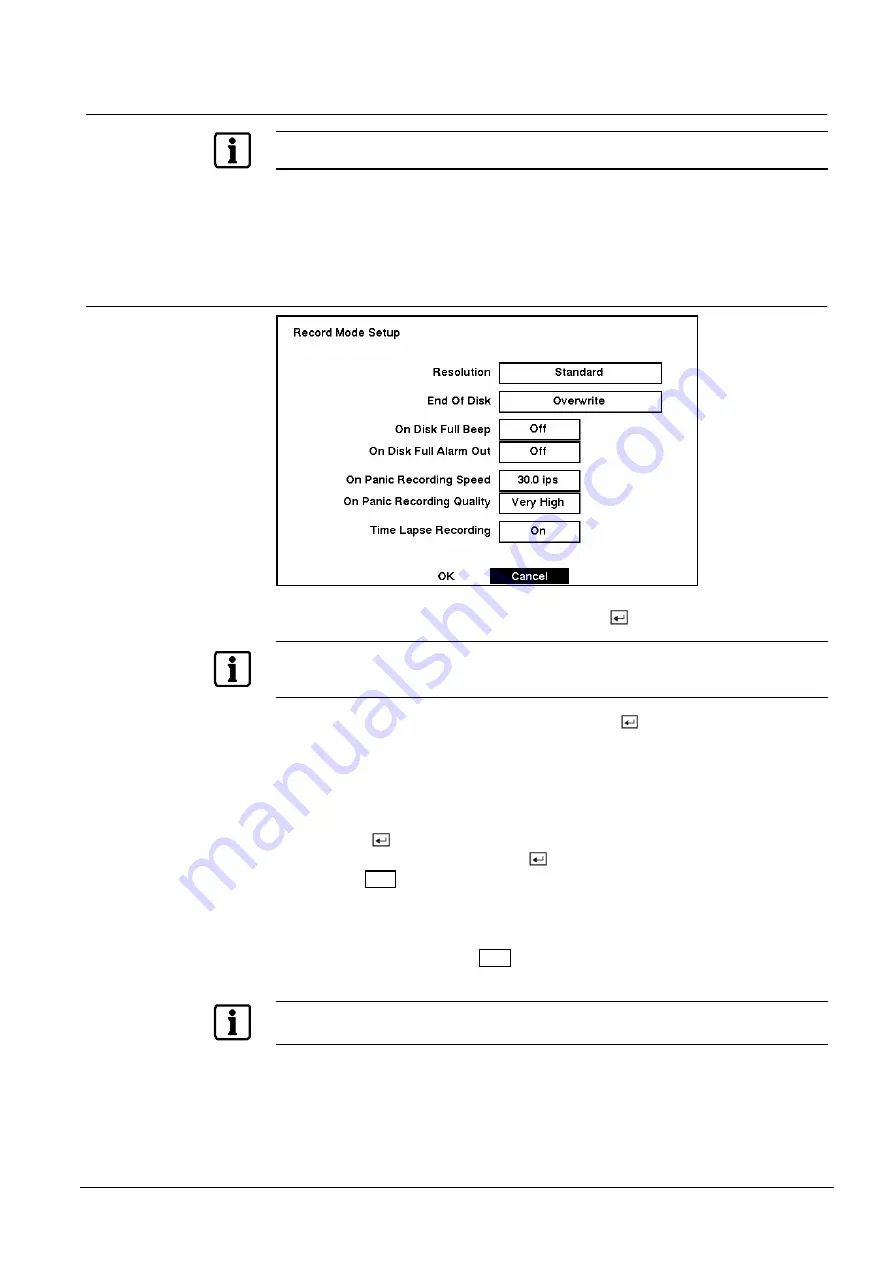
Record Mode Setup Screen
Fig. 44
Record Mode Setup screen.
Highlight the box beside Resolution and press the
button.
NOTE:
The maximum recording speed is 30 images per second (25 ips for PAL) when the resolution is set to
Standard
. However, when set to
High,
the recording speed will be decreased to 15 images per
second (12.5 ips for PAL).
Highlight the box beside End Of Disk and press the
button. This toggles
between Overwrite and Stop. When in the Overwrite mode, the DVR continues
recording when the hard disk drive is full by overwriting the oldest video. When in
the Stop mode, the DVR stops recording when the hard disk drive is full.
If the DVR is set to the Stop mode, you can set it to beep or activate the Alarm Out
port when the hard disk drive is full. Highlight the box beside On Disk Full Beep
and press the
button to toggle between On and Off. Highlight the box beside
On Disk Full Alarm Out and press the
button to toggle between On and Off.
Pressing the
Panic
button on the front panel enters the Panic Recording mode. You
can program the recording speed and quality when the DVR is in the Panic
Recording mode. On Panic Recording Speed can be set from 0. 5 to 30 ips (25 ips
PAL), and On Panic Recording Quality can be selectable from Very High, High,
Standard and Low. Press the
Panic
button again to release the panic recording
mode.
NOTE:
When the DVR is in the Panic Recording mode, it ignores the time-lapse or event recording settings
and follows the panic recording settings.


