Operating Instructions
Chapter
10
CLX490
8009237/RB47/2007-08-03
©
SICK AG · Division Auto Ident · Germany · All rights reserved
10-29
Appendix
10.10 Special applications and procedures
10.10.1 Auxiliary input via auxiliary interface
If the CLX cannot read a bar code in Reading mode (e. g. if there is no bar code on the ob-
ject), the data content of the bar code can be sent subsequently to the host by using the
"Auxiliary input" function. In this way, the sequence of reading results can be completed if
necessary.
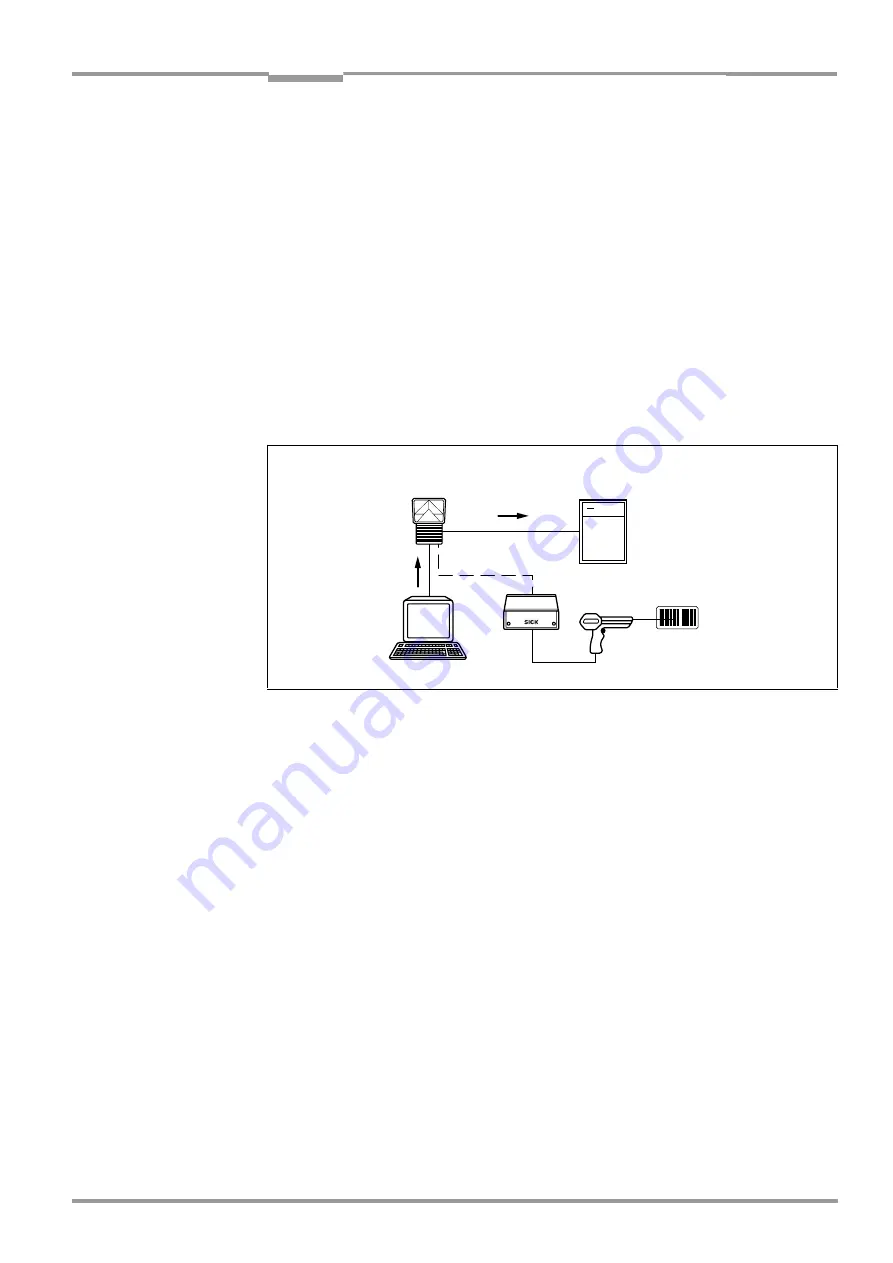
The auxiliary input function uses the auxiliary interface of the CLX exclusively and features
two options:
•
manual entry of the data content on the keyboard of a connected terminal or PC
(Terminal Emulation function)
•
entry of the bar code using a hand-held reader. The data is then forwarded to the CLX
via an internal or external decoder
shows the basic auxiliary input principle.
The CLX sends the data content of the bar code that it receives via the auxiliary interface to
the host in the same format as the other reading results on the host interface. Each string
can contain the data from a bar code with a maximum length of 50 characters. The CLX au-
tomatically enters the status ST = 7 if the error status has been enabled for transmission.
The values of the other reading diagnosis data in the data string do not have any signifi-
cance.
To enable the CLX to receive the data content of the bar code on the auxiliary interface, you
must switch the operating mode on the interface to auxiliary input .
1.
Connect the PC to the
auxiliary interface
on the CLX using a 3-core RS 232 data cable
(null modem cable) (AMV/S60: connect the PC to the internal 9-pin "Service" plug).
See
Chapter 5.5.6 Connecting the PC, Page 5-15
2.
Start CLV-Setup on your PC.
Chapter 10.6.3 Starting CLV-Setup, Page 10-18
.
3.
Choose the A
UXILIARY
I
NTERFACE
tab.
4.
Choose the A
UXILIARY
I
NPUT
option from the drop-down list.
5.
Download the changes to the CLX.
To do so, click the A
UXILIARY
I
NPUT
option again with the right mouse button and choose
D
OWNLOAD
P
ARAMETER
in the context menu.
CLV-Setup copies the parameter to the CLV temporarily.
The auxiliary interface then operates temporarily in "Auxiliary input" mode.
Fig. 10-15: Auxiliary input via the auxiliary interface of the CLX
Data co Status
ST = 7
Data contents


