CHAPTER 5. SERVICE MENU/VARIOUS SETTING TOOL OPERATING PROCEDURES
PN-T321/T322B
SERVICE MENU/VARIOUS SETTING TOOL OPERATING PROCEDURES
5 – 5
8. USAGE TIME SETTING PROCEDURE
8 - 1.
OPERATING CONDITIONS OF THE
USAGE TIME SETTING TOOL
The operating conditions of the USAGE TIME setting tool of the infor-
mation display are as follows.
■
WHEN CONNECTED TO THE INFORMATION
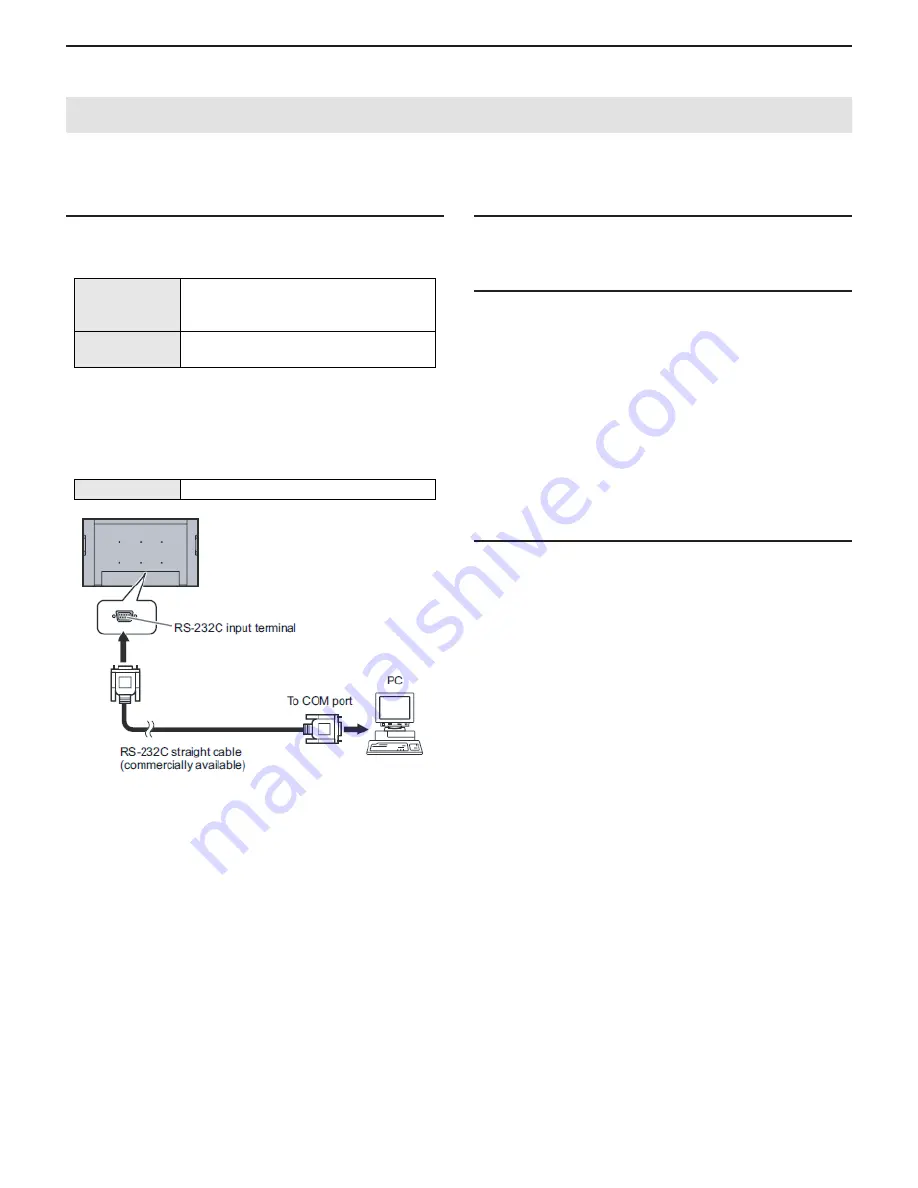
DISPLAY WITH AN RS-232C CABLE
The required RS-232C cable is as shown below. Connect the PC’s
COM port and the RS-232C input terminal of the display.
8 - 2. START-UP OF THE USAGE TIME
SETTING TOOL
Press [Usage Time] button of the Service Tool Launcher.
8 - 3.
USAGE TIME SETTING PROCEDURES
The procedures of setting usage time with use of the Usage Time Set-
ting Tool are as follows.
1 ) Press [Connection Setting...] button to configure the communica-
tion settings.
2 ) Input the usage time you need to set in the field of Write Data.
It should be from “000000” to “200000.” Make sure to input a 6-digit
number.
3 ) Press [Write] button.
4 ) Press [Read] button, and confirm that the set usage time is dis-
played in the Read Data field.
8 - 4.
USAGE TIME CHECK PROCEDURE
With an image displayed on the display, use the accessory remote con-
troller to enter the SERVICE MENU 1, and check the USAGE TIME on
the column of USAGE TIME.
To enter the SERVICE MENU 1, press and hold [SIZE] button on the
remote controller for 5 sec, and press the buttons in the sequence of
[BRIGHT- (
1
)], [VOL- (
4
)], [ (
3
)] and [VOL+ (
2
)].
OS
n
Windows XP
n
Windows Vista
n
Windows 7
Communication
port
n
RS-232C port recognized as a COM port
(Which allows communication in 9600bps.)
RS-232C cable
Straight cable (D-SUB 9 pin female-female)


