79
External Device Connection
SH-06F_E_10.fm
[79/81]
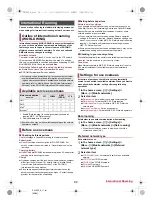
You can use a microSD Card as an external memory for a PC
or transfer data by connecting the tablet and the PC.
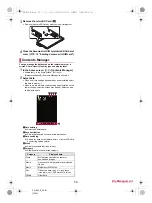
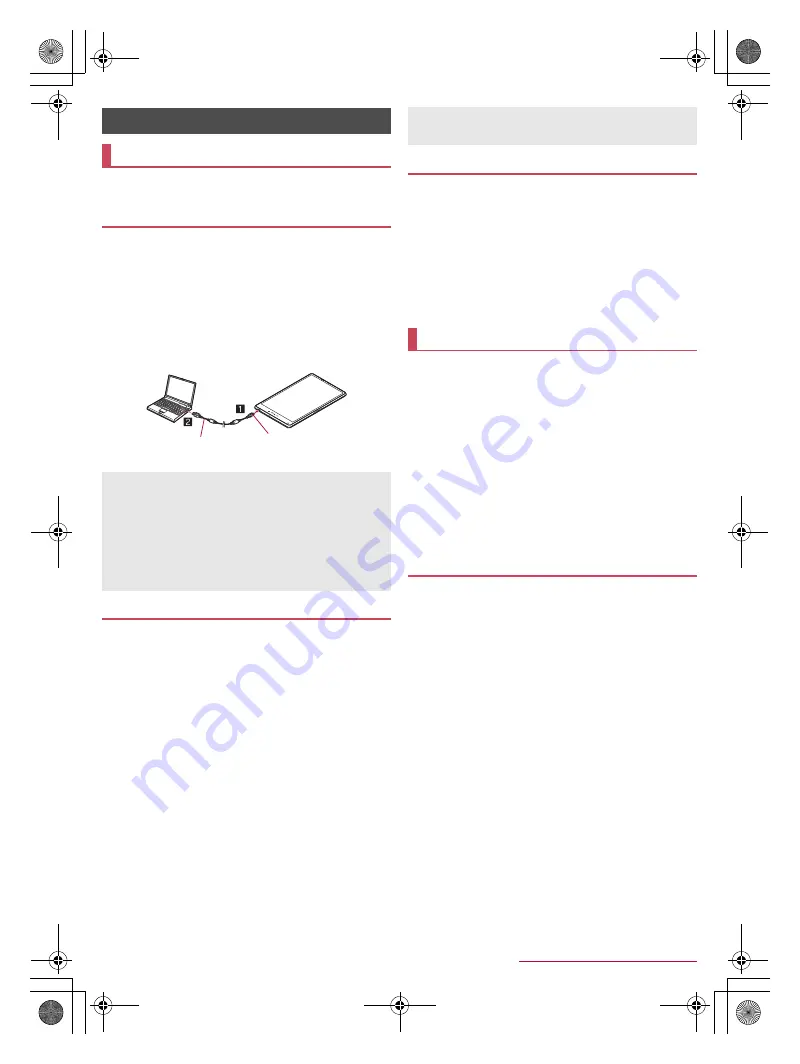
1
Insert the microUSB plug of Micro USB Cable
01 (sold separately) horizontally into the
external connector terminal on the tablet with
the side marked with “B” turned up (
1
)
2
Insert the USB plug of Micro USB Cable 01
horizontally into the USB connector on a PC
(
2
)
:
For details on the mode of USB connection
n
P. 66 “USB
connection”
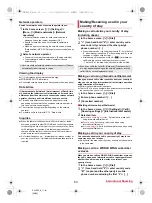
You can use a microSD Card as an external memory for a PC.
Insert a microSD Card and set the mode of USB connection to
[Card reader mode] in advance (
n
P. 66 “USB connection”).
When using a microSDXC Card, refer to P. 79 “Transferring
data”. When a message indicating to format the microSDXC
Card is displayed, do not format it.
1
Connect the tablet to a PC via Micro USB Cable
01
:
The USB mass storage screen appears. If the screen does
not appear, drag the status bar down and select [USB
connected].
2
[Turn on USB storage]
:
When the confirmation screen is displayed, check the
content and select [OK].
3
Use as a microSD reader/writer
4
Perform secure hardware removal on the PC
after use
5
[Turn off USB storage]
6
Disconnect Micro USB Cable 01 from the tablet
and the PC
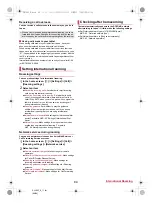
Transfer data from a PC to the tablet memory or a microSD
Card.
Set the mode of USB connection to [MTP mode] or [PTP mode]
in advance (
n
P. 66 “USB connection”).
1
Connect the tablet to a PC via Micro USB Cable
01
2
Transfer data
3
Disconnect Micro USB Cable 01 from the tablet
and the PC after use
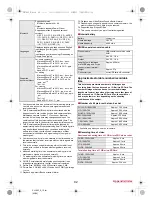
You can print browser screens or images using Wi-Fi
compatible printers provided by Canon or EPSON.
For details on the Wi-Fi compatible printers for the tablet etc.,
refer to the following websites.
Canon:
(
http://cweb.canon.jp/pixus/index.html
)
(in Japanese only)
EPSON:
(
http://www.epson.jp/products/colorio/
)
(in Japanese
only)
For the operation method of the Wi-Fi compatible printers, refer
to the manuals of the Wi-Fi compatible printers.
Set Wi-Fi to [ON] and connect to the same access point as that
of a Wi-Fi compatible printer in advance (
n
P. 23 “Wi-Fi
settings”).
The file formats of images which can be printed are JPEG, BMP
and PNG. Available printers may differ depending on the file
format.
■
Canon Wi-Fi compatible printer settings
1
In the browser screen/image displaying screen
of Album, [
z
]
/
[Print by print application]
/
[Canon Wi-Fi Printer]/[Canon Wi-Fi printer]
:
If the confirmation screen for the license agreement is
displayed, check the content and select [Agree].
:
As for the browser screen, [Print]
/
select a page range
/
[OK] to set the page range.
2
Set each item
Printer
: Set the printer.
Paper Settings
: Set the media type.
Copies
: Set the number of copies.
3
[Print]
■
EPSON Wi-Fi compatible printer settings
1
In the browser screen/image displaying screen
of Album, [
z
]
/
[Print by print application]
/
[EPSON Wi-Fi Printer]/[EPSON Wi-Fi printer]
:
If the confirmation screen for the license agreement is
displayed, check the content and select [OK].
2
Set each item
Printer
: Set the printer.
Paper Size
: Set the paper size.
Media Type
: Set the media type.
Layout
: Set the layout.
External Device Connection
PC connection
Connecting the tablet and PC
Use Micro USB Cable 01 as a USB cable. USB cables for PC
are not available, since the plug shape is different.
Using a USB HUB may prevent the equipment from working
normally.
Do not remove Micro USB Cable 01 while exchanging data with
PC. Data may be damaged.
Windows Vista, Windows 7, Windows 8 and Windows 8.1 all of
which are Japanese version are available OS of PCs for the
connection.
microSD reader/writer
Keep side marked
with “B” up
Micro USB
Cable 01
While using as a microSD reader/writer, microSD Card cannot
be used by apps. In addition, microSD Card may not be used as
a microSD reader/writer while it is used by apps.
Transferring data
Printing by print app
Settings for printing by print app
SH-06F_E.book 79 ページ 2014年6月26日 木曜日 午後5時41分

