l
F.8L Falco Construction Manual
28–15
Revision 4, March 1, 2002
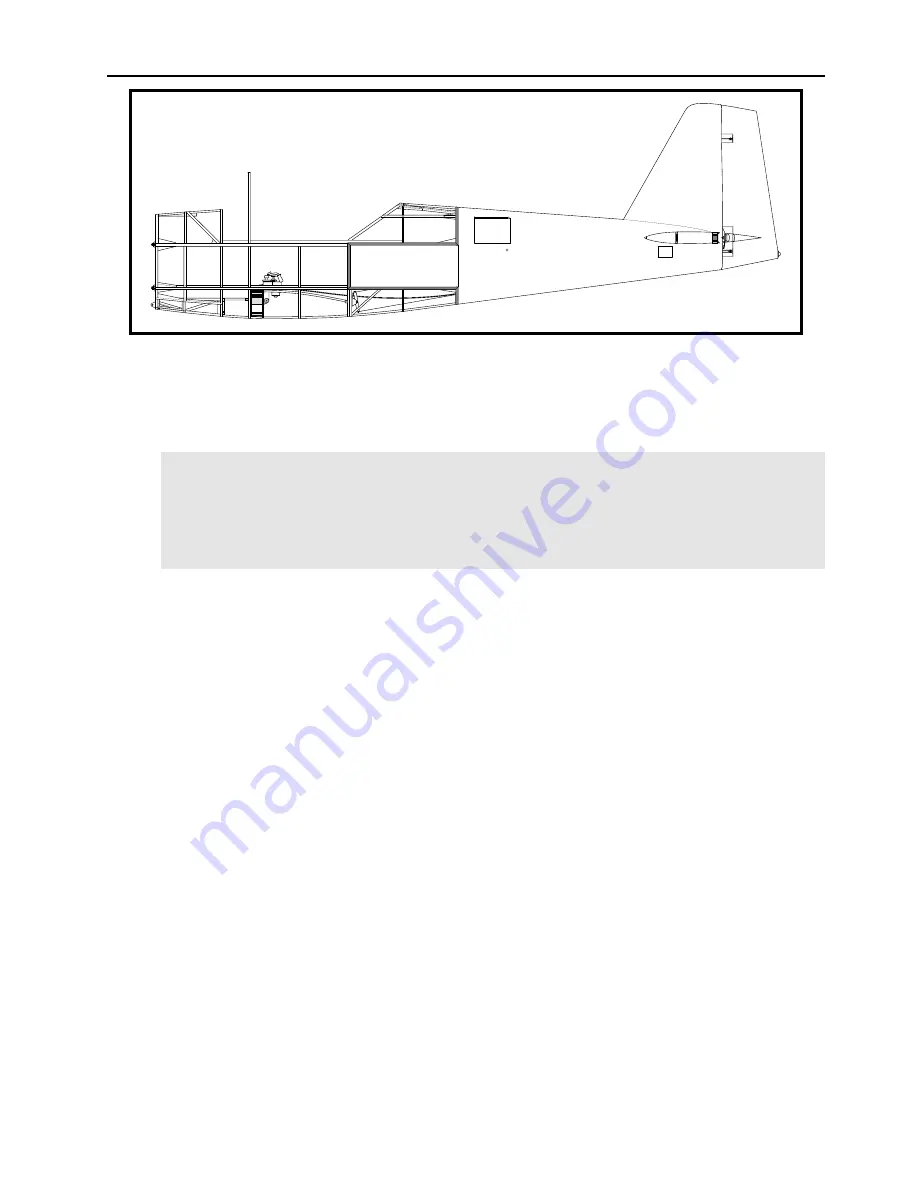
Figure 27
❏
Glue on the fuselage side skins from Sta. 6 to 8 on both sides of the aircraft. At the top of
this skin, it works best if you cut the skin to fit along the upper side longeron and do not
attempt to overlap the aft end of the coaming strip.
Note:
The fuselage side skins have a slight compound bend, and there are three methods
to bend the plywood. The first method is to wet the plywood and bend it over the frames.
The production Falcos were built this way and most builders who have used this method
have encountered problems. The plywood tends to take a sharp bend at the frames.
About half of the builders that have used this method have scrapped the skins and done it
again using another method.
A second method is to use a bending jig to bend the plywood before you install it on the airplane.
(We have a drawing for this, can supply it on request, and intend to include this in future editions
of the fuselage drawings.) You wet the plywood and then clamp it in the jig. This method has
worked well for everyone who has tried it. It gives enough of a bend to the plywood so that it will
pull into place.
The last method is to skin the fuselage with the plywood dry, and this requires a pneumatic staple
gun. You simply apply glue and then staple the plywood in place, starting at the center of the
panel at one of the longerons and working out in a fan-shaped pattern.
Builders who have installed the skin in one operation start in the center of the panel at the upper
side longeron, then staple out along the longeron (usually for the full length of the panel), then
down along the frame in the middle of the panel, then finally they staple along the bottom side
longeron
and
the frame at the end of the panel. In the last operation, they work their way toward
the corner. This whole operation is much like smoothing out a sheet on a bed—you work to
smoothly pull the plywood down without allowing it to ‘bunch’ up or create a ‘bubble’. In reality,
you are compressing the plywood to create the bend—the object is to compress it evenly.
One builder reversed the process and installed each skin in three operations. He glued the skin to
the bottom side longeron. Later after the glue dried, he glued and stapled the skin the frame in
the middle. And finally he glued and stapled along the upper side longeron and frames on the
end. He was working alone and wanted to break the work into three steps. By starting at the
bottom, he was able to pour glue down into the space between the skin and framework.
Installing the skin dry works very well and is much easier than it sounds—in fact, many builders
say these skins are the easiest skins to install. The curve of the skin is exceptionally smooth. The
Summary of Contents for F.8L Falco
Page 1: ...F 8L Falco Construction Manual...
Page 7: ...l F 8L Falco Construction Manual Revision 4 March 1 2002...
Page 21: ...l F 8L Falco Construction Manual 1 8 Revision 4 March 1 2002...
Page 29: ...l F 8L Falco Construction Manual 2 8 Revision 4 March 1 2002...
Page 43: ...l F 8L Falco Construction Manual 5 4 Revision 4 March 1 2002...
Page 65: ...l F 8L Falco Construction Manual 9 6 Revision 4 March 1 2002...
Page 81: ...l F 8L Falco Construction Manual 10 16 Revision 4 March 1 2002...
Page 109: ...l F 8L Falco Construction Manual 15 4 Revision 4 March 1 2002...
Page 133: ...l F 8L Falco Construction Manual 17 10 Revision 4 March 1 2002...
Page 145: ...l F 8L Falco Construction Manual 18 12 Revision 4 March 1 2002...
Page 173: ...l F 8L Falco Construction Manual 21 10 Revision 4 March 1 2002...
Page 229: ...l F 8L Falco Construction Manual 23 40 Revision 4 March 1 2002...
Page 387: ...l F 8L Falco Construction Manual 28 26 Revision 4 March 1 2002...
Page 393: ...l F 8L Falco Construction Manual A 6 Revision 4 March 1 2002...


