357
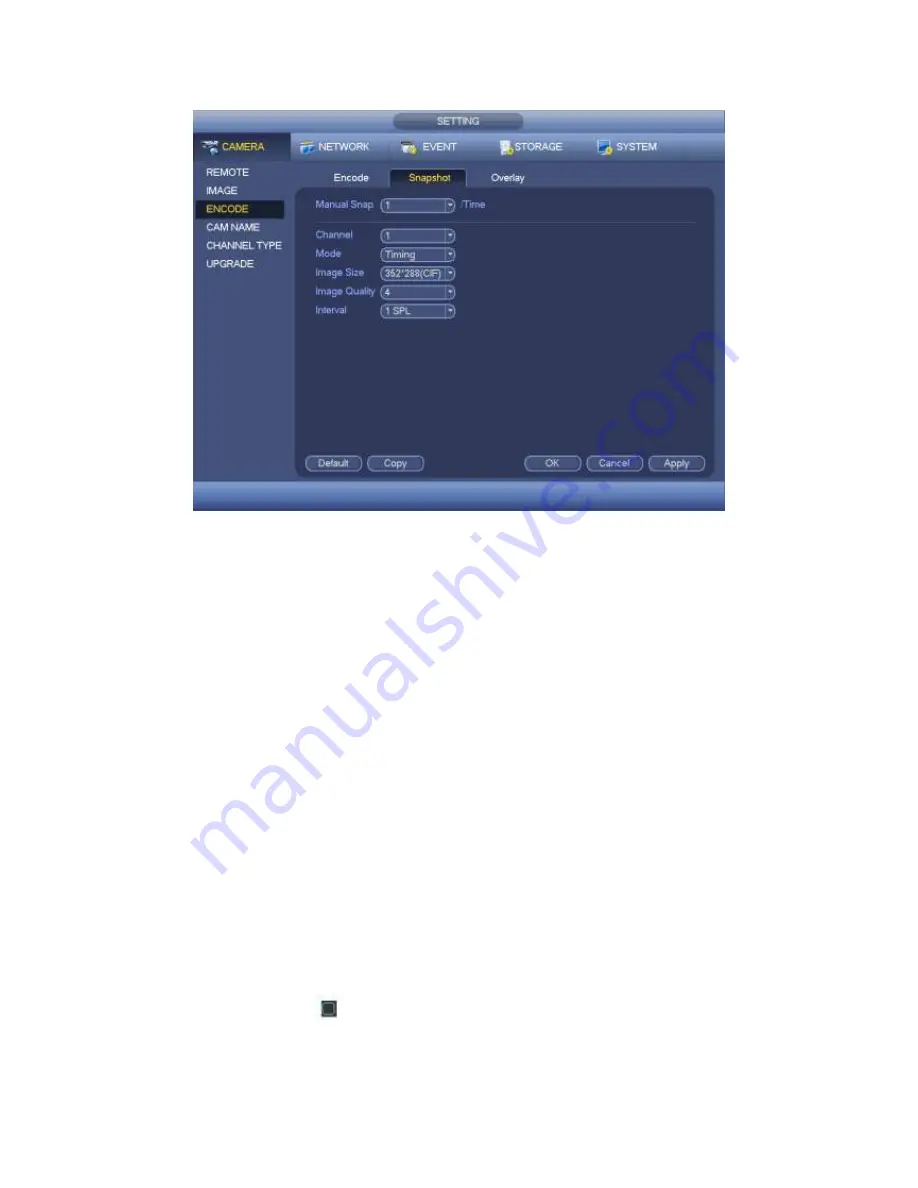
Figure 4-106
4.9.1.3.3 Overlay
Overlay interface is shown as in Figure 4-107.
Cover area: Here is for you to set cover area. You can drag you mouse to set proper
section size. In one channel video, system max supports 4 zones in one channel.
Preview/monitor: privacy mask has two types. Preview and Monitor. Preview means
the privacy mask zone cannot be viewed by user when system is in preview status.
Monitor means the privacy mask zone cannot be view by the user when system is in
monitor status.
Time display: You can select system displays time or not when you playback. Please
click set button and then drag the title to the corresponding position in the screen.
Channel display: You can select system displays channel number or not when you
playback. Please click set button and then drag the title to the corresponding position
in the screen.
Copy:After you complete the setup, you can click Copy button to copy current setup to
other channel(s). You can see an interface is shown as in Figure 4-108. You can see
current channel number is grey. Please check the number to select the channel or you
can check the box ALL. Please click the OK button in Figure 4-108 and Figure 4-107
respectively to complete the setup.
Please highlight icon
to select the corresponding function.
Summary of Contents for PENDVR-EL16M4K
Page 1: ...PENDVR EL16M4K ELITE SERIES...
Page 20: ...247 2 3 Connection Sample...
Page 128: ...363 restore original status Figure 4 115 Figure 4 116 4 9 1 3 1Upgrade Camera...
Page 151: ...386 Figure 4 137 Figure 4 138...
Page 166: ...401 Figure 4 153 Step 2 Draw the zone 1 Click Draw button to draw a zone See Figure 4 154...
Page 172: ...407 Figure 4 157 Figure 4 158...
Page 173: ...408 Figure 4 159 Figure 4 160...
Page 174: ...409 Figure 4 161 Figure 4 162...
Page 177: ...412 Figure 4 165 Figure 4 166...
Page 178: ...413 Figure 4 167 Figure 4 168...
Page 184: ...419 Figure 4 177 Figure 4 178 4 9 4 1 2 2 Trigger Snapshot...
Page 186: ...421 Figure 4 180 Figure 4 181 4 9 4 1 2 3 Priority...
Page 192: ...427 Figure 4 186 Figure 4 187...
Page 197: ...432 Figure 4 193 Figure 4 194...
Page 283: ...518 Figure 5 69 Figure 5 70...
Page 299: ...534 device Figure 5 86 Figure 5 87...
Page 305: ...540 Figure 5 94 Figure 5 95...
Page 306: ...541 Figure 5 96 Figure 5 97 Please refer to the following sheet for detailed information...
Page 333: ...568 Figure 5 136 Note For admin you can change the email information See Figure 5 137...


