352
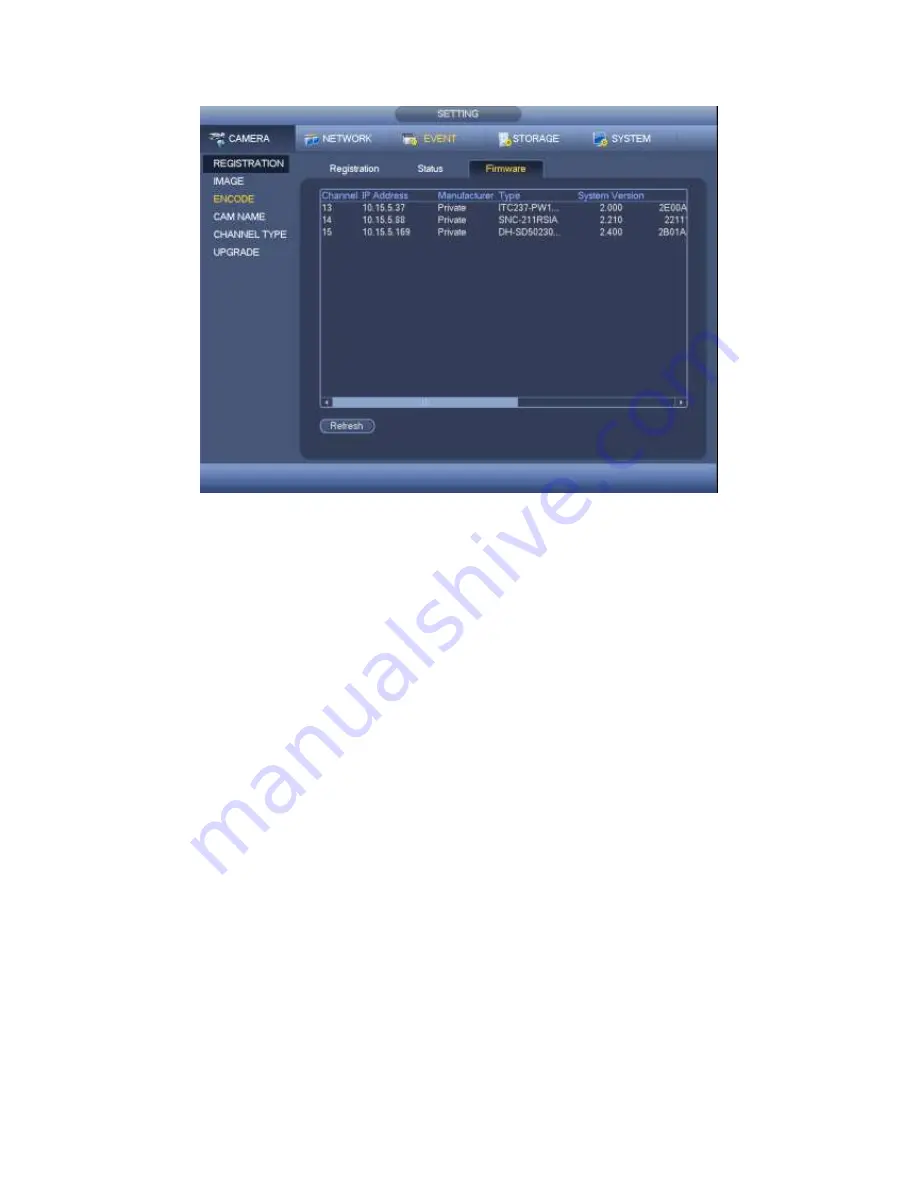
Figure 4-102
4.9.1.2 Image
For analog channel, the camera interface is shown as in Figure 4-103. For digital
channel, the camera interface is shown as in Figure 4-104.
Channel: Select a channel from the dropdown list.
Cable type: It is to set the cable type of the corresponding analog channel. When the
setup here matches the actual cable you are using, you can get the best image effect.
The default setup is COAXIAL. Please note this function is for some series products
only.
COAXIAL: When the corresponding channel is using coaxial cable, please select
COAXIAL.
UTP: When the corresponding channel is using UTP cable, please select UTP.
Usually we recommend 10Ohm UTP cable.
Saturation: It is to adjust monitor window saturation. The value ranges from 0 to 100.
The default value is 50. The larger the number, the strong the color is. This value has
no effect on the general brightness of the whole video. The video color may become
too strong if the value is too high. For the grey part of the video, the distortion may
occur if the white balance is not accurate. Please note the video may not be attractive
if the value is too low. The recommended value ranges from 40 to 60.
Brightness: It is to adjust monitor window bright. The value ranges from 0 to 100. The
default value is 50. The larger the number is, the bright the video is. When you input
the value here, the bright section and the dark section of the video will be adjusted
accordingly. You can use this function when the whole video is too dark or too bright.
Please note the video may become hazy if the value is too high. The recommended
value ranges from 40 to 60.
Summary of Contents for PENDVR-EL16M4K
Page 1: ...PENDVR EL16M4K ELITE SERIES...
Page 20: ...247 2 3 Connection Sample...
Page 128: ...363 restore original status Figure 4 115 Figure 4 116 4 9 1 3 1Upgrade Camera...
Page 151: ...386 Figure 4 137 Figure 4 138...
Page 166: ...401 Figure 4 153 Step 2 Draw the zone 1 Click Draw button to draw a zone See Figure 4 154...
Page 172: ...407 Figure 4 157 Figure 4 158...
Page 173: ...408 Figure 4 159 Figure 4 160...
Page 174: ...409 Figure 4 161 Figure 4 162...
Page 177: ...412 Figure 4 165 Figure 4 166...
Page 178: ...413 Figure 4 167 Figure 4 168...
Page 184: ...419 Figure 4 177 Figure 4 178 4 9 4 1 2 2 Trigger Snapshot...
Page 186: ...421 Figure 4 180 Figure 4 181 4 9 4 1 2 3 Priority...
Page 192: ...427 Figure 4 186 Figure 4 187...
Page 197: ...432 Figure 4 193 Figure 4 194...
Page 283: ...518 Figure 5 69 Figure 5 70...
Page 299: ...534 device Figure 5 86 Figure 5 87...
Page 305: ...540 Figure 5 94 Figure 5 95...
Page 306: ...541 Figure 5 96 Figure 5 97 Please refer to the following sheet for detailed information...
Page 333: ...568 Figure 5 136 Note For admin you can change the email information See Figure 5 137...


