Using the Control Panel to Make Printer Settings | 52
Head flushing consumes more ink that head cleaning.
Do not perform more than one (1) head flush.
If nozzles do not print properly after up to five (5) head cleanings and one (1) head
flush, contact Sawgrass for assistance.
Do not turn the printer off during print head flushing. If the printer is turned off
during print head flushing, start again from printing the nozzle check test pattern.
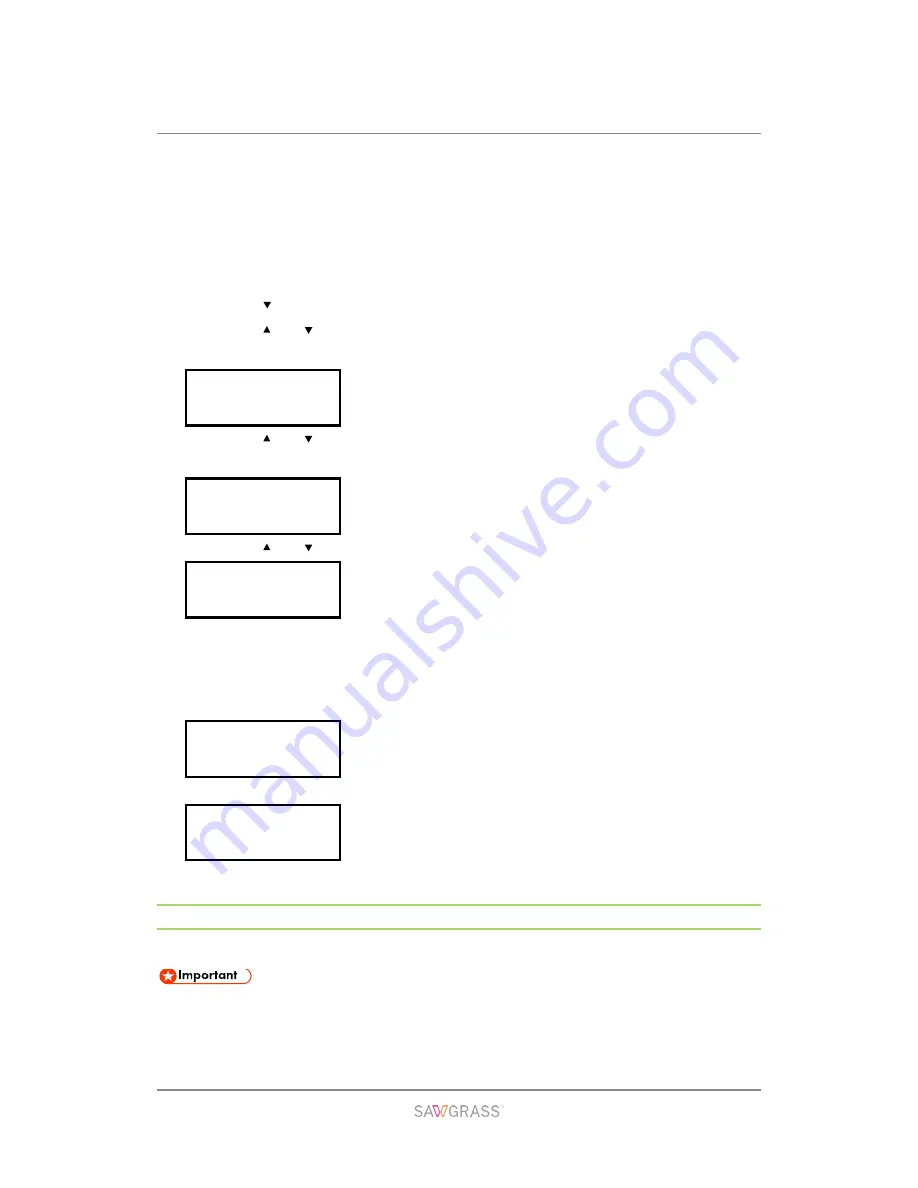
1. Press the [ /Menu] key.
2. Press the [ ] or [ /Menu] key to display [Maintenance], then press the [#Enter]
key.
3. Press the [ ] or [ /Menu] key to display [Head-flushing], then press the [#Enter]
key.
4. Press the [ ] or [ /Menu] key to select a color, then press the [#Enter] key.
To clean all the print heads, select [All Heads].
To clean the print head for cyan and black, select [Head 1].
To clean the print head for yellow and magenta, select [Head 2].
5. Press the [#Enter] key.
Head flushing starts.
6. Press the [Escape] key.
Head Position
Adjusts the print head. Perform this operation if printed lines are vertically misaligned.
Although instructions are provided, Sawgrass recommends that the procedure to
adjust the print head be performed from the printer driver and not the printer
control panel.
Menu:
Maintenance
Maintenance:
Head-flushing
Head-flushing:
All Heads
Press # to
flush heads
Maintenance
in process...


