SHR-2040/2041/2042 USER’S MANUAL
5-25
6
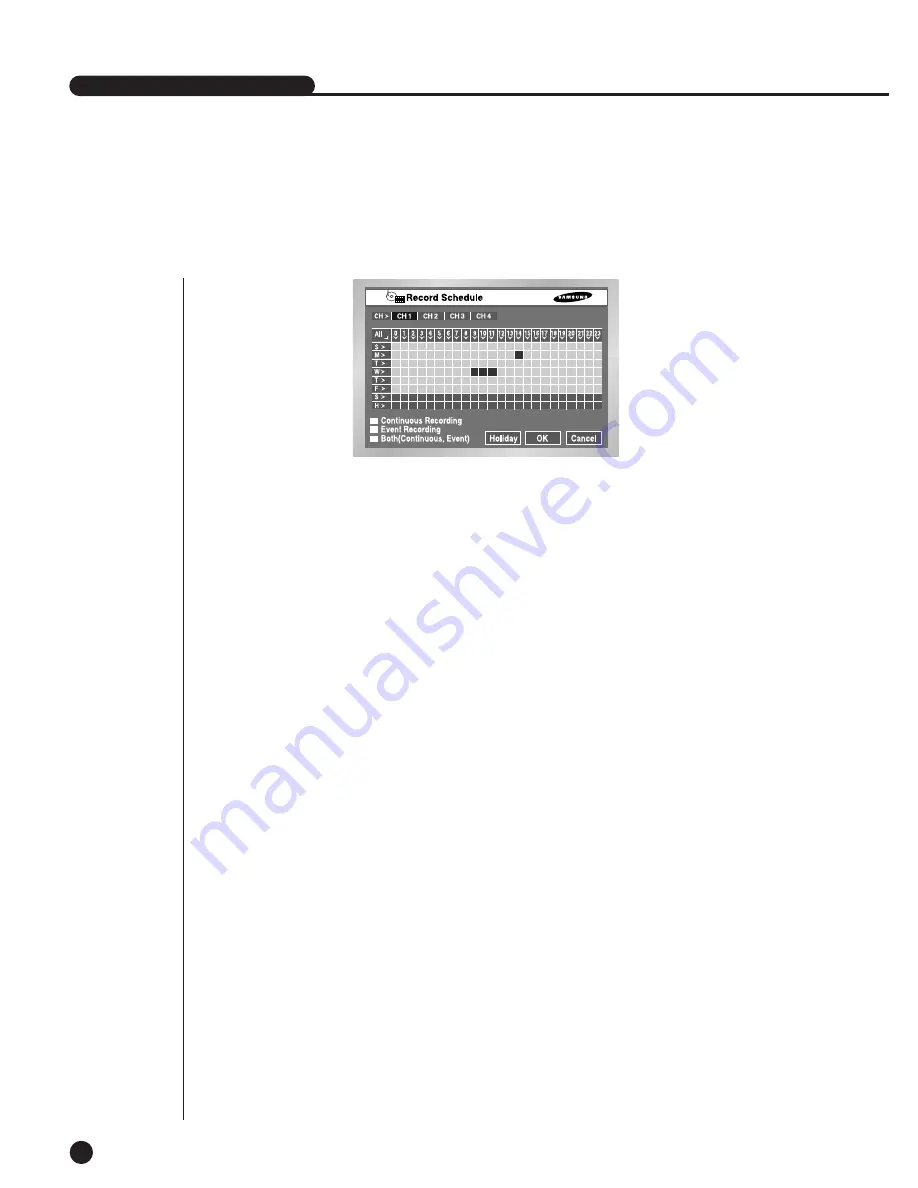
Record Schedule
This setup selects a time to record automatically.
Selection by the day or by the time is available.
The default value is set to “Event Record”.
●
Press “CH >” copies the value of Channel 1 to all the channels.
●
The horizontal axis numbered from 0 to 23 represents the time value.
The vertical axis numbered from S to H represents the day value. (H : Holiday)
Selection by the day or by the time is available.
●
Pressing “ALL” converts the overall setting of the selection window into
Continuous
➝
Event Record
➝
Schedule/Event Record.
●
Record Schedule
Recording starts automatically on the preset time.
Recording follows the condition that set in 5-18.Record Mode.
☛
Refer to 7-2 Record Schedule.
●
Event Recording
Recording starts automatically when an event (Alarm/Motion Detection/Video Loss)
occurs within a setup time.
Recording follows the condition that set in 5-20.Event Record Mode setup.
☛
Refer to 7-3 Event Recording.
●
Schedule Record is yellow, Event Record is Blue, and Schedule/Event
Record is red.
Summary of Contents for SHR-2040P
Page 1: ...Real Time DVR SHR 2040 2041 2042 User s Manual ...
Page 7: ...Chapter 1 Overview 1 ...
Page 16: ...Chapter 2 Installation 2 ...
Page 20: ...2 4 SHR 2041 SHR 2042 ...
Page 28: ...2 12 The cable should be out from the left hole ...
Page 29: ...Chapter 3 Connecting with other device 3 ...
Page 30: ...1Connecting the Video Audio and Monitor 3 1 SHR 2040 2041 2042 USER S MANUAL SHR 2040 ...
Page 31: ...3 2 SHR 2041 2042 ...
Page 36: ...SHR 2040 2041 2042 USER S MANUAL 3 7 ALARM IN OUT Connection ...
Page 38: ...Chapter 4 Live 4 ...
Page 47: ...Chapter 5 Menu Setup 5 ...
Page 80: ...Chapter 6 PTZ Camera Control 6 ...
Page 89: ...Chapter 7 Recording 7 ...
Page 93: ...Chapter 8 Search and Play 8 ...
Page 104: ...9 Chapter 9 Smart Viewer ...
Page 164: ...Appendix 10 ...
Page 169: ...SHR 2040 2041 2042 USER S MANUAL 3Outline Drawings 10 5 SHR 2040 SHR 2041 ...
Page 170: ...10 6 SHR 2042 ...


