53
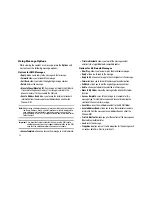
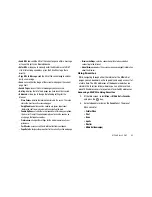
• Input Language
: allows you to change the language used for the
message text.
• Input Method
: allows you to change the method used to input data
into your message, such as text, numbers, and symbols.For more
information, refer to
“Entering Text”
on page 43.
• Edit Style
: allows you to edit the style of your outgoing message
with option such as: Select page, Background Color, Page Duration
(for embedded media), Font Color, and Font Style.
• Add Subject
: allows you to add a subject header to your
multimedia message.
• Add Attachment
: allows you to add either a file, card, or other
information such as a calendar entry, task, or note.
–
File
: allows you to insert an audio, graphic, or video clip to your
message as an attached file.
–
Business Card
: allows you to insert the contact information for an
entry from Address Book directly to your message as an attached file.
–
Appointment
: allows you to insert an Appointment entry from your
calendar directly to your message as an attached file.
–
Anniversary
: allows you to insert an Anniversary entry from your
calendar directly to your message as an attached file.
–
Private
: allows you to insert a Private entry from your calendar directly
to your message as an attached file.
–
Holiday
: allows you to insert a Holiday entry from your calendar directly
to your message as an attached file.
–
Important
: allows you to insert an entry from your calendar tagged as
Important directly to your message as an attached file.
–
Tasks
: allows you to insert a Task directly to your message as an
attached file.
–
Notes
: allows you to insert a presaved Note (text) directly to your
message as an attached file.
–
Favorites
: allows you to add a web address from your Favorites list of
Internet sites as an attachment to the message.
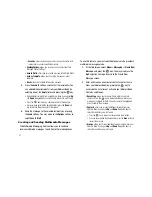
• Sending Options:
allows you to configure the options associated
with sending the message.
• Save to Drafts
: saves the current message to the Drafts folder.
• Save as Template
: allows you to save the current text message or
multimedia message to the current list of preset message
templates, such as Out of Office, I’m in a meeting..., etc.
• Back
: allows you to return to the active message.
6.
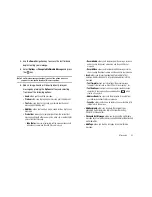
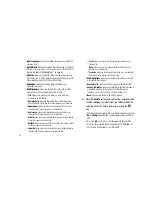
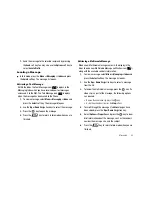
Press the
Send To
soft key and confirm the recipient(s). You
can add additional recipients from your Address Book by
selecting one of the Empty fields and pressing the
key.
•
Add the additional recipients from your Address Book by using your
Up
and
Down
Navigation keys to select those entries you wish to
add.
•
Press the
key to place a checkmark next to those entries.
•
Once you have selected the desired entries, press the
Done
soft
key to return to the previous list of Recipients.

