8 .1
Settings: Press the key
to enter settings menu .
Available settings are
shown on the Settings
Chart . Use the or
keys to scroll through
available settings .
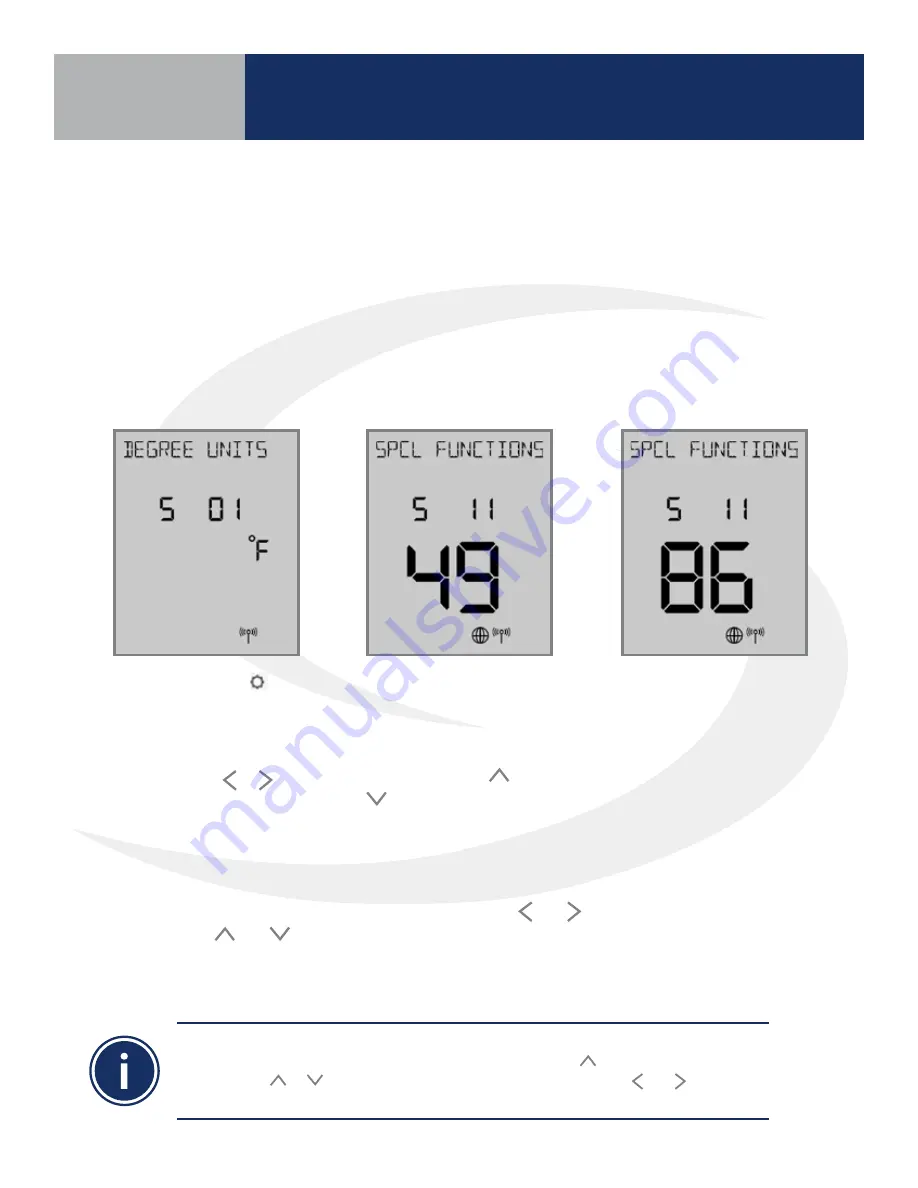
Time/Date Functions: If
S 02 through S 10 are not
accessible, change the
S 11 value to “49” on the
display using the or
keys and press enter .
Change item P02 to YES
to enable thermostat
programming .
Reset to Factory
Settings: To reset the
AWRT10RF Thermostat to
factory settings, change
the S 11 value to “86” and
choose “Y” to reset .
Generally, once in settings or parameter setup mode, use and to move between settings and
parameters, and and to change setting or parameter values . Use SELECT to confirm changes .
The table on the following page titled “AWRT10RF Wireless Radiant Thermostat Settings” lists the
settings available from the thermostat screen and keypad .
Installers can access parameters on the AWRT10RF using the SALUS Smart Home application if an
SG888ZB Gateway is used and connected to the internet . Alternatively, the parameters may be
entered directly through the display and keypad on the AWRT10RF Thermostat . The following
procedure outlines parameter adjustments using the keypad . Changes made on the SALUS Smart
Home application or on the AWRT10RF Thermostat may take a few minutes to go into effect .
Before starting setup procedures, press any key to light the display and prepare the AWRT
Thermostat for input .
Scheduling functions with date and time are OFF as default for the AWRT Thermostat.
To enable the time & date display, choose S11 and push the key until 49 is displayed
(holding the or key will increment/decrement by 10). Use the and keys to go
to P02 and choose YES to enable the scheduling function.
AWRT10RF Thermostat Settings & Parameters
Parameter & Settings Adjustments using the Display & Keypad
Section 8
Summary of Contents for AX10RF
Page 1: ...Wireless Controls System Guide As of December 31 2018...
Page 4: ......


