6-7 Print & Cut Misalignment
6-4
Ideal Conditions
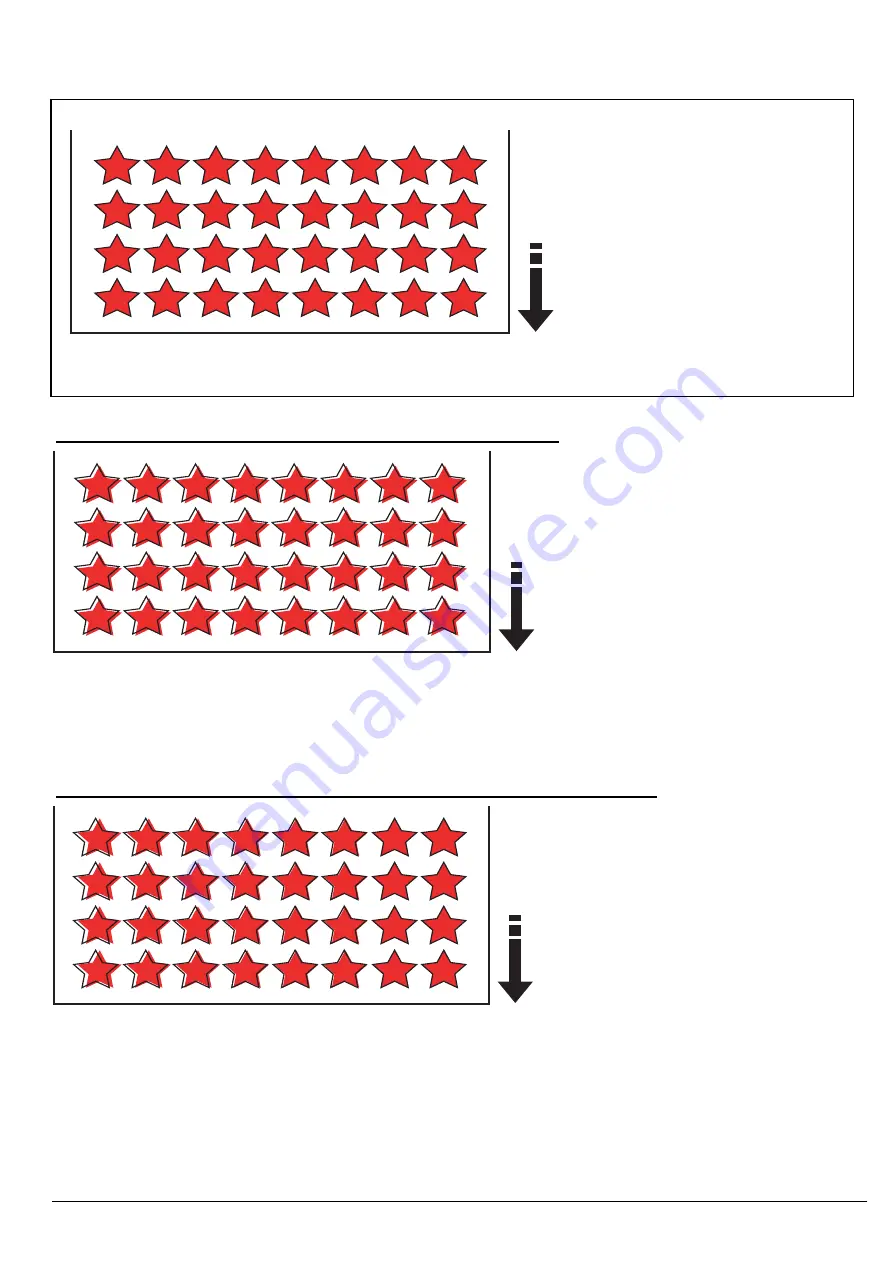
The above illustration shows the ideal print and cut conditions where the red stars signify the printed image and the black lines signify the cut
path. Since the actions to be taken are different depending on the conditions of shifting, check how cutting is shifted first and take
appropriate actions. Most of the actions can be done by users.
Symptom 1 : Cut is Shifted in the Same Direction for the Same Amount
Possible Causes
Print & Cut adjustment is not correctly done.
Actions
1. Perform [ADJUST BI-DIR] in the User menu.
2. Perform [PRINT-CUT ADJ.] in the User menu.
Possible Causes
1. Expansion/Contraction of the Encoder Scale
2. There is some setting value other than 0 set in [CUTTING MENU]>[CALIBRATION]>[SCAN SETTING].
3. Expansion/Contraction of the media
Actions
1. Enable [CUTTING MENU]>[AUTO ENV.MATCH] in the User menu.
2. Set 0 in [CUTTING MENU]>[CALIBRATION]>[SCAN SETTING] in the User menu.
3. Perform [ADJUST BI-DIR] in the User menu.
4. Perform [PRINT-CUT ADJ.] in the User menu.
5. Use the crop marks.
Symptom 2 : Cut is OK at Right Side but is Getting Shifted as It Goes to the Left Side


