20
Subject to change without notice
D i s p l a y o f s i g n a l s
6.5. Video
trigger
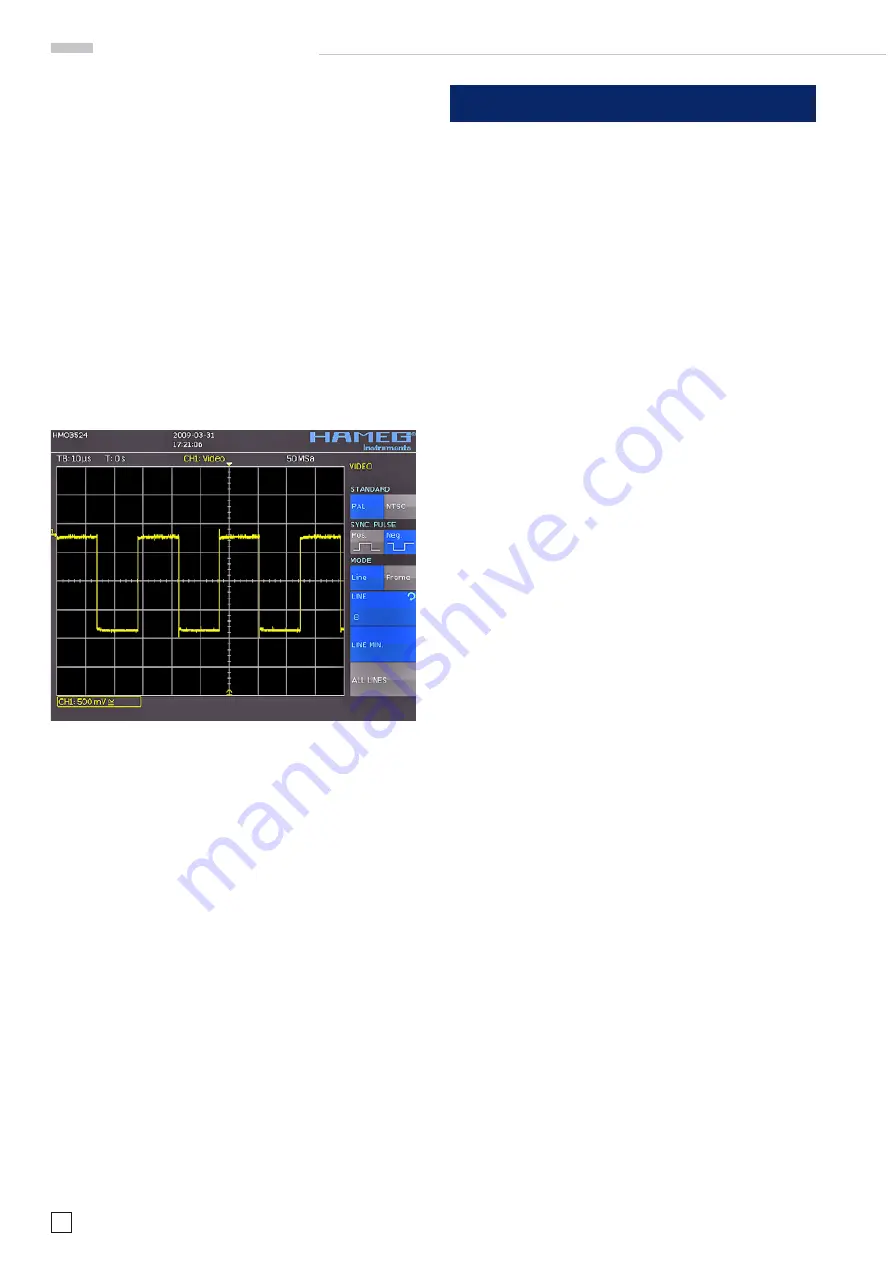
The video trigger allows you to trigger on PAL or NTSC standard
video signals. Select this mode by pushing the key TYPE in the
trigger control section of the front panel. The source is again
selected after pushing the key SOURCE. In the menu which
opens after pushing the key FILTER all further settings may
be performed.
First select the video standard PAL or NTSC by pushing the
respective soft key. As usual the selection will be indicated by
a blue background in the menu. The second setting will apply
to the polarity of the sync pulses. Next either the mode LINE
or FRAME can be selected. If LINE was selected, the precise
number of a desired line can be selected with the universal knob
from the 8th to the 623rd; this will be activated by pushing the
soft key next to the line number. The two other menu items allow
fast selections: LINE MIN sets the trigger line to the minimum
value, ALL LINES will cause triggering on any line. If FRAME
was chosen, the lower menu items will allow to trigger on ALL,
only the ODD or only the EVEN half frames.
7 Display of signals
The following chapter describes the selection and display of sig-
nals from various sources and the available display modes.
7.1. Display
settings
The HMO352x features a high quality TFT – VGA (640 x 480 pixel
resolution) display with LED backlighting. The basic settings will
become accessible in the menus which will open after pushing
the key DISPLAY in the GENERAL section of the front panel. If
the menu item SCROLL MODE is activated, a rolling bar will
appear to the right of the graticule; a virtual display window of
20 divisions will become available which can be shifted up and
down with the universal knob. A detailed description will follow
in the next chapter.
There are 3 more menu items on the fi rst page:
DOTS ONLY:
The respective soft menu key will toggle between ON and OFF. If
ON is activated, only the captured samples will be shown as dots.
If OFF is activated, interpolated points will be shown as well.
INVERSE LIGHT:
The respective soft menu key will toggle between ON and OFF.
If ON is activated, those display points will be shown darker
which appear most frequently. If OFF is activated, they will be
shown brighter.
FALSE COLOURS:
The respective soft menu key will toggle between ON and OFF.
If ON is activated, the color of the display points are shown
from blue over magenta, red and yellow up to white with gro-
wing number of appearing points. If OFF is activated, the most
frequently appearing ones will be shown brighter and the rarer
ones darker.
GRATICULE:
If this menu item is selected, the submenu which opens up will
allow you to choose:
LINES:
The graticule is divided into horizontal and vertical divisions.
CENTER CROSS:
There will be just one center vertical line and one center hori-
zontal line; the divisions will be marked by dots.
OFF:
The screen will be empty.
INFO WINDOW:
If this menu item is selected, a submenu will open up which
allows change of the transparency of the info windows (e.g.
for showing changes of the offset) from 0 to 100 %. This is done
with the universal knob. The info windows of the POSITION
and the CURVE INTENSITIES may be switched on or off if their
respective menus are chosen.
AUX. CURSORS:
Pushing the respective soft menu key will open a submenu
which allows you to switch the auxiliary cursors for the trigger
level, the trigger time and the channel cursors on or off.
7.2. Use of the virtual screen area
The HMO graticule has 8 vertical divisions but there is a virtu-
Fig. 6.5: Video trigger menu


