14
Subject to change without notice
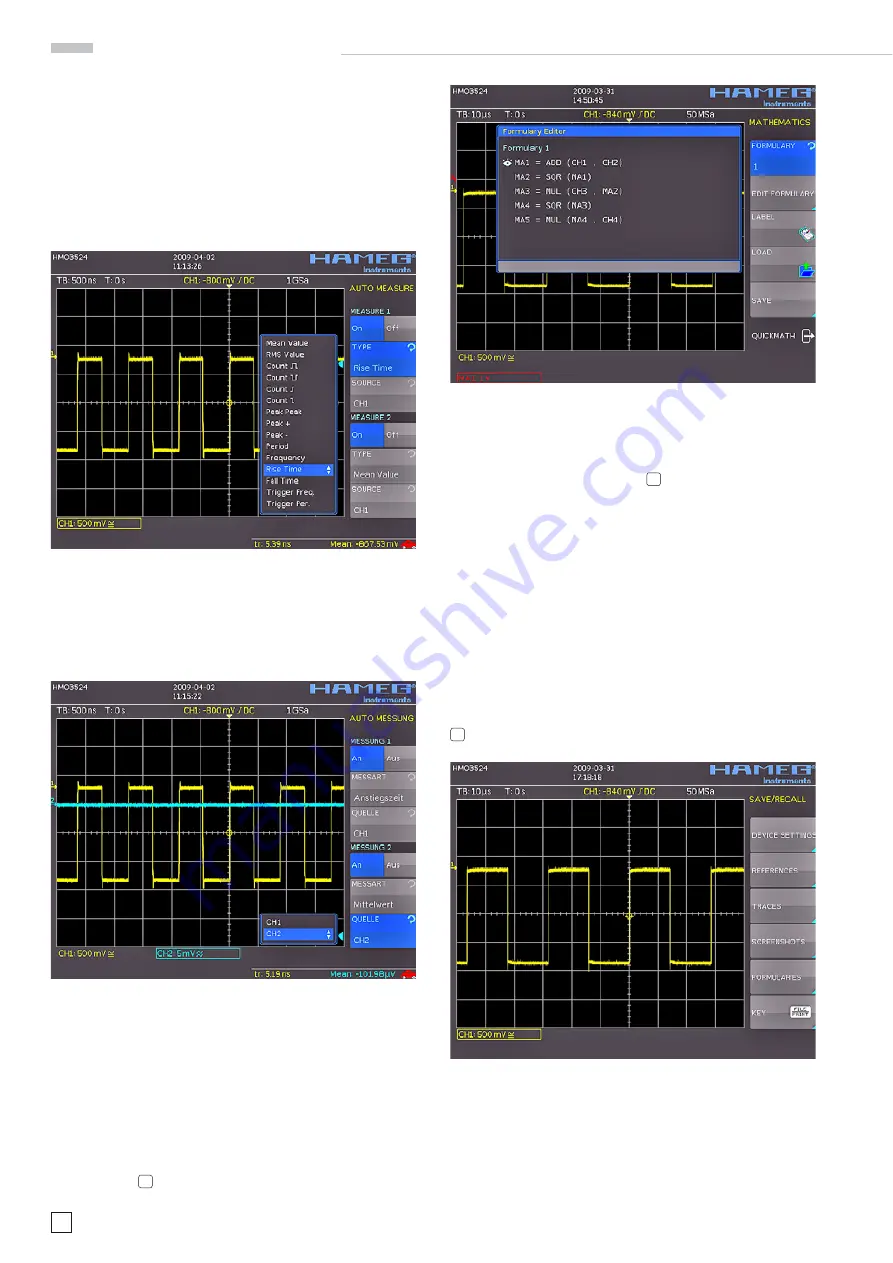
The two parameters are displayed in the right bottom corner of
the screen. You may defi ne the parameter measurement using
this menu. After switching on
MEASURE 1
and
MEASURE 2
with
the appropriate softkey’s the parameter measurements are
displayed in the right bottom corner of the screen. If you press
the softkey beside
TYPE
you can choose the parameter you want
from the list using the general knob. This procedure is used in
all menus where choices are available. Please press the key
TYPE
and choose risetime.
Fig. 3.10: Selection of parameters
Now use soft key next to
Source 2
in order to select this menu item
and thus channel 2. Now the rise time of channel 1 and the mean
value of channel 2 are shown. After the menu has been closed,
the parameters can be identifi ed by the colours of the respective
channels, (here yellow for channel 1 and blue for channel 2.)
Fig. 3.11: Measuring the parameters of two sources
3.6. Mathematical
functions
In addition to cursor and parameter measurements your HMO
can also apply mathematical functions to the signals. By pres-
sing the MATH key a short menu will open which allows you to
select one or two predefi ned mathematical functions. A quick
setting of mathematical functions is possible by selecting the
menu item at the bottom. This mode allows you to select the
addition or subtraction of two activated sources. The formula
editor allows to predefi ne 5 possible mathematical functions,
it is called by pressing the MATH key (which lights up red) and
the MENU key
21
.
Fig. 3.12: Formula editor
In order to change the settings use the soft keys and the universal
knob . Here you can program and store the formulae most used.
As mentioned earlier these formulae can be quickly switched on
and off by pessing the MATH key
26
and using the appropriate
short soft menue.
3.7. Storing
data
Your HMO352x can store 5 different kinds of data:
– Instrument
settings
– Reference
signals
– Signals
– Screen
displays
– Sets of formulae.
Signals and screen displays can only be stored on USB sticks.
All other data can be stored either on a USB stick or in the
instrument’s non-volatile memories. In order to store data you
have to defi ne the kind of data and the destination. First attach
a USB stick to the front panel connector. Press SAVE/RECALL
12
in order to call the respective menu.
Fig. 3.13: Save/Recall menu
Select the kind of data by pressing the respective soft key (in
this example
SCREENSHOTS
) in order to access the settings
menu.
A q u i c k i n t r o d u c t i o n


