Connecting Using an Ethernet Cable
• Do not place the power cord and connection cable in a way that might cause someone to trip
and fall. The product might fall over and cause an injury.
The projector is compatible with 10BASE-T, 100BASE-TX, and 1000BASE-T Ethernet interfaces.
• If the projector is turned on, turn it off before connecting the Ethernet cable.
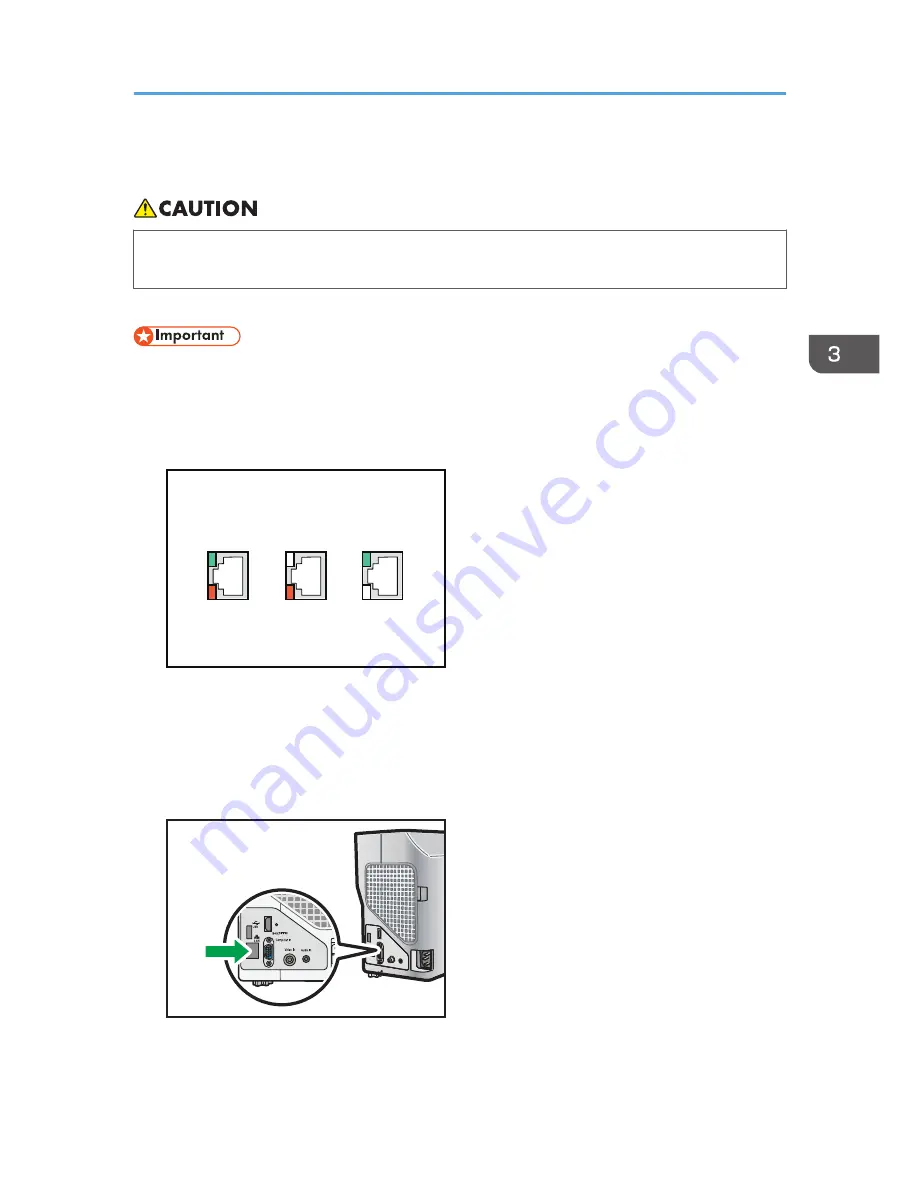
Status of the network connection
You can confirm the status of the network connection by the patterns in which the LEDs on the
Ethernet interface light up. If the projector is not connected to a network, no LEDs light up.
CLB072
1
2
3
1. When 1000BASE-T is active (orange and green LEDs light up)
2. When 100BASE-TX is active (orange LED lights up)
3. When 10BASE-T is active (green LED lights up)
1.
Insert the Ethernet cable into the Ethernet interface.
CLB045
2.
Connect the other end of the Ethernet cable to a network device such as a hub.
3.
Turn the projector on.
Connecting Using an Ethernet Cable
55
Summary of Contents for PJ WX4130n
Page 2: ......
Page 10: ...Manual Name Printed Manuals Provided PDF Manuals Provided Operating Instructions No Yes 8...
Page 34: ...1 Preparations for Using the Projector 32...
Page 54: ...2 Projecting an Image 52...
Page 91: ...Reset Logo Delete the registered user logo Display Settings Menu 89...
Page 96: ...Default Off On Off 4 Changing the Projector Settings 94...
Page 126: ...6 Maintenance 124...
Page 144: ...7 Appendix 142...
Page 149: ...MEMO 147...
Page 150: ...MEMO 148 EN GB EN US EN AU Y012 7511A...
Page 151: ......
Page 152: ...EN GB EN US EN AU Y012 7511A 2011 2012 Ricoh Co Ltd...


