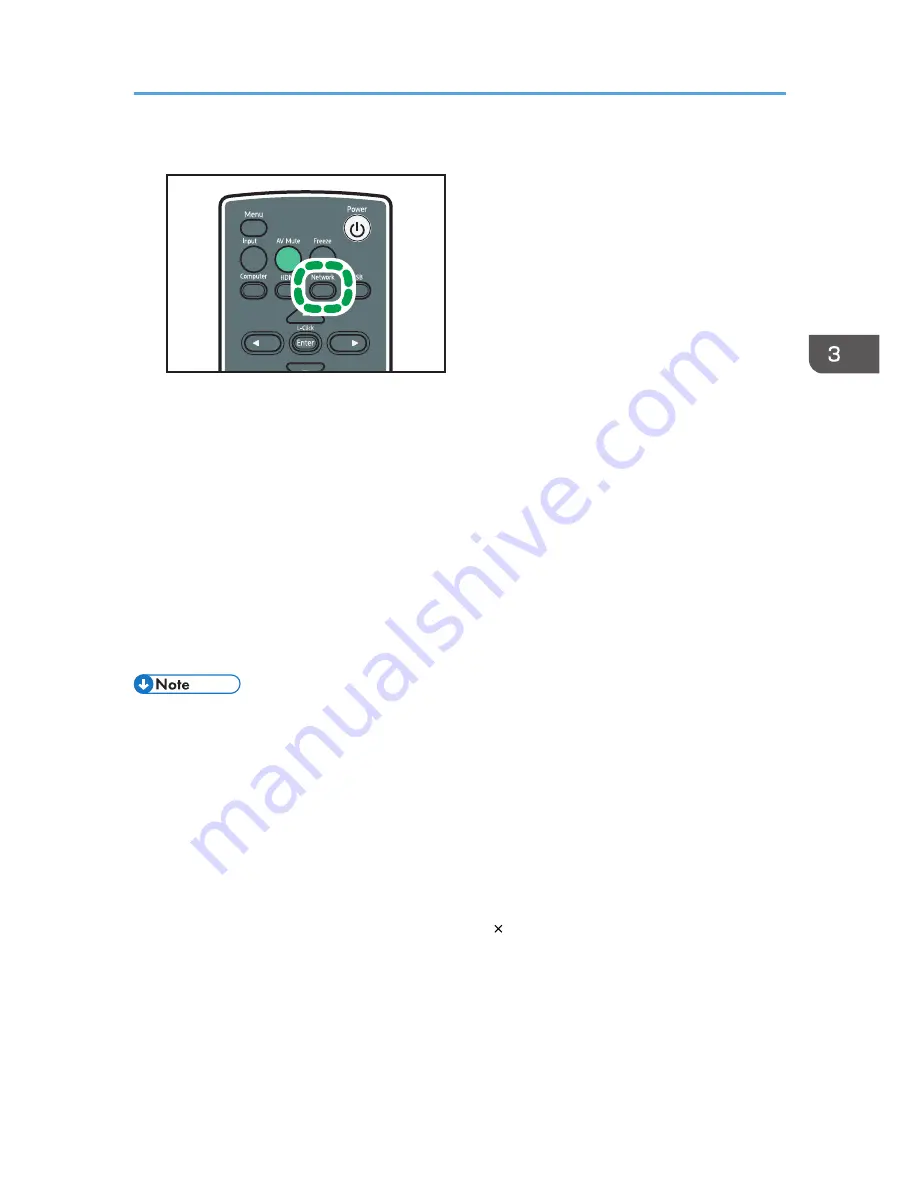
2.
Press the [Network] button.
CLB074
3.
Double-click the "Network Utility" icon on the computer.
Network Utility starts.
4.
Click the [Simple 1:1 Connection] tab.
Projector search starts. If projector search does not start automatically, click [Search].
5.
If two or more projectors are found, select a projector to connect from [Select Projector to
Use (Projection Can Only be Performed by 1 Device):].
6.
Select the projection method.
7.
If you select [Transmit Still Image File], specify the file to be projected.
8.
Click [Start Prjctn].
The computer screen or selected file is projected.
• Antivirus programs may prevent client computers from establishing Simple 1:1 Connection with
projector. To prevent an antivirus application from blocking the connection, register Network Utility
in the antivirus program's exclusion list. For details about the procedure for excluding a program,
see your antivirus application's Help.
• A client computer which is connected to the network using an Ethernet cable may not be able to
establish Simple 1:1 Connection with projector. Disconnect the Ethernet cable from the client
computer before configuring Simple 1:1 Connection.
• When Network Utility ends, the computer wireless LAN settings automatically reset to their pre-
connection settings.
• To close Network Utility, either select [Exit], or click [ ] to close the window.
• If Network Utility or the projector's firmware version is older than the following, update them to the
latest version. You can download the latest Network Utility or projector firmware from our Web
site.
• Network Utility: V1.1
• Energy Saving IO Firmware Version: V1.1
Projecting Images Using Network Utility
63
Summary of Contents for PJ WX4130n
Page 2: ......
Page 10: ...Manual Name Printed Manuals Provided PDF Manuals Provided Operating Instructions No Yes 8...
Page 34: ...1 Preparations for Using the Projector 32...
Page 54: ...2 Projecting an Image 52...
Page 91: ...Reset Logo Delete the registered user logo Display Settings Menu 89...
Page 96: ...Default Off On Off 4 Changing the Projector Settings 94...
Page 126: ...6 Maintenance 124...
Page 144: ...7 Appendix 142...
Page 149: ...MEMO 147...
Page 150: ...MEMO 148 EN GB EN US EN AU Y012 7511A...
Page 151: ......
Page 152: ...EN GB EN US EN AU Y012 7511A 2011 2012 Ricoh Co Ltd...


