Chapter 5
48
Envizio Pro™ and Envizio Pro II® Installation and Operation Manual
11.
Touch the Next
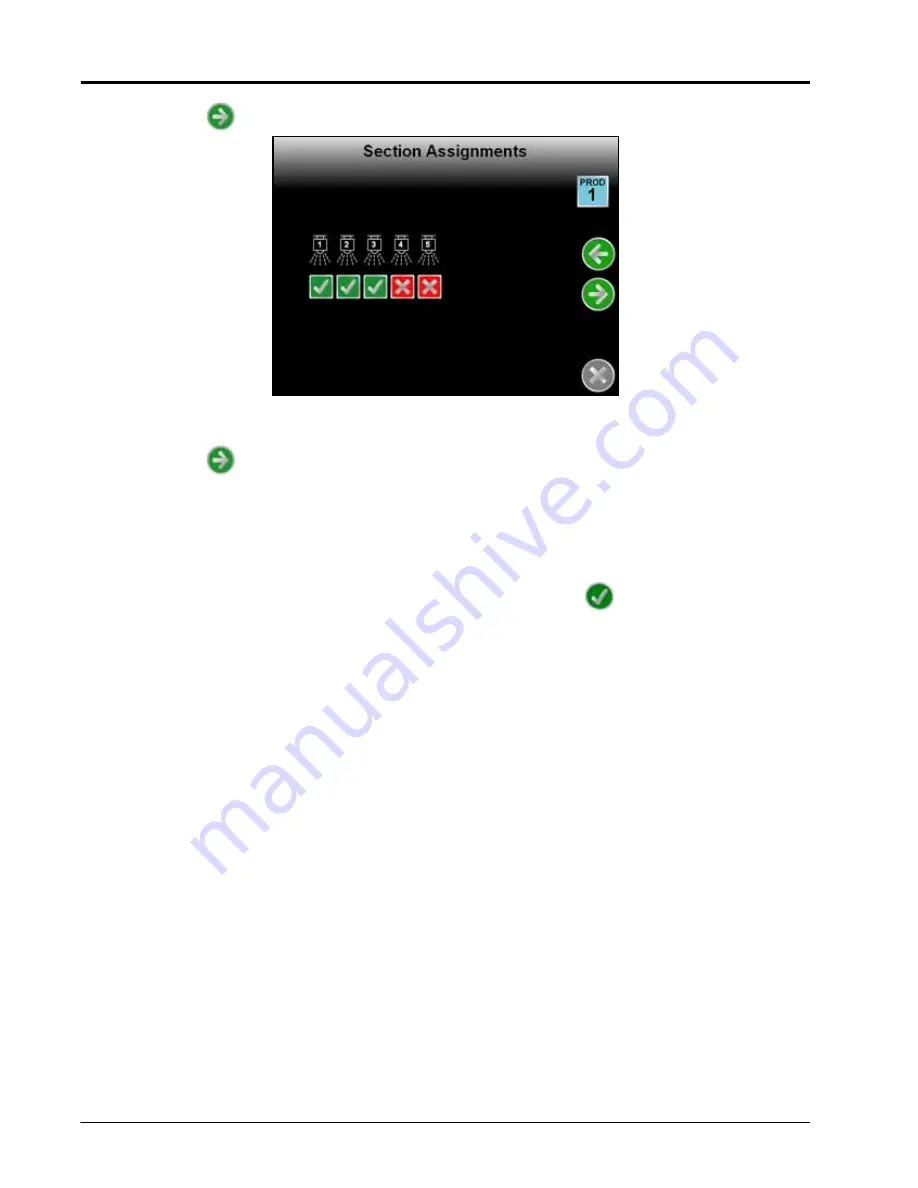
icon. The Section Assignments screen for the first control channel will be displayed.
Select the desired sections for the first product application. To turn product application off from sections,
touch the check corresponding to sections until a red x displays.
12.
Touch the Next
icon to complete the Product Control Setup Wizard for the first control channel.
If only one product control channel is available in the CANbus control system, the display will return to the
Setup Wizard Menu.
If additional product control channels are available, the field computer will automatically restart the Product
Control Setup Wizard for each channel in sequence. Repeat step 4 through step 12 to configure remaining
control channels and complete the Product Control Setup Wizard.
13.
After the last control channel configuration is complete, touch the Accept
icon to proceed to the Home
screen.
Note:
During initial setup of the field computer, the Accept icon will only be displayed on the Setup
Wizard Menu once all required wizards have been completed.
Summary of Contents for Envizio Pro
Page 3: ......
Page 13: ...Table of Contents x Envizio Pro and Envizio Pro II Installation and Operation Manual ...
Page 51: ...Chapter 4 36 Envizio Pro and Envizio Pro II Installation and Operation Manual ...
Page 65: ...Chapter 5 50 Envizio Pro and Envizio Pro II Installation and Operation Manual ...
Page 193: ...Chapter 9 178 Envizio Pro and Envizio Pro II Installation and Operation Manual ...
Page 197: ...Chapter 10 182 Envizio Pro and Envizio Pro II Installation and Operation Manual ...
Page 229: ...Appendix D 214 Envizio Pro and Envizio Pro II Installation and Operation Manual ...
Page 285: ...Index 270 Envizio Pro and Envizio Pro II Installation and Operation Manual ...


