User Guide for the SoundPoint IP 650 Desktop Phone
5 - 26
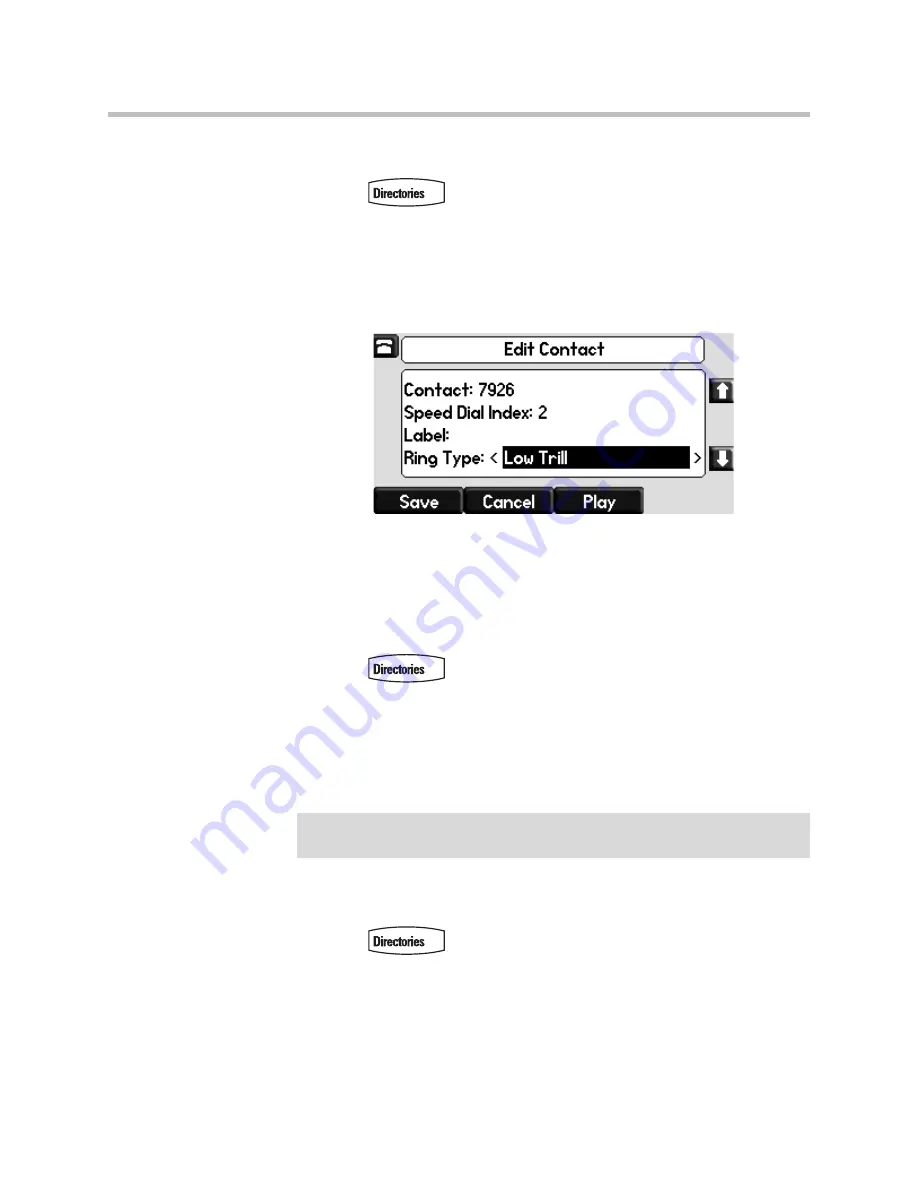
To set a distinctive ring type for a contact:
1.
Press .
2.
Select
Contact Directory
.
3.
Scroll to highlight the contact.
You can also use the * key to page up and the # key to page down.
4.
Press the
Edit
soft key, and then scroll down to the Ring Type field.
5.
Navigate Left or Right to select the desired Ring Type.
For more information, refer to
Selecting the Ring Type
on page
5-7
.
To remove a distinctive ring, or have no distinctive ring, navigate Left to
the blank entry.
6.
Press the
Save
soft key to accept your changes.
7.
Press
to return to the idle screen.
Rejecting Calls
You can customize your phone so that incoming calls from a particular party
are immediately sent to your voice mail.
To send incoming calls from a contact directly to voice mail:
1.
Press .
2.
Select
Contact Directory
.
3.
Scroll to highlight the contact.
You can also use the * key to page up and the # key to page down.
Note
Calls on shared lines can only be silenced using the
Silence
soft key, they cannot
be rejected.
Summary of Contents for SoundPoint IP 650
Page 4: ...User Guide for the SoundPoint IP 650 Desktop Phone iv ...
Page 18: ...User Guide for the SoundPoint IP 650 Desktop Phone 1 10 ...
Page 50: ...User Guide for the SoundPoint IP 650 Desktop Phone 2 32 ...
Page 90: ...User Guide for the SoundPoint IP 650 Desktop Phone 4 8 ...
Page 126: ...User Guide for the SoundPoint IP 650 Desktop Phone 6 8 ...
Page 132: ...User Guide SoundPoint IP Regulatory Notices 6 ...


