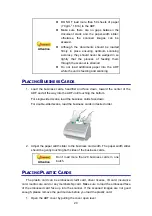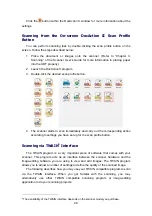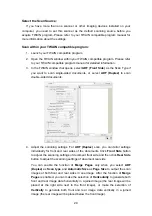
24
Scanning from the Scanner’s Front Panel
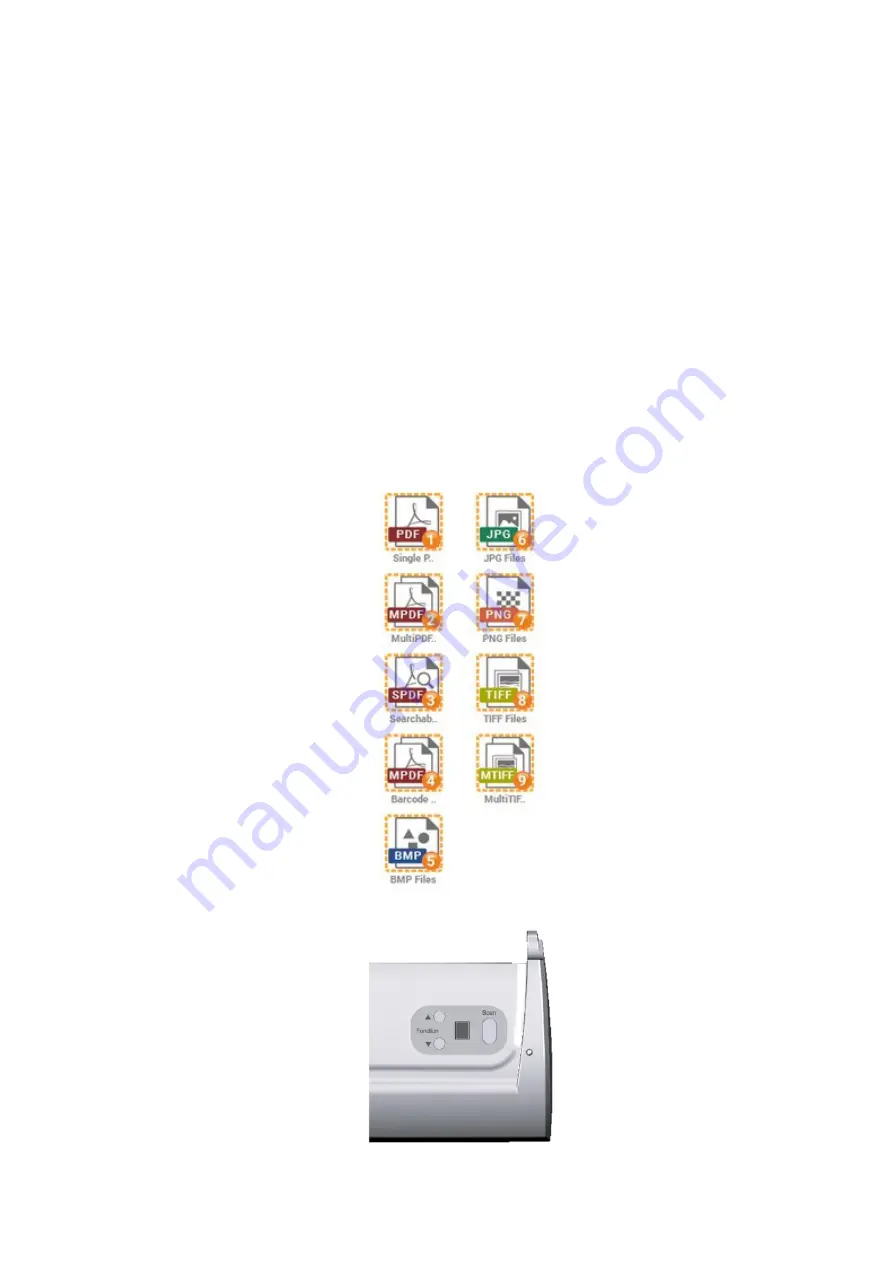
To complete your scanning projects by using the scanner buttons is very easy and
convenient. The number of scanning task displayed on the scanner’s front panel is
configured through DocAction II. Before performing your first scan via scanner buttons,
you are recommended to configure the button settings to your needs and preferences
first.
Scan from the Scanner Buttons
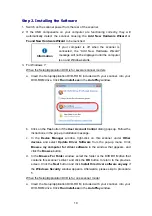
1. Place the document or images onto the scanner. (Refer to “Chapter II.
Scanning” of the Scanner User’s Guide for more information in placing paper
into the ADF properly.)
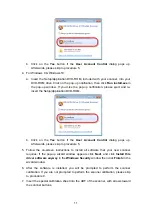
2. Check current button settings by viewing the DocAction II window. If needed,
you may also modify settings to meet your current needs. (Refer to “View Scan
Profile and Configure Profile Settings” below for more information.)
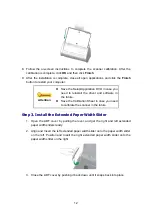
3. Press the UP or DOWN button to select the desired task.
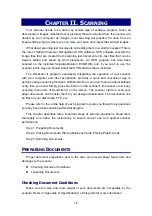
4. Press
the
Scan
button.
Summary of Contents for SmartOffice PS286 Plus
Page 2: ...Scanner User s Guide SmartOffice ...
Page 44: ...40 Dimensions W x D x H 263 x 128 x 148 mm 10 36 x 5 02 x 5 83 ...
Page 48: ...9 The TWAIN Interface 9 Scan Settings 9 How to Scan ...
Page 92: ...9 Program Window Overview 9 Configure Scan Profiles 9 Scan Images with Scan Profiles ...
Page 123: ...9 Scanner Connection 9 Standby Mode ...
Page 128: ...Scanner User s Guide SmartOffice ...
Page 162: ...32 Net Weight 1 66 Kgs 3 66 Lbs Dimensions W x D x H 263 x 128 x 148 mm 10 36 x 5 02 x 5 83 ...
Page 166: ...9 Button Configuration Window Overview 9 Common Scan Parameters 9 Using the Scanner Buttons ...

