51
Audio and Video Quality Settings 05
05
Audio and Video Quality Settings
English
Selecting from preset video
quality settings
This player allows the user to select from preset image qual-
ity settings to provide the image quality optimally matching
the type of display used. In addition, video adjustments can
be made manually and recorded to allow custom adjustment
settings.
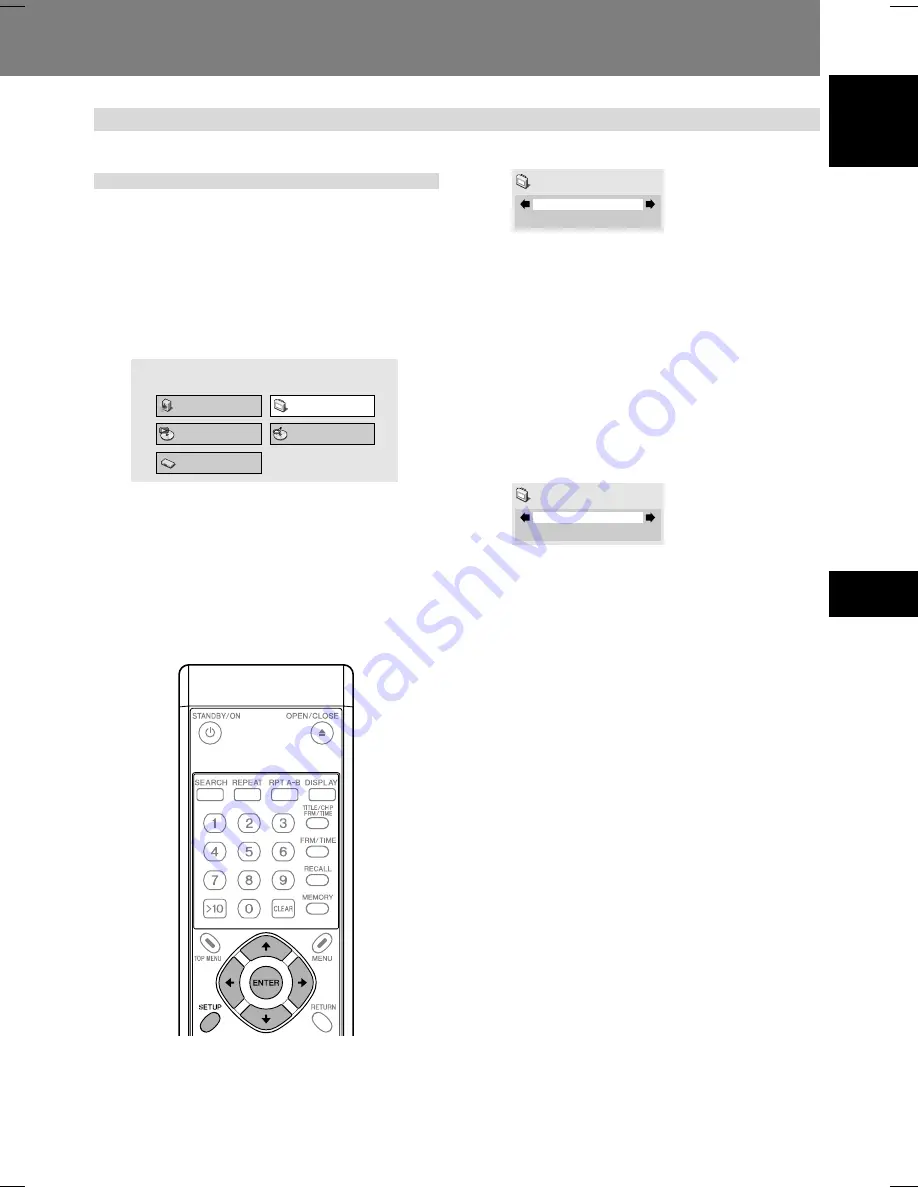
1. Press the SETUP button to display the
SETUP menu, then select [Video Adjust]
and press the ENTER button.
Audio Settings
Play Mode
Disc Navigator
Initial Settings
Video Adjust
2. Use the right/left cursor buttons (
|
,
\
)
to select the desired preset video quality,
then press the ENTER button.
The range of setting contents differs depending on
whether the player is connected to a DVI device.
If the
ENTER
button is not pressed before a certain
period of time has elapsed, the [
Video Adjust
] menu
screen will disappear and the video adjustment setting
will be canceled.
Video Quality Settings
[When not connected to a DVI device]
Professional
Video Adjust
TV (CRT)
Video quality suitable for a television set (standard CRT dis-
play).
PDP
Video quality suitable for a plasma display.
Professional (Default)
Video quality setting suitable for professional displays; with
this setting, video signal processing by the player is sup-
pressed.
Memory 1 / Memory 2 / Memory 3
Select from custom video settings set with the “Video Ad-
justments” control (page 52).
[When a DVI device is connected]
Direct
Video Adjust
Direct (Default)
Output is at same image quality as recorded.
Natural
Image contours are given a natural rendering. Optimum for
playing movie software.
Enhanced
Colors are saturated and contour contrast is enhanced, pro-
ducing a sharper image. Optimum for computer graphics im-
ages and animation playback.
Memory 1 / Memory 2 / Memory 3
Select from custom video settings set with the “Video Ad-
justments” control (page 52).


