Using other functions
13
96
En
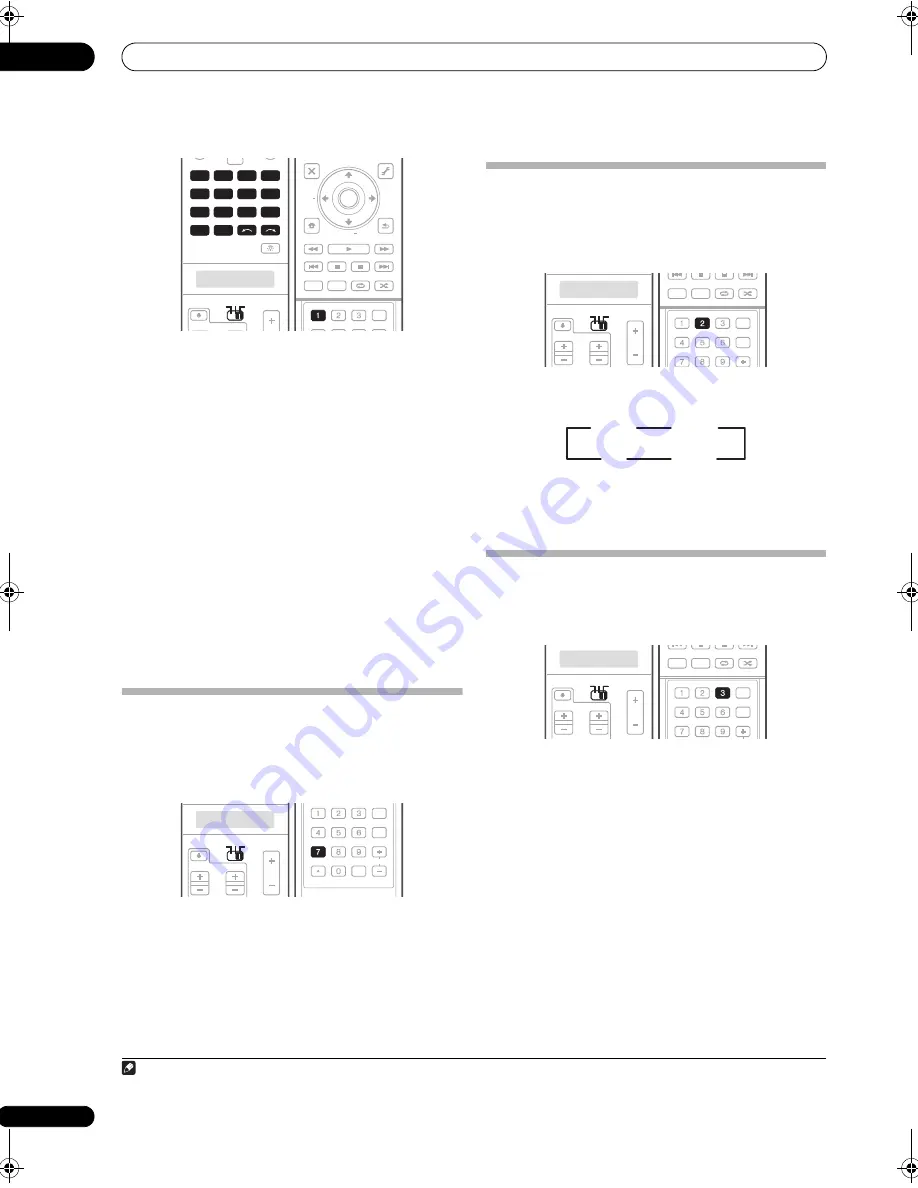
1
Select the source you want to record.
Use the in
p
ut sou
r
ce buttons (o
r
INPUT SELECT
).
• If necessa
r
y, set the o
p
e
r
ation selecto
r
switch to
RCV
,
then
pr
ess
SIGNAL SEL
to select the in
p
ut signal
co
rr
es
p
onding to the sou
r
ce com
p
onent (see
Choosing the input signal
on
p
age 38 fo
r
mo
r
e on
this).
2
Prepare the source you want to record.
Tune to the
r
adio station, load the CD, video, DVD etc.
3
Prepare the recorder.
Inse
r
t a blank ta
p
e, MD, video etc. into the
r
eco
r
ding
device and set the
r
eco
r
ding levels.
Refe
r
to the inst
r
uctions that came with the
r
eco
r
de
r
if
you a
r
e unsu
r
e how to do this. Most video
r
eco
r
de
r
s set
the audio
r
eco
r
ding level automatically—check the
com
p
onent’s inst
r
uction manual if you’
r
e unsu
r
e.
4
Start recording, then start playback of the source
component.
Reducing the level of an analog signal
The in
p
ut attenuato
r
lowe
r
s the in
p
ut level of an analog
signal when it’s too st
r
ong. You can use this if you find
that the
OVER
indicato
r
lights often o
r
you can hea
r
disto
r
tion in the sound.
1
•
Set the operation selector switch to RCV, then press
A.ATT to switch the input attenuator on or off.
Using the sleep timer
The slee
p
time
r
switches the
r
eceive
r
into standby afte
r
a
s
p
ecified amount of time so you can fall aslee
p
without
wo
rr
ying about the
r
eceive
r
being left on all night. Use
the
r
emote cont
r
ol to set the slee
p
time
r
.
•
Set the operation selector switch to RCV, then press
SLEEP repeatedly to set the sleep time.
• You can check the
r
emaining slee
p
time at any time
by
pr
essing
SLEEP
once. P
r
essing
r
e
p
eatedly will
cycle th
r
ough the slee
p
o
p
tions again.
2
Dimming the display
You can choose between fou
r
b
r
ightness levels fo
r
the
f
r
ont
p
anel dis
p
lay. Note that when selecting sou
r
ces, the
dis
p
lay automatically b
r
ightens fo
r
a few seconds.
•
Set the operation selector switch to RCV, then press
DIMMER repeatedly to change the brightness of the
front panel display.
Note
1 The attenuato
r
isn’t available with digital sou
r
ces, o
r
when using the St
r
eam Di
r
ect (ANALOG DIRECT) modes.
DVD
MULTI
OPERATION
SOURCE
TV
RCV
VIDEO1
GALLERY
HOME MEDIA
CD
HDMI
VOL
VOL
CH
TUNER
PHONO
VIDEO2
VIDEO3
DVR2
BD
TV
DVR1
CD-R
INPUT SELECT
DVD
VIDEO1
GALLERY
HOME MEDIA
CD
HDMI
TUNER
PHONO
VIDEO2
VIDEO3
TV
BD
DVR1
DVR2
CD-R
SOURCE
TV
RCV
AUDIO
PARAMETER
TOP MENU
BAND
iPod CTRL
EXIT
TOOLS
HOME
MENU
STATUS
THX
MPX
PHASE CTRL
CH LEVEL
MENU
T.EDIT
VIDEO
PARAMETER
PGM
STEREO/
A.L.C.
BD MENU
SIGNAL SEL SLEEP
AUDIO
DIMMER
SR+
SBch
MCACC
AUTO/
DIRECT
STANDARD ADV SURR
RETURN
PTY
SEARCH
EON
TUNE +
TUNE
ST
ST +
SIGNAL SEL
ENTER
SOURCE
TV
RCV
VOL
VOL
CH
SOURCE
TV
RCV
SIGNAL SEL SLEEP
AUDIO
DIMMER
SR+
CLR
SBch
MCACC
A.ATT
GENRE HDMI OUT
D.ACCESS
ENTER
CLASS
DISP
CH
A.ATT
2 You can also switch off the slee
p
time
r
sim
p
ly by switching off the
r
eceive
r
.
SOURCE
TV
RCV
VOL
VOL
CH
SOURCE
TV
RCV
PGM
STEREO/
A.L.C.
BD MENU
SIGNAL SEL SLEEP
AUDIO
DIMMER
SR+
SBch
MCACC
A.ATT
GENRE HDMI OUT
DISP
AUTO/
DIRECT
STANDARD ADV SURR
SLEEP
30 min
60 min
90 min
Off
SOURCE
TV
RCV
VOL
VOL
TVCONTROL
CH
SOURCE
TV
RCV
PGM
STEREO/
A.L.C.
BD MENU
SIGNAL SEL SLEEP
AUDIO
DIMMER
SR+
SBch
MCACC
A.ATT
GENRE HDMI OUT
DISP
AUTO/
DIRECT
STANDARD ADV SURR
DIMMER
SCLX81_71.book 96 ページ 2008年7月25日 金曜日 午後3時1分


