148
Integrator Mode
5
Place the [
2
/
3
] buttons to change the settings.
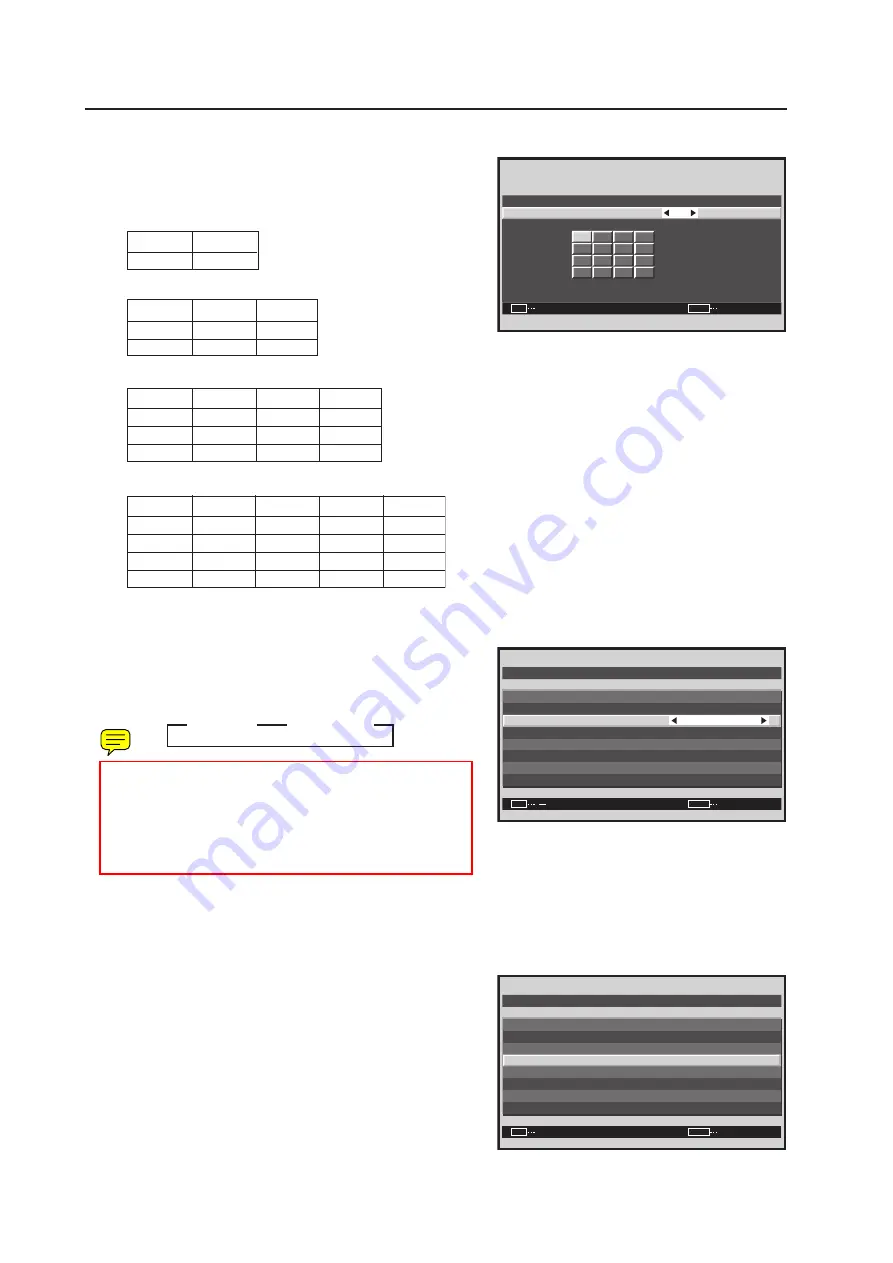
[Setting the POSITION]
• When the screen is divided ..... it cannot be set.
• When the 4-screen is divided
• When the 9-screen is divided
• When the 16-screen is divided
• When the 25-screen is divided
7
Setting the display mode
6
Place the cursor on ‘TYPE’ and press the [
2
/
3
] buttons
to change the settings.
Each time the [
2
/
3
] buttons are pressed, the setting
changes as shown below.
NORMAL ..... It establishes the video wall by combining
expanded screens.
ADJUSTED ... It establishes the video wall by adjusting
the displacement of the overlapped parts
of the screens.
7
Setting AUTO ID
When ‘ON‘ is set, the ID for each of the multiple displays
linked by the remote control cable is set automatically.
7
Place the cursor on ‘AUTO ID’, and press the [SET] button.
Screen
5
V I D EO WA L L P O S I T I O N
1 6
P O S I T I O N N O .
:
SET
EXIT
SET
MENU
NO.1
NO.2
NO.3
NO.4
NO.7
NO.8
NO.9
NO.10
NO.11
NO.12
NO.13
NO.14
NO15
NO.16
NO.17
NO.18
NO.19
NO.20
NO.21
NO.22
NO.23
NO.24
NO.25
NO.26
NO.27
NO.28
NO.29
NO.30
NO.31
NO.32
NO.33
NO.34
NO.35
NO.36
NO.37
NO.38
NO.39
NO.40
NO.41
NO.42
NO.43
NO.44
NO.45
NO.46
NO.47
NO.48
NO.49
NO.50
NO.51
NO.52
NO.53
NO.54
NO.55
NO.56
Screen
6
V I D E O WA L L
N O R M A L
O F F
O F F
:
:
:
O F F
:
SET
EXIT
MENU
D I V I D E R
T Y P E
A U T O I D
P . O N D E L AY
A B L L I N K
R E P E A T T I M E R
R E T U R N
P O S I T I ON
3
NORMAL
3
3
3
ADJUSTED
Screen
7
V I D E O WA L L
N O R M A L
2 5
:
:
O F F
:
SET
EXIT
ENTER
MENU
D I V I D E R
P O S I T I ON
T Y P E
A U T O I D
P . O N D E L AY
R E T U R N


