Using the RamanStation 400 . 71
After Spectrum closes, if you do not switch off the instrument it will remain active for
5 minutes. This is so that you do not have to wait for the CCD detector to cool and the laser
to stabilize should you need to exit Spectrum and then restart the software immediately, or
when changing methods in the AssureID software application.
NOTE: For information on how to use AssureID with a triggered fiber optic probe, refer to
the AssureID on-screen help.
The instrument will shut down automatically after the appropriate time period. Alternatively,
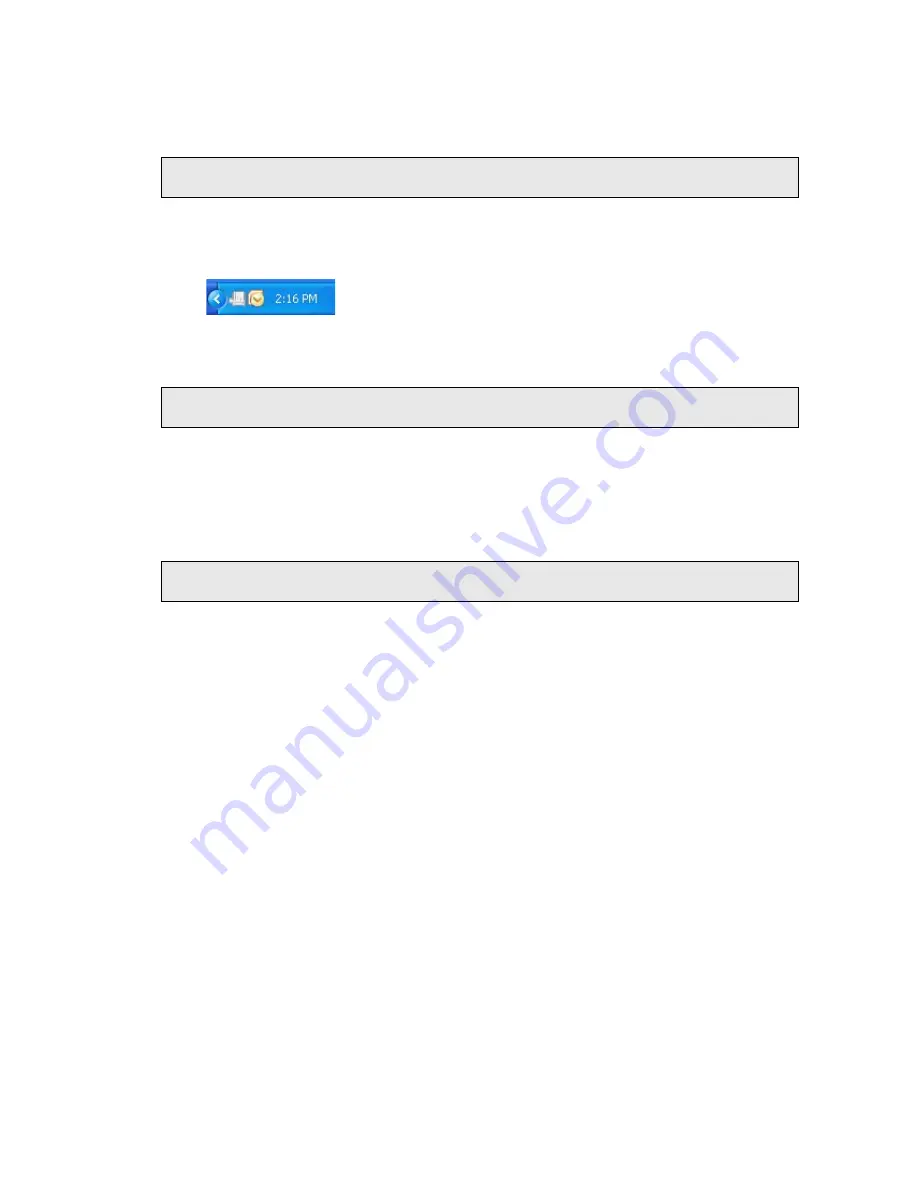
you can shut down the instrument by right clicking on the Raman instrument icon in the
Notification area of the Windows Taskbar and accessing the shortcut menu.
You can shut down your PC with the Raman instrument icon displayed. The system will shut
down correctly.
NOTE: If Spectrum software stops responding, refer to
starting on page 95
for details of how to shut down the instrument and restart the software.
SOP-3: Installing and Changing Sampling Holders
This SOP describes changing sample holders on the motorized XYZ stage. The standard XYZ
sample accessory holds a variety of sample holders. This procedure outlines installing a
96 multi-well plate and then changing to the sample bottle on the Versatile Sample Holder.
NOTE: For information on the use of a polarization accessory, see the
Raman Polarization
Accessory
leaflet (L1321939).
Before you start, please ensure that the XYZ sample accessory stage is connected to the
correct port on the back plate inside the sample compartment. The sample accessory stage
should be connected to the Sample Accessory port and not to the Auxiliary Control port.
Install the 96 well plate
1.
Ensure the RamanStation 400 Series is switched on.
If not, follow SOP-1.
2.
If you did not connect to your instrument on starting Spectrum software, select
Instruments
from the Setup menu and then
Select Instrument
from the sub-menu.
The Instrument Connection dialog is displayed.
3.
Select your Raman instrument and then click
Connect
.
4.
Select
Raman Instrument
from the Setup menu in Spectrum.
The Setup Instrument tabs are displayed.
5.
Select the Setup Instrument Basic tab.
Summary of Contents for RamanStation 400 Series
Page 1: ...RamanStation 400 Series Getting Started Guide MOLECULAR SPECTROSCOPY ...
Page 5: ...Introduction ...
Page 10: ...10 RamanStation 400 Series Getting Started Guide ...
Page 11: ...Safety Practices ...
Page 27: ...Raman History Theory and Instrumentation ...
Page 34: ...34 RamanStation 400 Series Getting Started Guide ...
Page 35: ...Preparing Your Facility ...
Page 39: ...Installing Your RamanStation 400 Series ...
Page 52: ...52 RamanStation 400 Series Getting Started Guide ...
Page 53: ...Introduction to the RamanStation 400 Series ...
Page 59: ...Fiber Optic Probe ...
Page 66: ...66 RamanStation 400 Series Getting Started Guide ...
Page 67: ...Using the RamanStation 400 ...


