232
8
Co
nn
ecting
to
a Comp
ute
r
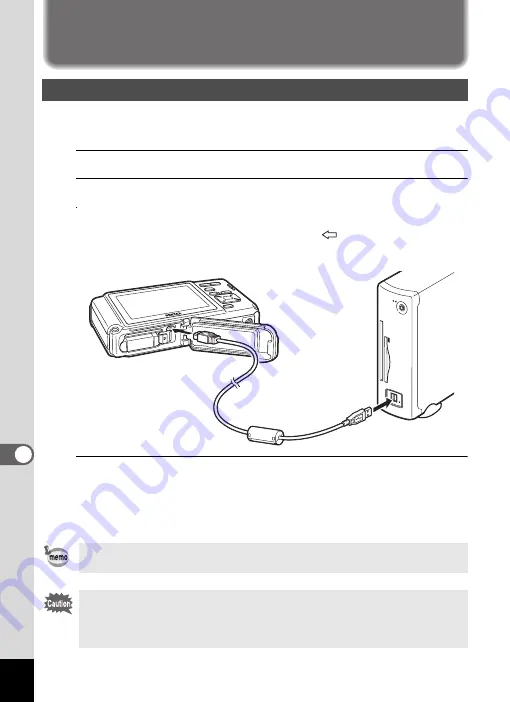
Connecting to a Windows PC
Connect your camera to the Windows PC using the provided USB cable
(I-USB7).
1
Turn your Windows PC on.
2
Turn your camera off.
3
Connect your camera to the Windows PC using the USB cable.
Connect the terminal of the USB cable with
pointing toward the
4
on the PC/AV terminal on the bottom of the camera.
4
Turn the camera on.
The “Device Detector” screen appears.
If the “Device Detector” screen does not appear, follow the steps in
“When the “Device Detector” screen does not appear” (p.234).
Connecting the Camera and a Windows PC
The power lamp is lit while the camera is connected to a PC, whereas it
blinks while the card is being accessed.
We recommend using the optional AC adapter kit K-AC78 when the
camera is connected to the computer (p.37). If the battery runs out of
power while images are being transmitted to the computer, the image
data may be lost or damaged.
Summary of Contents for 17731
Page 1: ......
Page 2: ......
Page 53: ...2 Common Operations Understanding the Button Functions 52 Setting the Camera Functions 57 ...
Page 172: ...Memo 170 ...
Page 192: ...Memo 190 ...
Page 197: ...195 6 Recording and Playing 4 Press the four way controller 3 Playback stops ...
Page 200: ...Memo 198 ...
Page 201: ...7 Settings Camera Settings 200 ...
Page 246: ...Memo 244 ...
Page 277: ...Memo ...
Page 278: ...Memo ...
Page 279: ...Memo ...
Page 280: ......


