174
5
Edi
tin
g an
d Pri
n
ti
ng
4
Press the
4
button.
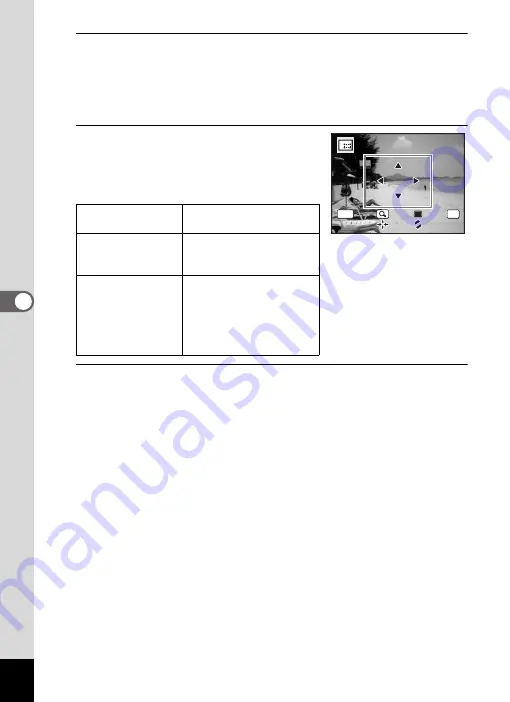
The cropping screen appears.
The largest size of the cropped image is shown with a green frame on
the screen. The cropped image cannot be larger than this cropping
frame size.
5
Choose the cropping area.
The following operations move the green
frame and set the area for cropping on the
screen.
6
Press the
4
button.
The cropped image is saved with a new file name.
The number of recorded pixels is selected automatically according to
the size of the cropped section. The image is saved at the same quality
level as the original.
Zoom button
(
f
/
y
)
Changes the size of the
cropped section
Four-way controller
(
2345
)
Moves the cropping
position up, down, left and
right
Green Button
Rotates the cropping
frame
• The button is only
displayed when the
cropping frame size can
be rotated.
OK
MENU
C a n c e l
C a n c e l
O K
O K
O K
Summary of Contents for 17731
Page 1: ......
Page 2: ......
Page 53: ...2 Common Operations Understanding the Button Functions 52 Setting the Camera Functions 57 ...
Page 172: ...Memo 170 ...
Page 192: ...Memo 190 ...
Page 197: ...195 6 Recording and Playing 4 Press the four way controller 3 Playback stops ...
Page 200: ...Memo 198 ...
Page 201: ...7 Settings Camera Settings 200 ...
Page 246: ...Memo 244 ...
Page 277: ...Memo ...
Page 278: ...Memo ...
Page 279: ...Memo ...
Page 280: ......


