Page 74 of 163
3.1.6
The Align and Flip functions
The Align function allows you to copy an attribute from one fixture to
others. This can be useful if you want to set a row of scans to have the
same tilt position, or if you want to copy a colour from one fixture onto
other fixtures.
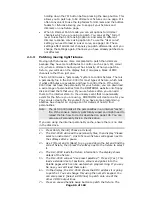
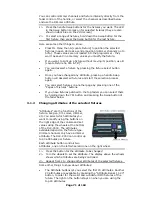
1> Press an attribute button to select the attribute you want to align.
2> Select the fixture to use as the reference
3> Select the other fixtures you want to align to the first one
4> Press ML Menu, then D [Align <attribute name>].
5> The attributes will be copied to all the selected fixtures.
•
You can align all attributes of the fixtures using Softkey C [Align
Fixtures] (it doesn’t matter which attribute is selected).
•
If you use a group to select the fixtures, the one you selected first
when you recorded the group will be the reference fixture.
•
If Tracking mode is on (see page 77), aligning the Pan/Tilt
attribute will cause all the fixtures to point at the same place on
the stage rather than copying the actual Pan/Tilt values.
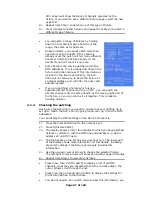
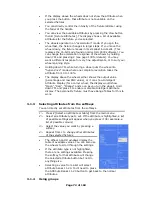
The Flip function is used with moving head fixtures. This type of fixture
has two possible pan and tilt positions for each point on stage, and the
Flip button alternates between them. This allows you more freedom to
make movements without hitting the pan stop.
1> Select the fixtures to flip.
2> Press ML Menu twice (option A should be Flip)
3> Press A [Flip].
•
The other functions on the ML menu are described at the end of
the chapter.
3.1.7
“Killing off” a fixture or dimmer
Sometimes during a show you might want to “kill” a fixture or dimmer
from the stage output. This may happen if a camera is having problems
with a light shining straight into it, if a lamp blows and you want to
keep the rig symmetrical or if a fixture loses position.
The “Reduce fixture intensity” button allows you to temporarily dim or
turn off any fixture or dimmer. Programming is not affected and you
can later restore it to normal operation. You can do this in program
mode or run mode. You have to hold down the YPL button to access the
function to stop it being accidentally pressed.
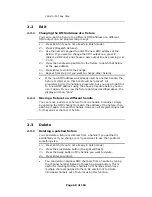
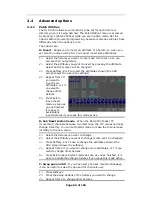
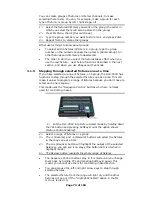
1> Hold down the YPL button and press “Reduce Fixture Intensity” (in
the lower right corner).
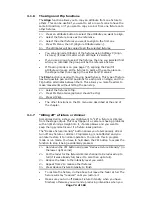
2> Put the fader for the fixture/dimmer channel to be reduced up to
full (if it was already full, take it to zero then up to full).
3> Reduce the fader to the intensity level you want.
4> Repeat from 2 to reduce other fixtures.
5> Press Reduce Fixture Intensity to finish.
•
To restore the fixture, do the above but leave the fader at full. The
fixture will stay “reduced” until you restore it.
•
Make sure you turn off Reduce Fixture Intensity when you have
finished, otherwise you will end up reducing intensities when you

