PVIQ™ CONNECTIVITY SYSTEM USER MANUAL V 1.0
75
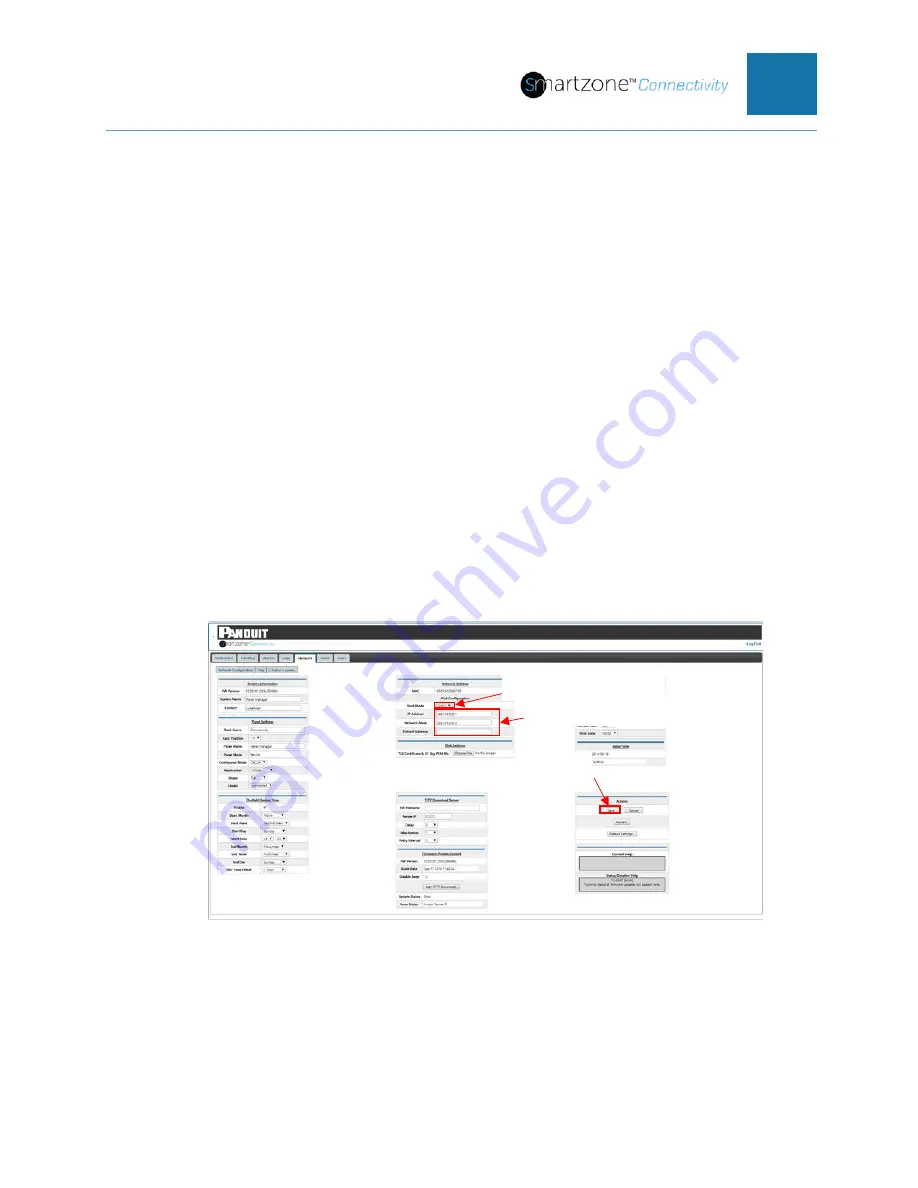
5. Select the Internet Protocol Mode that you want the
PViQ™ Connectivity System
configured to,
from the
Boot Mode
pulldown menu
.
a.
There are two IP Address Configurations that the system can be
configured for (
DHCP
or
Static
).
b.
The system ships configured as
DHCP
.
c.
If you change the system to DHCP mode, no other fields in the Network
Settings section will need to be set. Click on the
Save
button in the
Actions
section to save any changes. This system is now active with the
proper network connection.
d.
If the system is deployed into a network that does not have a DHCP
Server or if the customer wants to assign a specific IP address to the
system, then the user would select
Static
.
6.
If Static IP address mode is selected, consult with your IT administrator to obtain
the proper static
IP Address
to assign to this PViQ™ Connectivity System, to
obtain the Network Mask and to obtain the
Default Gateway
IP address.
a.
Type in the designated addresses and mask in the appropriate fields in
this section.
b.
Click on the
Save
button in the
Actions
section to save any changes. This
system is now active with a Static IP address.
7.
Click on the
Save
button in the
Actions
section to save your changes.
Figure 47: Network Page (network settings)
Configuring the PViQ™ Connectivity System Time
To maintain accurate time in the PViQ™ Connectivity System which enables accurate
time stamps on alerts and logs, it is necessary to connect the system to a Network Time
Protocol (NTP) server. The PViQ™ Connectivity System does not have a battery to
5. Selected Mode
6. Adresses and Mask
Save


