33
3
Activate the selected auto mode function by
clicking the [Start] button in the [Auto mode]
box.
Click the [Stop] button to turn off the auto mode
function.
Note:
• Refer to the operating instructions of the connected
camera for further information about the auto mode
function of the camera.
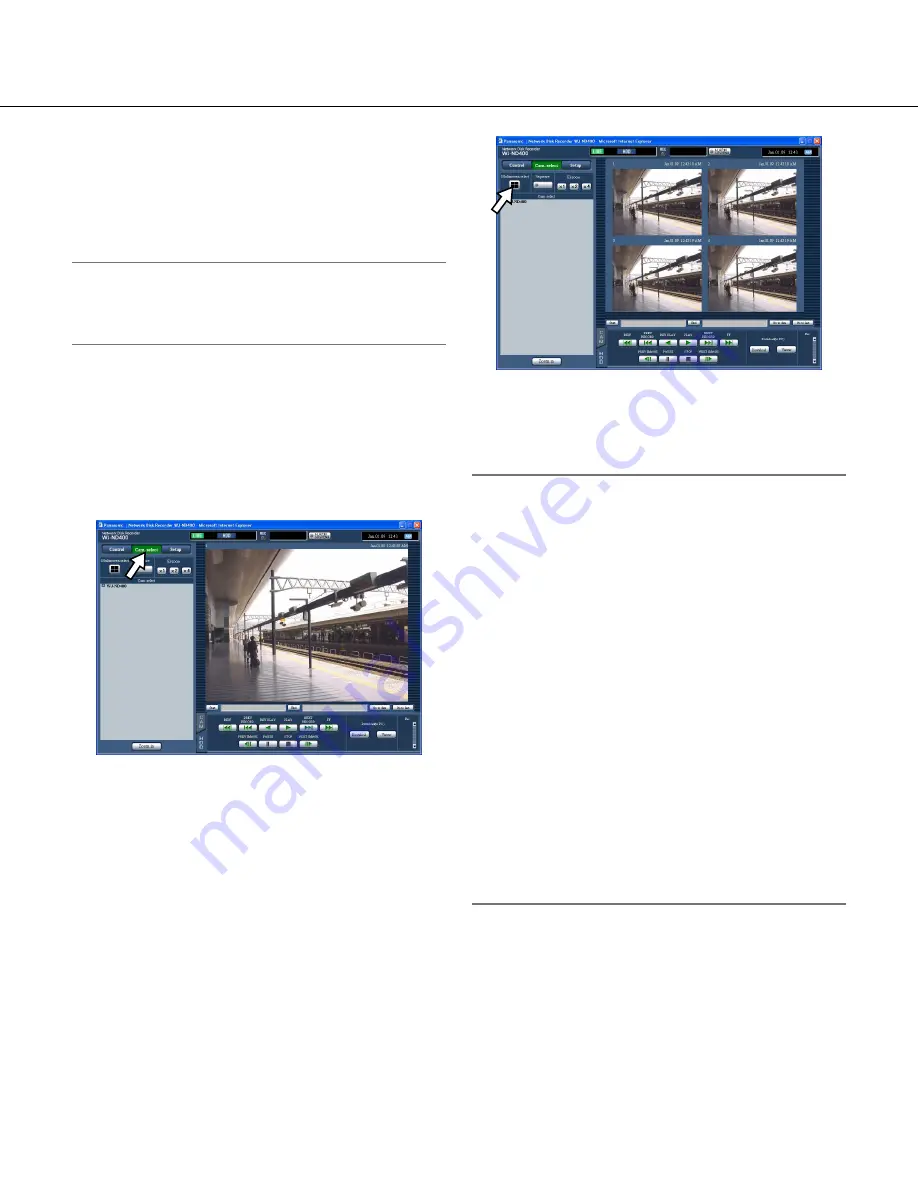
Multi-screen display (4-screen)
Live images from cameras will be displayed on a
4-screen.
1
Click the [Cam. select] button.
2
Click the [Multiscreen Select] button.
Live images from the cameras (registered as a
group) will be displayed on a 4-screen.
Each time the [Multiscreen Select] button is clicked,
camera channels will be changed to of another
group's and images from them will be displayed on a
4-screen.
(Up to 8 groups can be registered.) Refer to the
setup instructions (PDF).
3
Click a camera title in the [Cam. select] box or
the camera title displayed on the image to dis-
play on a 1- screen again.
Note:
• Multi-screen display from the right-click pop-up
menu
Selecting "1 - 4" from the right-click pop-up menu will
display images on a multi-screen.
• Image enlargement from the right-click pop-up menu
Selecting "Zoom IN" from the right-click pop-up
menu will enlarge the displayed images on a multi-
screen.
• When the [Go to last] button is clicked while display
-
ing live images, playback of the latest recorded
images from the selected camera channel will start.
(At the default, playback will start from a point 30
seconds before the start time of the latest recorded
images.)
• When displaying recorded images on a multi-screen,
audio from the camera to be displayed on a screen
at the upper left corner will be heard.
• When starting the VMD search (page 26) while dis
-
playing images on a multi-screen, the camera chan-
nel whose images are displayed at the upper left
corner will become subject to the VMD search.


