23
Play recorded images by designating
a time and date
Start playback by designating the desired time and date
of a recorded image. Playback is available even during
recording.
1
Click the [Cam. select] button.
A list of the registered cameras will be displayed in
the [Cam. select] box.
2
Select the desired camera channel used for
recording.
3
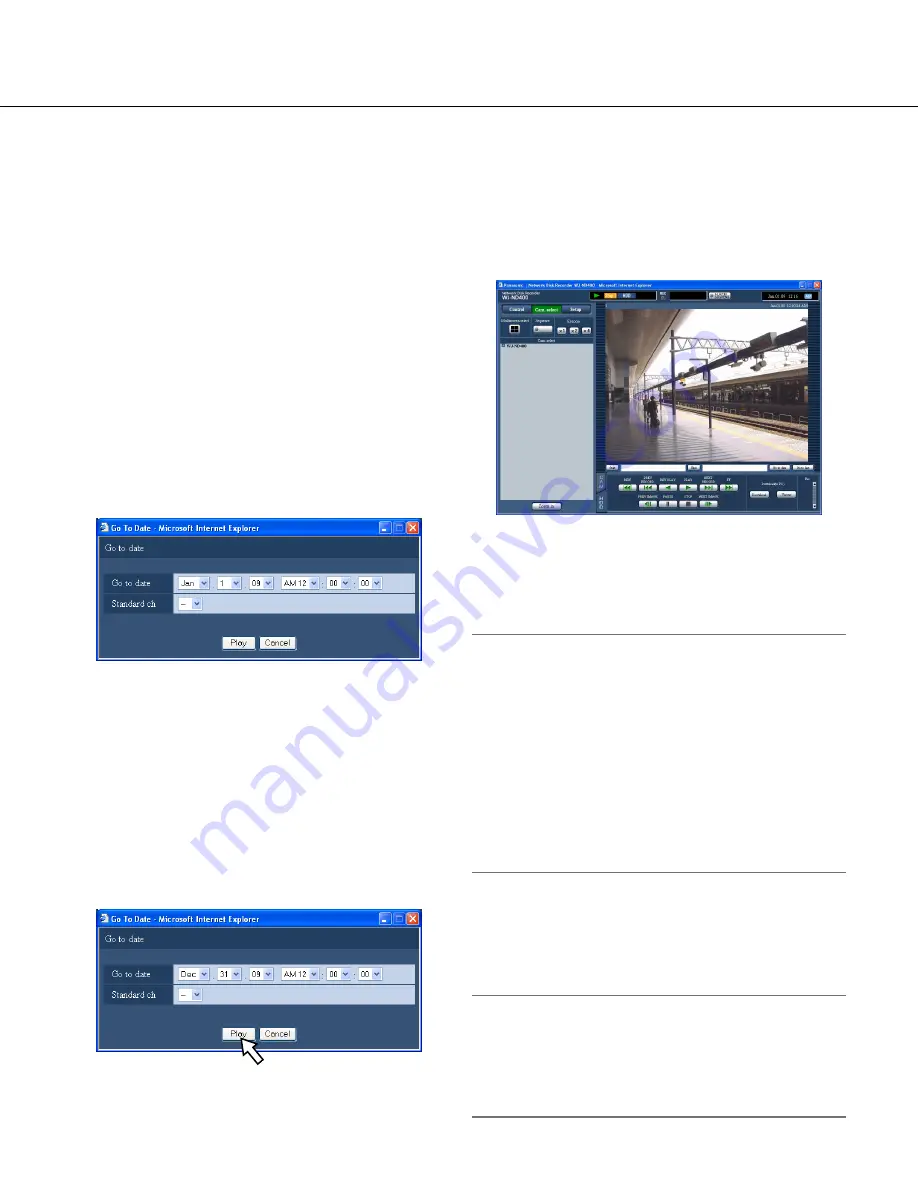
Click the [Go to date] button in the playback
point operation area.
The "Go to date" window will be displayed.
4
Click the [V] button and determine the desired
time and date.
• Standard ch
Determine which camera channel is to be used as a
standard time zone. (It is necessary to determine the
primary time and date by selecting a camera chan-
nel when cameras are installed in two or more coun-
tries.)
Select "--" when the recorder and the cameras are
installed in the same time zone area.
5
Click the [PLAY] button.
Playback will start from the designated time and
date, and the "Playback" indication and the "Step 1"
indication will be displayed.
Refer to page 20 for information about the playback
operation.
6
Click the [STOP] button on the [HDD] tab.
Playback will stop, and the "Playback" indication and
the "Step 1" indication will disappear.
• Live images will be displayed.
Note:
• When playing MPEG-4 image by designating time
and date, playback may start from a point several
seconds before or after the designated time and
date.
• SD memory data saved on the recorder cannot be
searched and played by designating a time and
date. (Refer to page 25.)
• When no recorded image found at the designated
time and date, playback of images recorded after
and at the closest to the designated time and date
will start.
Search and play recorded images
Search for a recording event and play it. (Rec event
search)
Note:
• Recording area of the hard disk drive subject to
search for recording events is different depending on
the selected recording area.
Refer to page 28 for further information about the
recording area selection.


