


Section 2D: Managing Applications
125
Applications
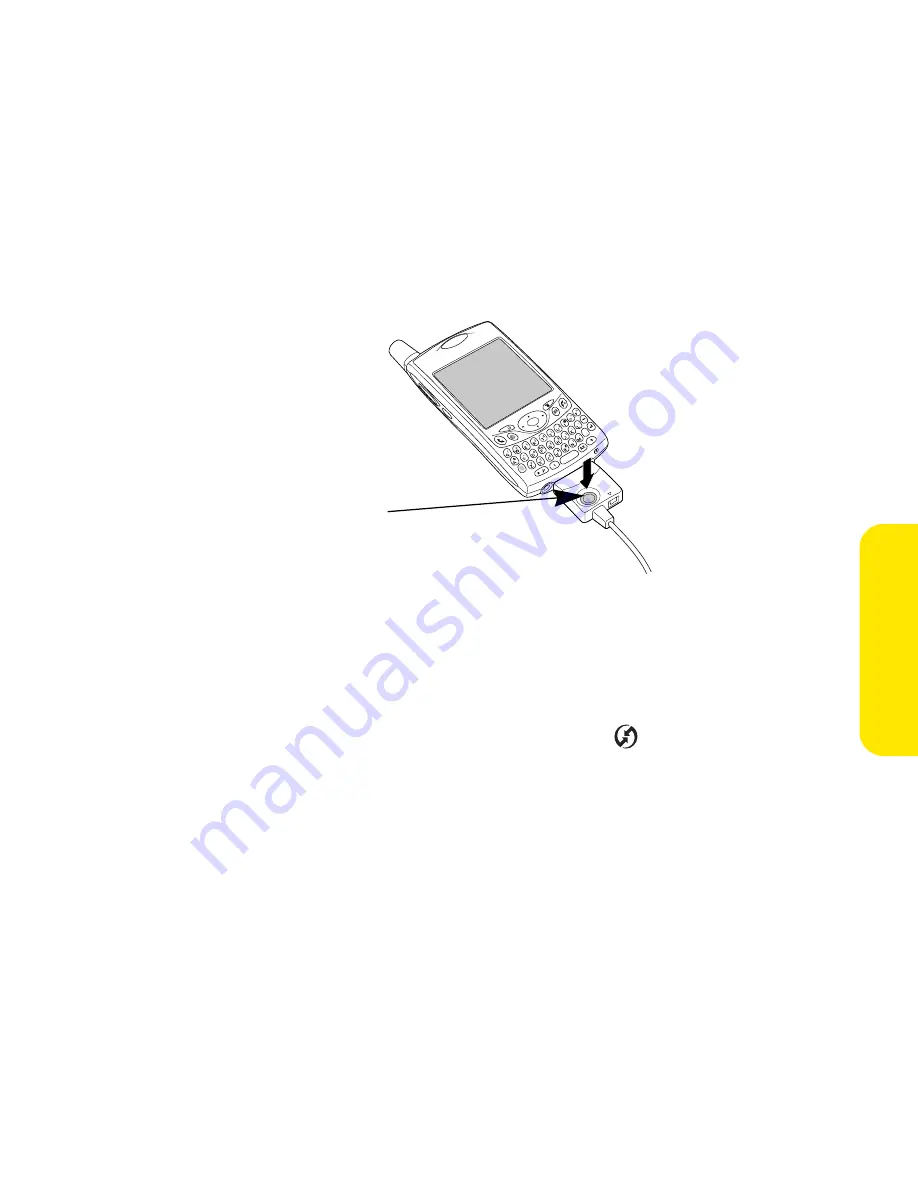
1.
Connect your Treo 650 to your computer as described in “Connecting Your
Treo 650 to Your Computer” on page 22.
2.
Press the HotSync® button on the USB sync cable.
3.
Wait for your Treo 650 to display a message indicating that the process is
complete.
䡲
If nothing happens, make sure that you installed the synchronization
software and that it is running on your computer. If you installed
Palm Desktop software, the HotSync Manager
icon should appear in
the lower-right corner of your computer screen.
䡲
If you want to synchronize information with applications other than
Palm Desktop or Microsoft Outlook, you need to purchase additional
third-party conduit software.
䡲
If you have any problems synchronizing, see “Synchronization
(HotSync®)” on page 269 for troubleshooting suggestions.
HotSync
Button
Summary of Contents for TREOTM TreoTM 650
Page 2: ......
Page 13: ...Section 1 Getting Started...
Page 14: ...2...
Page 22: ...10 Section 1A Setting Up Software...
Page 30: ...18 Section 1B Setting Up Service...
Page 37: ...Section 1C Connecting to Your Computer 25 Computer Connection HotSync Button...
Page 38: ...26 Section 1C Connecting to Your Computer...
Page 39: ...Section 2 Your Sprint PCS Vision Smart Device...
Page 40: ...28...
Page 62: ...50 Section 2A Learning the Basics...
Page 179: ...Section 3 Sprint PCS Service Features...
Page 180: ...168...
Page 190: ...178 Section 3A Sprint PCS Service Features The Basics...
Page 218: ...206 Section 3C Sending and Receiving Email...
Page 232: ...220 Section 3D Messaging...
Page 244: ...232 Section 3E Browsing the Web...
Page 259: ...Section 4 Help...
Page 260: ...248...
Page 303: ...Section 5 Safety and Terms and Conditions...
Page 304: ...292...
Page 340: ...328 Section 5A Safety...
Page 388: ...376 Index...


