


On-Net Surveillance Systems, Inc.
NetDVR 6.5
Access Clients
176
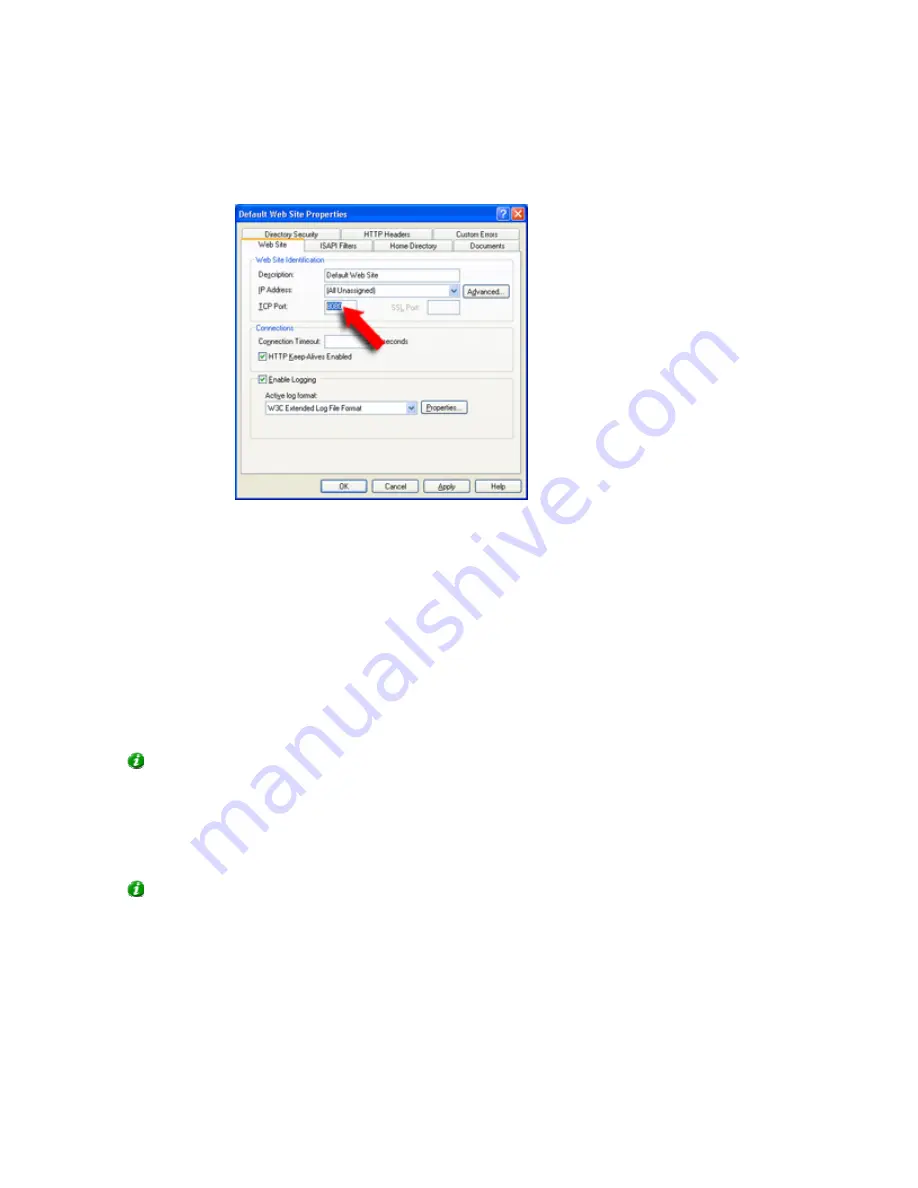
5. On the dialog's
Web Site
tab, set the
TCP Port
number to the number that NetPDA/NetCell Server
is going to use (the default port for the NetPDA/NetCell Server is 8080), then click
OK
:
6. Back in the
Internet Information Services
dialog, verify that IIS is running.
If IIS is not running, start IIS by right-clicking the
Default Web Site
item, then selecting
Start
.
Then: NetPDA/NetCell Server Installation
Having configured the IIS port number, you are ready to begin installation of the NetPDA/NetCell Server
itself:
7.
On the server, insert the NetDVR software DVD, wait for a short while, select required language, then click
the
Install NetPDA/NetCell Server
link.
Alternatively, if you are installing a version downloaded from the internet, run the NetPDA/NetCell Server installation
file
PDAServerInstaller_[required language].exe
from the location you have saved it to.
Tip:
Depending on your security settings, you may receive one or more security warnings (
Do you want to run or
save this file?
,
Do you want to run this software?
). When this is the case, click the
Run
button.
8.
Read and accept the license agreement. This will take you to the
Image server setup
step.
9. In
the
Hostname/IP Address
field, specify the IP address or host name of the NetDVR server to which the
NetPDA/NetCell Server should connect.
Tip:
If installing the NetPDA/NetCell Server on the same server as the surveillance system itself, simply specify
Localhost
.
In the
Port
field, specify the port number used by the surveillance system's Image Server (default is port 80), then click
Next.
10. An
Important Note
is displayed; it is highly recommended that you read it. When ready, click
Next
. This will
take you to the
Select Installation Address
step.
11. In
the
Virtual directory
field, specify the virtual directory in which the NetPDA/NetCell Server should be
installed on the IIS (default virtual directory is
NetPDA/NetCell Server
).


