49
CX-Profibus
Section 3-2
The highest level of the tree is the project. The next level is the PROFIBUS
Master level. On this level one or more PROFIBUS-DP Master devices can be
allocated. The third level contains the slave DTMs.
The PROFIBUS network must be assembled in the Network Window, i.e. the
various DTMs are added to the network via this window. From the Network
Window the individual DTM User Interfaces can be opened, and accessed.
CX-Profibus supports context menu in the Network Window, which are made
visible when selecting a device DTM and right clicking the mouse. The con-
tents of the menu may depend on the functionality supported by the DTM.
DTM / Device Catalogue
Window
The DTM / Device Catalogue window will hold the Device Catalogue as well
as every opened DTM User Interface. The window is an MDI type window, or
Multiple Document Interface. One or more User Interface windows can be
opened, re-sized and moved inside this window.
Error Log Window
The Error Log window at the bottom of the CX-Profibus application window
displays the error messages reported by DTMs to CX-Profibus. A Time
stamp, a Date stamp and the DTM name are added to the message.
The contents of the window can be cleared, or copied to the clipboard, to
allow pasting it in to another document.
The Error Log window is opened by default, when starting CX-Profibus.
FDT Monitoring Window
The FDT Monitoring window at the bottom of the CX-Profibus application win-
dow displays the FDT-DTM communication function calls between CX-Profi-
bus and the DTMs. A Time stamp, a Date stamp, the type of information and
the DTM name are added to the message.
The sequence of messages can be used to troubleshoot problems that may
occur when using third party DTMs in CX-Profibus.
The contents of the window can be cleared, or copied to the clipboard, to
allow pasting it in to another document.
The FDT Monitoring window is not opened by default, when starting CX-Profi-
bus. It can be opened through the View - FDT Monitoring menu option.
Main Menu
The main menu of CX-Profibus, provides all the necessary functionality to
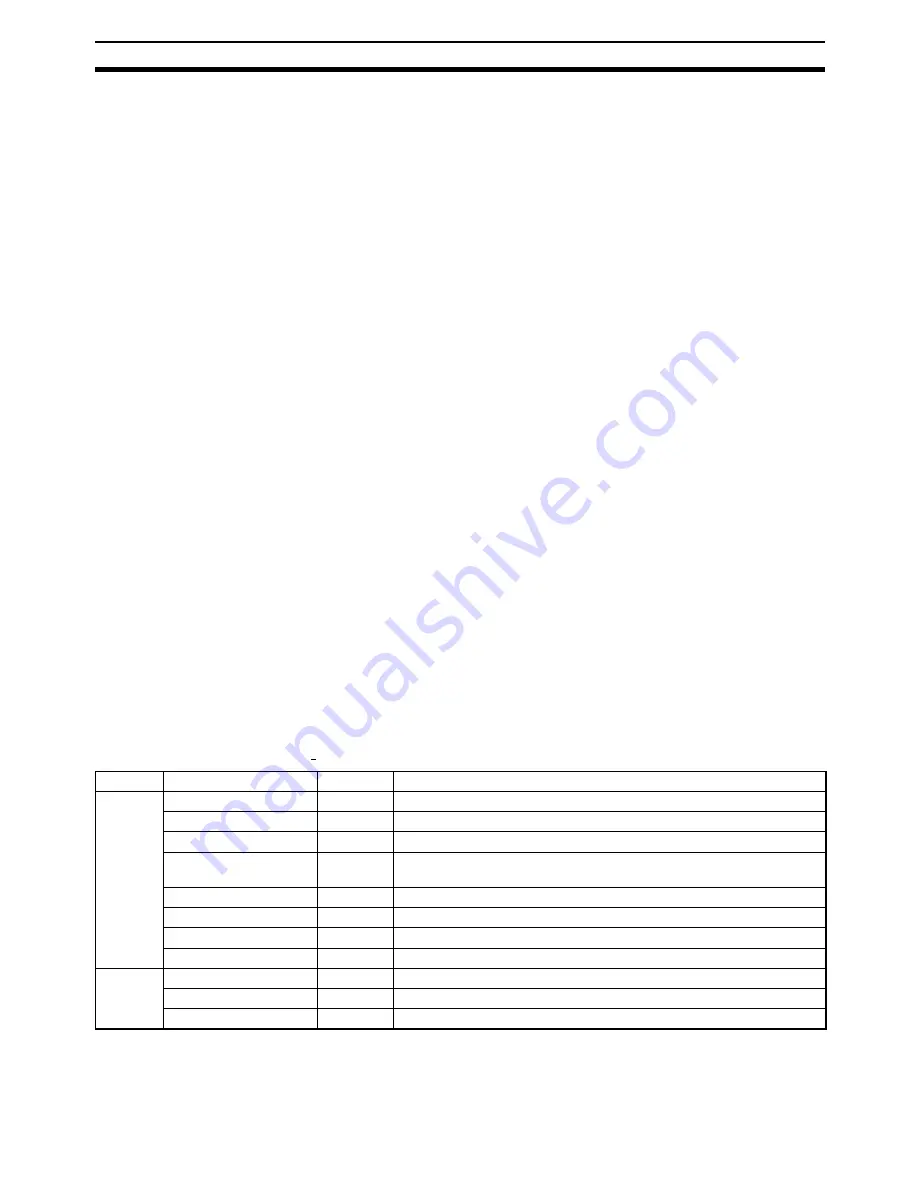
handle a complete project. The table below lists the main menu and their sub
menu items.
Menu
Command
Short Key
Description
File
New
CTRL-N
Creates a new Project.
Open
CTRL-O
Opens an existing Project.
Save
CTRL-S
Saves the displayed Project to a file.
Save As
---
The Save as command is the same as Save, but the Filename Specifi-
cation Window is always displayed.
Export Project to HTML
---
Exports Project data in HTML format and launches the browser.
Project Properties
---
Opens an edit window to add or edit Project information.
Recently used File List
---
Lists the recently used Project files.
Exit
---
Exits CX-Profibus.
Edit
Cut
CTRL-X
Cuts devices and pastes them to the clipboard.
Copy
CTRL-C
Copies devices to the clipboard.
Paste
CTRL-V
Copies devices from the clipboard to the cursor position.
Summary of Contents for SYSMAC CJ1W-PRM21
Page 2: ...iv...
Page 36: ...22 Basic Operating Procedure Section 1 5...
Page 52: ...38 Defining PROFIBUS DP in the Software Section 2 5...
Page 112: ...98 Allocated CIO Area Words Section 4 2...
Page 122: ...108 Command Response Reference Section 5 2...
Page 160: ...146 Replacing the Unit Section 7 8...
Page 174: ...160 Appendix...
Page 180: ...166 I O Data Conversions Appendix D...
Page 186: ...172 Configurator Error and Warning Messages Appendix E...
Page 187: ...173 Index...
Page 188: ...174 Index...
Page 190: ...176 Revision History...


