6-36
U
tility mode/Copy
mode parameters
Chap
te
r 6
3
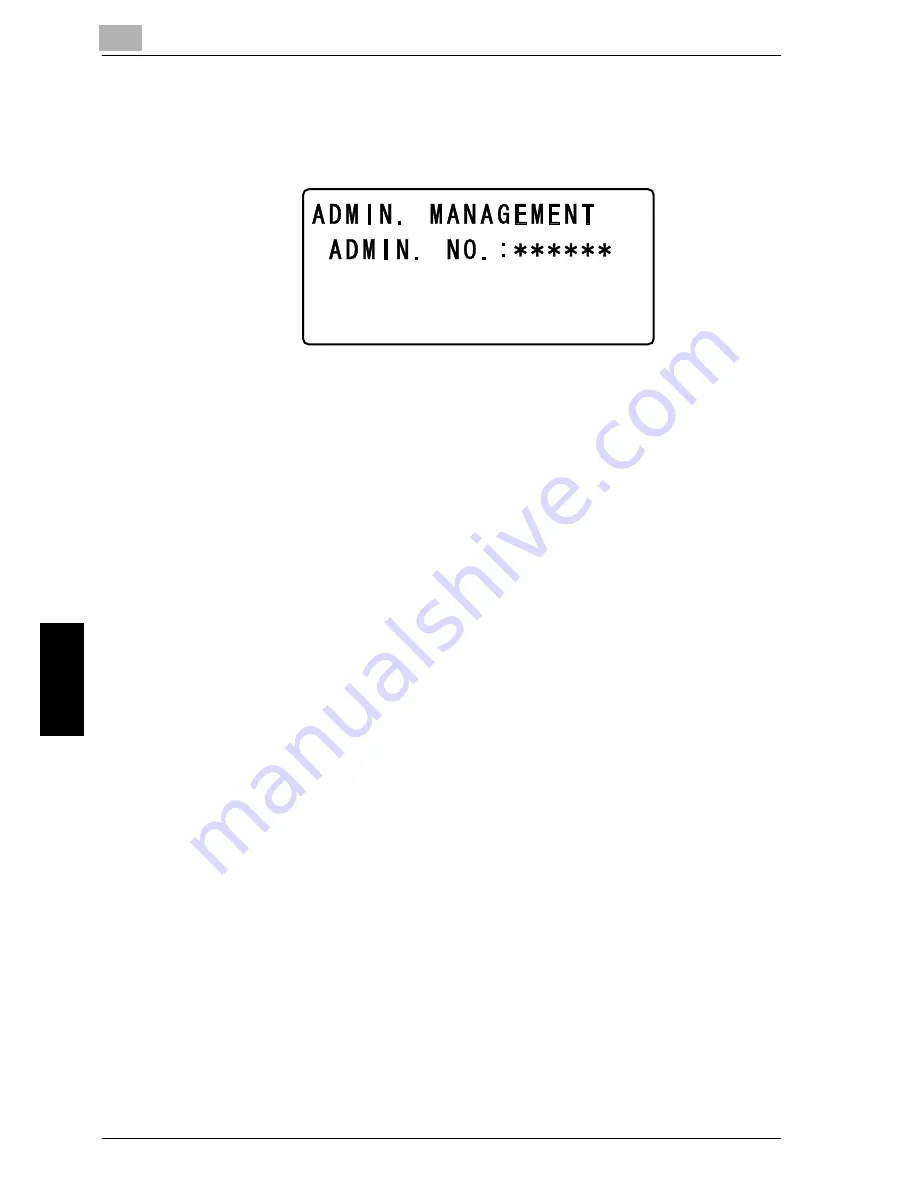
Use the keypad to type in the administrator access code, and then press the
[OK] key.
– The default administrator access code is “000000”.
– To correct the entered number, press the [Clear/Stop] key, and then type in
the correct number.
The “ADMIN. MANAGEMENT” menu appears.
4
Press the [
+
] or [
,
] key until the desired ADMIN. MANAGEMENT parame-
ter is selected, and then press the [OK] key.
– [NETWORK SETTING], [E-MAIL SETTING 1], [E-MAIL SETTING 2],
[LDAP SETTING] and [USER SETTING] appear only when optional im-
age controller PCL-4000 or network interface card NC-4000 is installed.
– The following ADMIN. MANAGEMENT parameters are available.
ADMINISTRATOR NO.
AUTO SHUT OFF
ACCOUNT TRACK
NETWORK SETTING
E-MAIL SETTING 1
E-MAIL SETTING 2
LDAP SETTING
USER SETTING
Summary of Contents for Omega 1640
Page 1: ...Omega 1640 2140 User Manual ...
Page 2: ......
Page 17: ...x 15 Explanation of manual conventions ...
Page 18: ...x 16 ...
Page 22: ...x 20 ...
Page 23: ...1 Installation and operation precautions Chapter 1 Installation and operation precautions ...
Page 43: ...2 Precaution Chapter 2 Precaution ...
Page 66: ...2 24 Precaution Chapter 2 ...
Page 67: ...3 Before making copies Chapter 3 Before making copies ...
Page 80: ...3 14 Before making copies Chapter 3 5 Close the paper drawer ...
Page 90: ...3 24 Before making copies Chapter 3 3 Carefully close the document feeder ...
Page 95: ...4 Making copies Chapter 4 Making copies ...
Page 160: ...4 66 Making copies Chapter 4 ...
Page 161: ...5 Advanced copy operations Chapter 5 Advanced copy operations ...
Page 196: ...5 36 Advanced copy operations Chapter 5 ...
Page 197: ...6 Utility mode Copy mode parameters Chapter 6 Utility mode Copy mode parameters ...
Page 272: ...6 76 Utility mode Copy mode parameters Chapter 6 ...
Page 273: ...7 When a message appears Chapter 7 When a message appears ...
Page 286: ...7 14 When a message appears Chapter 7 3 Close the right side door 4 Pull out the paper drawer ...
Page 288: ...7 16 When a message appears Chapter 7 7 Close the paper drawer ...
Page 293: ...7 21 When a message appears Chapter 7 3 Close the duplex unit cov er ...
Page 301: ...8 Troubleshooting Chapter 8 Troubleshooting ...
Page 305: ...9 Appendix Chapter 9 Appendix ...
Page 319: ...10 Index Chapter 10 Index ...
Page 323: ...1 1 ...
Page 324: ...1 2 ...
Page 327: ...1 3 ...


