d-Color MF350/250/201Plus
3-123
Copy Operations
3
7
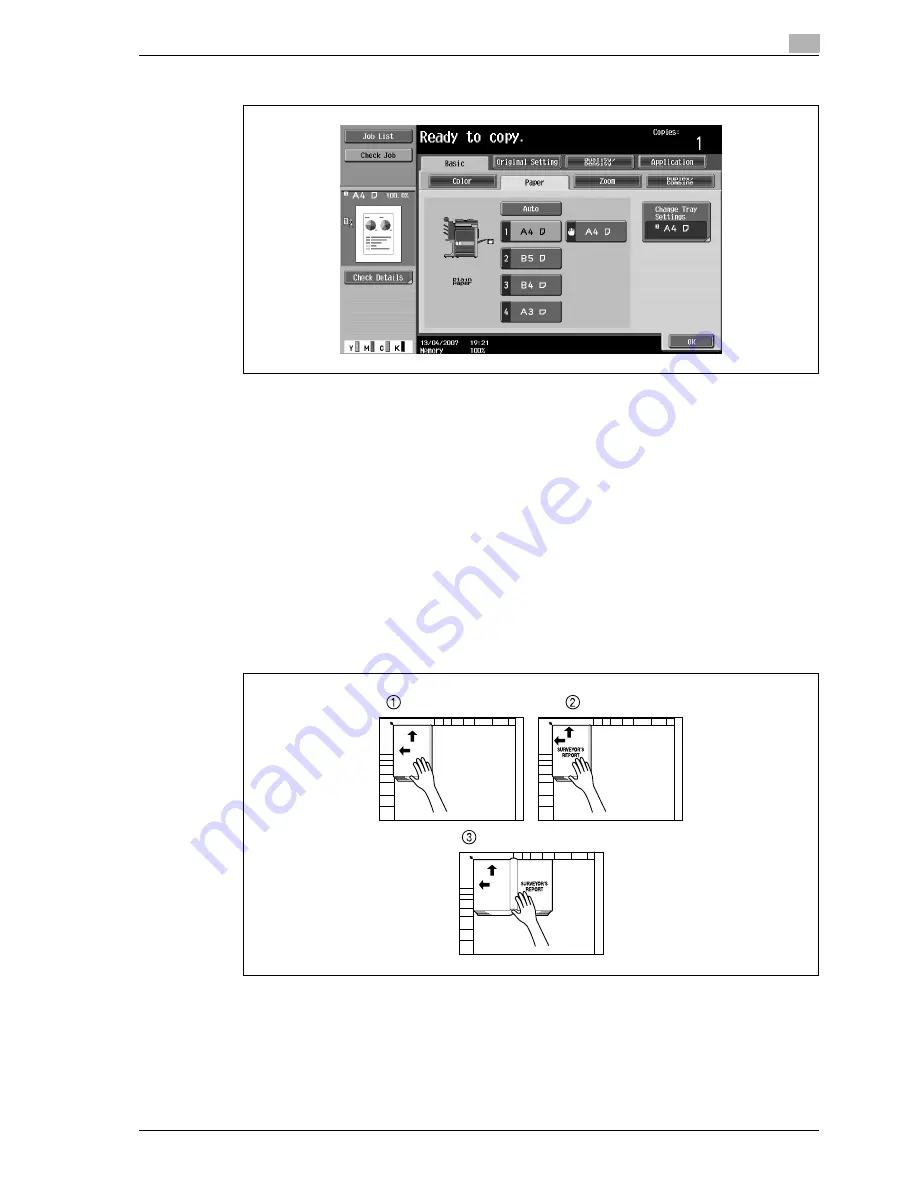
In the Basic screen, touch [Paper], and then select the paper tray loaded with the paper.
8
Specify any other desired copy settings.
–
To cancel the setting and select the default, press the [Reset] key.
9
Using the keypad, type in the desired number of copies.
10
Press the [Start] key.
–
For details on positioning the original, refer to "Scanning a multi-page original from the original
glass" on page 3-34.
–
Position the next page and repeat step 10 until all pages of the original are scanned.
Scanning begins.
If "Book Spread" or "Separation" is selected, printing begins.
If "Front Cover" or "Front and Back Cover" is selected, continue with step 11.
11
After all original pages have been scanned, touch [Finish].
–
If "Front and Back Cover" was selected, the back cover is scanned after the front cover, and then
all page spreads are scanned in order.
Summary of Contents for d-Color MF350
Page 15: ...1 Introduction...
Page 16: ......
Page 21: ...2 Installation and operation precautions...
Page 22: ......
Page 39: ...3 Copy Operations...
Page 40: ......
Page 187: ...4 Print Operations...
Page 188: ......
Page 243: ...5 Box Operations...
Page 244: ......
Page 287: ...6 Network Scan Fax Network Fax Operations...
Page 288: ......
Page 418: ...6 Network Scan Fax Network Fax Operations 6 132 d Color MF350 250 201Plus...
Page 419: ...7 Web Connection Operation...
Page 420: ......
Page 426: ...7 Web Connection Operation 7 8 d Color MF350 250 201Plus...
Page 427: ...8 Appendix...
Page 428: ......
Page 446: ...8 Appendix 8 20 d Color MF350 250 201Plus...
Page 447: ...9 Index...
Page 448: ......


