


143
5
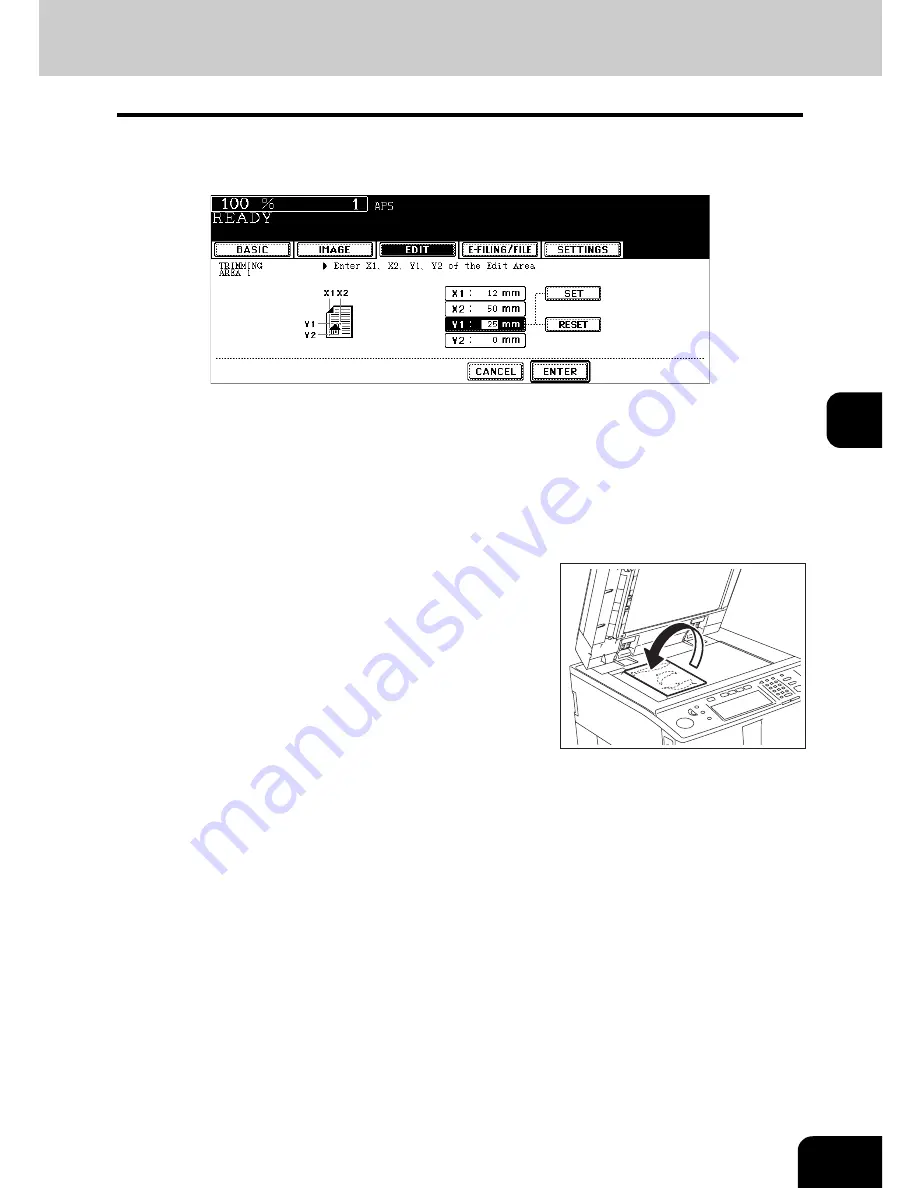
6
Enter the values read in step 5 for the specified area, and then press
the [SET] button. Set 4 values in order.
• After the setting of 4 values is finished, the next edit area menu is displayed. Repeat steps 5 and 6 when you
specify other areas. Up to 4 areas can be specified on an original.
• To correct the value which has been set, press the [RESET] button. Pressing it once makes the highlighted
field move one position upward. Highlight the field in which you want to rectify the value, and then key in the
correct one.
7
Press the [ENTER] button after specifying the area.
9
Press the [START] button.
8
Place the original(s) with its face down.
• Set the original face down with its bottom toward you and fit its
top left corner against the top left corner of the original glass.
• Select other copy modes as required.
Summary of Contents for im5530
Page 4: ......
Page 8: ...4 CONTENTS Cont...
Page 84: ...2 80 2 HOW TO MAKE COPIES...
Page 87: ...83 3 2 Press the APS button 4 Press the START button...
Page 123: ...119 4 4 IMAGE ADJUSTMENT 1 Background Adjustment 120 2 Sharpness 121...
Page 126: ...4 122 4 IMAGE ADJUSTMENT...
Page 212: ...6 208 6 e FILING...
Page 246: ...7 242 7 TEMPLATE...
Page 284: ...8 280 8 JOB STATUS...
Page 338: ...10 334 10 WHEN THIS MESSAGE APPEARS...
Page 339: ...335 11 11 MAINTENANCE 1 Daily Inspection 336 2 Simple Troubleshooting 337...
Page 359: ...Printed in China im5530 6030 7230 8530...
Page 360: ......


