How to Manage the Media Vacuum
The Media Vacuum System
Introduction
Your printer uses a low-flow, high-pressure vacuum system to secure media for printing on the
printer table. A vacuum pump is used to evacuate the air between the overlay and the table.
Three air-feed ports in the table surface connect to the vacuum pump through a series of
manually operated flow valves. These valves are used to activate or shut down either the default
single zone or any custom vacuum zones. In order for the system to work effectively, during
printing all the circular holes on the top surface of the overlay sheet connected to an active
vacuum zone must be covered. This creates a closed vacuum system. A bleed valve is provided
to adjust the level of vacuum, if needed.
Default Vacuum Zones
The printer is shipped from the factory configured with one large vacuum zone that
accommodates the maximum media size. There are two suggested custom vacuum zone
configurations, one for Metric and one for Imperial units. These zones can be set up for common
media sizes, and can be modified by placing a call to a service technician.
Illustration
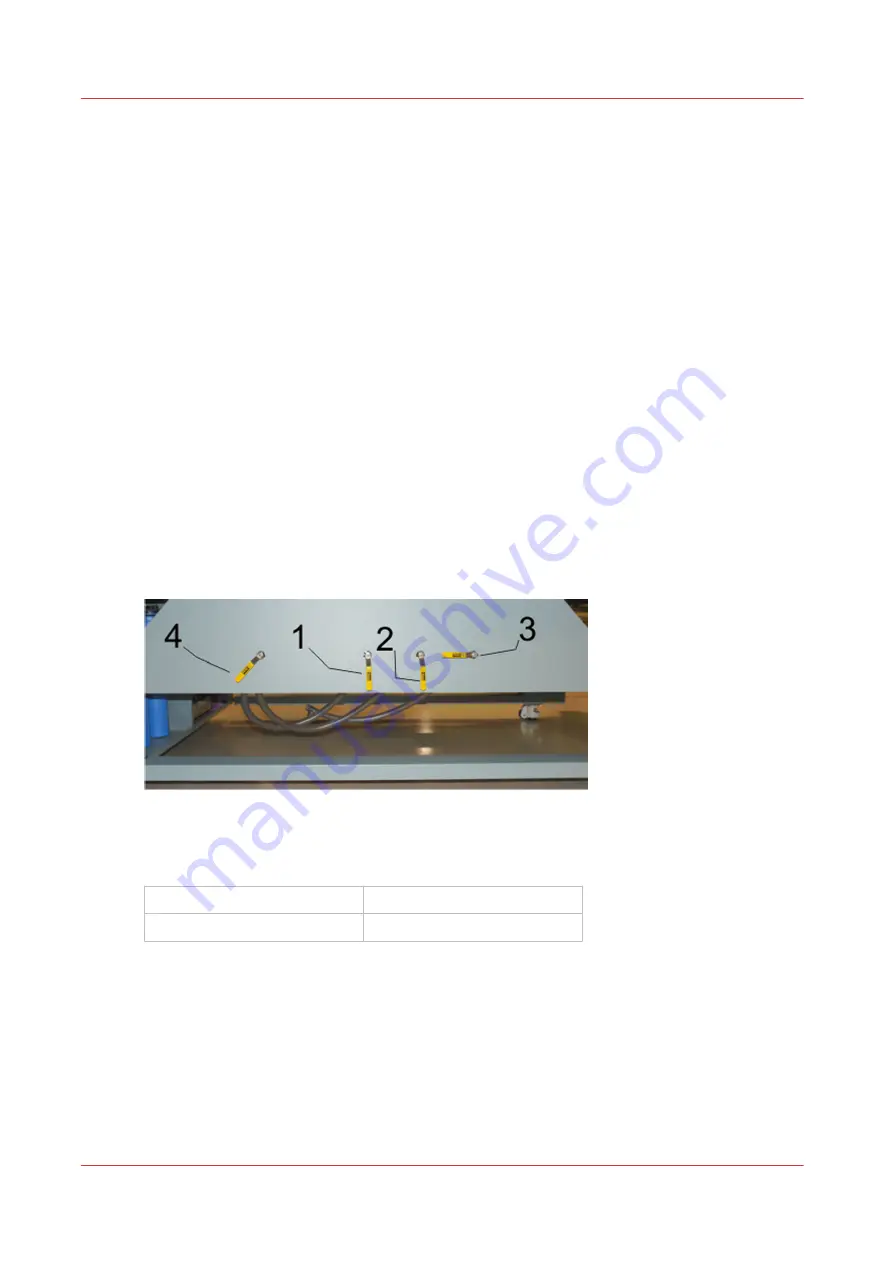
[36] Vacuum Bleed Valve and Vacuum Zone Control Handles
[37] Status of the Bleed Valve and Zone Control Handles
1 - Zone 1 is Open
2 - Zone 2 is Open
3 - Zone 3 is closed
4 - Bleed Valve partly open
Vacuum Zone Control Handles
These controls are meant for use with custom vacuum zones. If you only use the factory default
of one large zone, make sure all three handles are left in the open position. When you create
custom zones the three control valves are used to control which zones of the printer table will
have vacuum applied when the table vacuum pump is turned on. To close a zone turn the control
handle a quarter turn clockwise.
How to Manage the Media Vacuum
68
Chapter 5 - How to Operate Your Océ Arizona Printer
Summary of Contents for Arizona 318 GL
Page 1: ...Operation guide Océ Arizona 318 GL User Manual ...
Page 6: ...Contents 6 ...
Page 7: ...Chapter 1 Introduction ...
Page 12: ...Product Compliance 12 Chapter 1 Introduction ...
Page 13: ...Chapter 2 Product Overview ...
Page 15: ...Chapter 3 Safety Information ...
Page 37: ...Chapter 4 How to Navigate the User Interface ...
Page 58: ...Software Update Module 58 Chapter 4 How to Navigate the User Interface ...
Page 59: ...Chapter 5 How to Operate Your Océ Arizona Printer ...
Page 74: ...How to Handle Media 74 Chapter 5 How to Operate Your Océ Arizona Printer ...
Page 75: ...Chapter 6 How to Operate the Roll Media Option ...
Page 106: ...How to Use Media Edge Protectors 106 Chapter 6 How to Operate the Roll Media Option ...
Page 107: ...Chapter 7 How to Use the Static Suppression Upgrade Kit ...
Page 111: ...Chapter 8 How to Work With White Ink ...
Page 162: ...How to Create and Use Quick Sets 162 Chapter 8 How to Work With White Ink ...
Page 163: ...Chapter 9 Ink System Management ...
Page 167: ...Chapter 10 Error Handling and Troubleshooting ...
Page 170: ...Troubleshooting Overview 170 Chapter 10 Error Handling and Troubleshooting ...
Page 171: ...Chapter 11 Printer Maintenance ...
Page 216: ...How to Remove Uncured Ink on the Capstan 216 Chapter 11 Printer Maintenance ...
Page 217: ...Appendix A Application Information ...
Page 223: ......


