


196
4
Select a folder to be used for sorted mail at [Folder
to sort into].
When no folder is specified
Mail is sorted to [Inbox]/[Outbox].
5
Press
(Complete).
The sorting requirement is saved.
●
If mail satisfies several sorting requirements, the sorting
requirement with a lower number in the list has higher
priority. If you set [None] for sorting requirement, the
sorting requirements lower than the number you set
become invalid, and mail is sorted to the folder for which
[None] is set.
●
If you delete a folder for which the sorting requirement was
set, [Inbox]/[Outbox] is used as a sort destination folder.
●
If data saved as Secret is contained in a group that has
been set as a sorting requirement, and if you receive mail
from a sender or send mail to a recipient who is relevant
to the data, it is saved in [Inbox]/[Outbox]. To enable the
sorting requirement, set the Secret display to [ON].
●
An i-
α
ppli with mail is automatically sorted to the
corresponding i-
α
ppli with mail folder regardless of the
sorting requirement.
●
Mail received before the sorting requirement is set is not
sorted automatically.
●
When 2in1 is set to ON, the sorting requirement of the
Group may become invalid.
You need to set the sorting requirement from the Address,
Subject, or None.
Adding a Signature to Mail
When saved beforehand, your signature can be
attached at the end of the main body of mail.
Saving a Signature
The signature attached to mail can be created and
saved.
1
From the Mail menu, select [Mail setting]
→
[Edit
signature] and press
.
The Edit signature display appears.
If you have saved a signature before, it is displayed.
2
Press
(Edit) and enter a signature.
Enter a signature within 5,000 full-width or 10,000 half-
width characters.
You can enter a Deco mail pict. to compose Deco-mail.
3
Press
(Complete).
The signature is saved.
●
You can also decorate a signature (P.180).
Adding a Signature Automatically
The saved signature can be automatically attached to
the main body when you compose mail.
1
From the Mail menu, select [Mail setting]
→
[Signature] and press
.
2
Select [Auto]/[No] and press
.
The Signature is set.
●
Even if the Signature is set to [No], you can attach the
signature manually. From the Function menu in the Input
text display, select [Add signature].
●
Even if the Signature is set to [Auto], you cannot attach
a signature to a reply mail using the Quote function or a
forwarded mail.
Setting the Type of Mail/Message to be
Checked
You can set whether to receive mail, Message R, and
Message F when making inquiries to the i-mode center.
Example: Setting the i-mode inquiry set for mail
1
From the Mail menu, select [Mail setting]
→
[Common
setting]
→
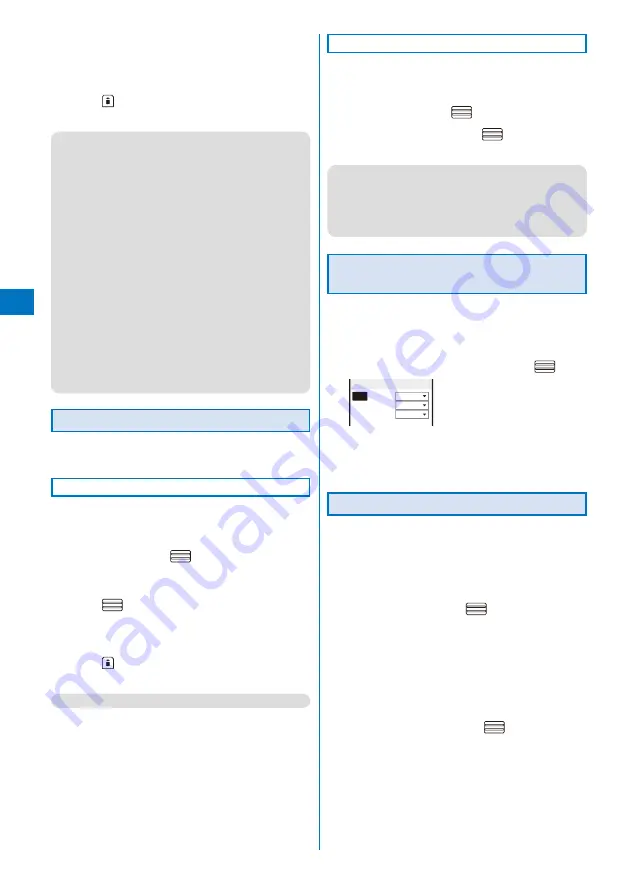
[i-mode inquiry set] and press
.
i−mode inquiry set
Mail
Valid
MessageR Valid
MessageF Valid
2
Select [Mail]
→
[Valid]/[Invalid] of the i-mode inquiry
set.
The i-mode inquiry set is set.
Setting to Select and Receive Mail
You can set whether to selectively receive i-mode mail.
Even if the Recv option setting is [ON], all mail is received
if you use the Check new message. If you do not want to
receive mail, set [Mail] to [Invalid] in the i-mode inquiry set
(P.196).
1
From the Mail menu, select [Mail setting]
→
[Recv
option setting] and press
.
The Recv option setting display appears.
[ON]:
Sent mail is held at the i-mode center and not received
by the FOMA terminal. To receive, use the Receive
option (P.186).
[OFF]:
Sent mail is received automatically by the FOMA
terminal.
2
Select [ON]/[OFF] and press
.
The Recv option setting is set.


