System Upgrade 8-33
PCI BOARD
Up to three PCI boards can be installed to the PCI module (however, one video board is already
installed in each module in standard configuration).
IMPORTANT:
The PCI board is extremely sensitive to static electricity. Make sure to touch the metal frame of
the server to discharge static electricity from your body before handling the PCI board. Do not
touch the PCI board terminals or on-board parts by a bare hand or place the PCI board directly
on the desk. For static notes, see the preceding section "Anti-static Measures".
Make sure to read "Anti-static Measures" and "Preparing Your System for Upgrade" before
starting installing or removing options.
PCI#1 is a slot dedicated for video board, which is standard equipment. Do not replace this
broad with any other board.
TIPS:
When a PCI board is installed or removed, or the slot is changed, use the BIOS setup
utility "SETUP" to change the detailed settings such as interrupt line (IRQ), when necessary. See
Appendix B for details.
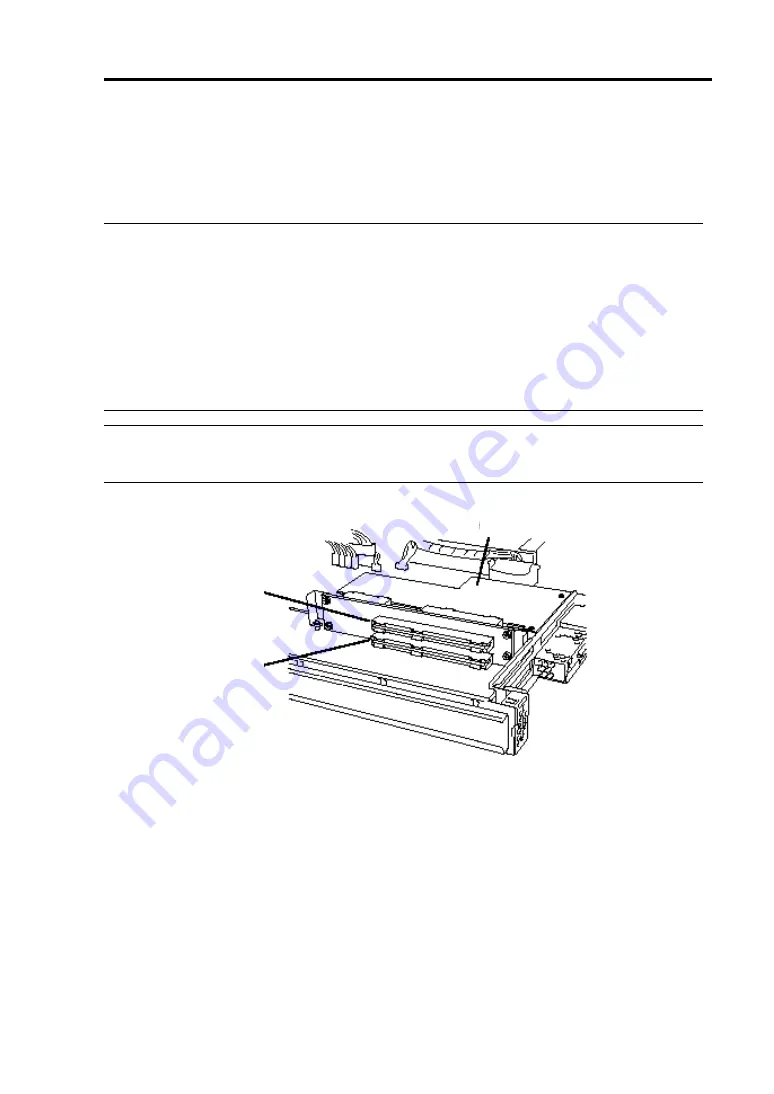
Video board
PCI#2
PCI#3
Built-in riser card of PCI module
Note the following to install or replace PCI board.
To add a PCI board, the system must be shut down.
To make a dual PCI board configuration, install the same type of board (i.e., having the same
specifications and performance) to the same slot in another group.
When a PCI board is installed to one group, another identical PCI board should be installed to
the same slot in another group. This rule is applied to the case of removal.
Install the PCI boards, starting from the one with the smallest number.
Summary of Contents for Express 5800/320Lc
Page 10: ...iv This page is intentionally left blank...
Page 20: ...1 6 Precautions for Use PCI CPU Modules PCI Module Label A CPU Module Label A Label A...
Page 34: ...1 20 Precautions for Use This page is intentionally left blank...
Page 50: ...2 16 General Description Front View inside Tower model Rack mount model...
Page 94: ...3 14 Windows Setup and Operation 7 Configure the mirror of the extended volume...
Page 132: ...3 52 Windows Setup and Operation This page is intentionally left blank...
Page 256: ...5 80 Installing and Using Utilities This page is intentionally left blank...
Page 362: ...8 52 System Upgrade This page is intentionally left blank...


