


Installing and Using Utilities 5-61
7.
After the BIOS for a single CPU module is completed, click the [Jump Switch] button.
The module completely updated is started and the module under operation is stopped.
8.
Start the other inactive module.
Starting the module causes the firmware to be updated automatically. However, if the
[Enable automatic firmware update] property is disabled, update the module in the
procedure as follows:
(1) Check the current state with the "State"
display on the target component screen. If
the component is operating, stop the
component.
(2) Click the [Firmware...] button in the
[Update] screen for the target component.
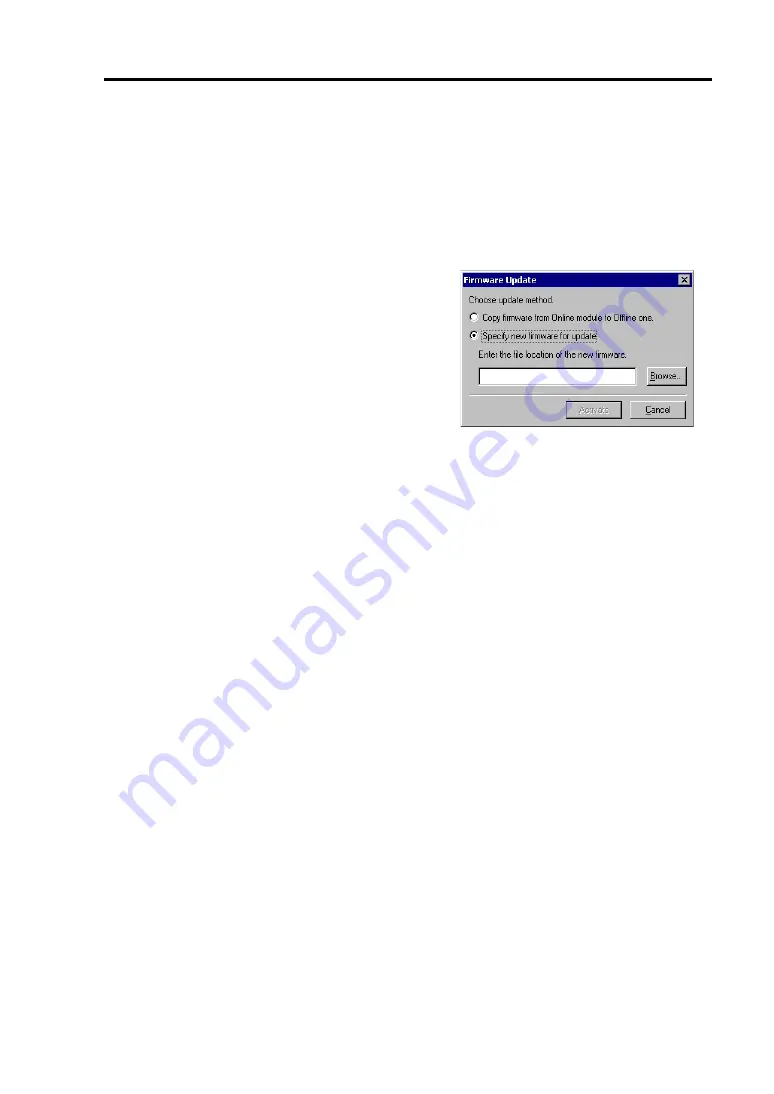
(3) Select the update method in the [Firmware
Update] dialog box and click the [Run]
button.
(4) Start the module.
Even if you do not have the image data of firmware for update, the firmware can be copied from the
other module.
By starting the module, the firmware will be updated automatically. However, when the [Enable
automatic firmware update] property is disabled, follow the steps below to update the firmware:
1. Start the system using the module of the firmware copy source.
See the current status by the “Status” indication on the target component screen of the copy
destination and confirm that it is stopped.
2. On the [Update] screen of the target component, click [Firmware...].
3. When a firmware updating dialog appears, check [Copy firmware from Online module to Offline
one.] and execute it.
Firmware is updated by copying the firmware on the online side to the offline side.
4. Start the stopped module.
Summary of Contents for Express 5800/320Lc
Page 10: ...iv This page is intentionally left blank...
Page 20: ...1 6 Precautions for Use PCI CPU Modules PCI Module Label A CPU Module Label A Label A...
Page 34: ...1 20 Precautions for Use This page is intentionally left blank...
Page 50: ...2 16 General Description Front View inside Tower model Rack mount model...
Page 94: ...3 14 Windows Setup and Operation 7 Configure the mirror of the extended volume...
Page 132: ...3 52 Windows Setup and Operation This page is intentionally left blank...
Page 256: ...5 80 Installing and Using Utilities This page is intentionally left blank...
Page 362: ...8 52 System Upgrade This page is intentionally left blank...


