45
Preview and Save Dialog
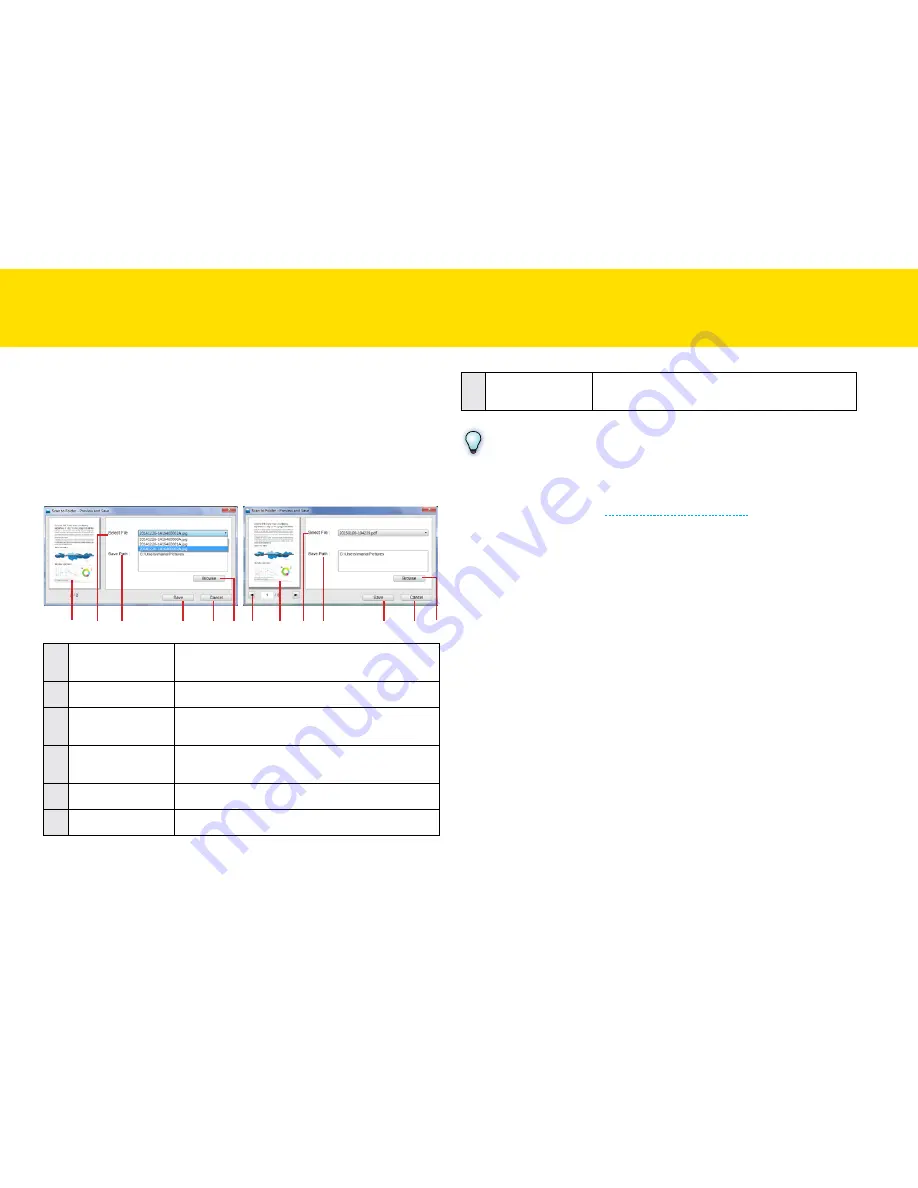
by default, after scanning completes, the Preview and Save dialog will
appear with image just scanned, where you can specify a new folder to
save them.
there are several controls in the Preview and Save dialog:
1 2 3
5
6 4 7
1 2 3
5
6 4
(Single-page files dialog)
(Multi-page files dialog)
1
Preview area
Displays a thumbnail image of the selected
file.
2
Select File
Select a file to display it in the Preview area.
3
Save Path
Indicates the folder where the scanned image
is saved.
4
browse
Specify a new folder to save the scanned
image.
5
Save
click to save the file.
6
cancel
click to cancel without saving.
7
left/Right
click the left and right arrows to view the
multi-page file in the preview area.
NOTES
If you want to disable the Preview and Save dialog and automatically
save the scanned image in the specified folder, check the “Auto save
after scan” checkbox (see
Adjusting the Setting tabs
).
ScANNING USING IDOcScAN tOUch
(cONtINUeD)
Summary of Contents for idocscan p100
Page 70: ...P100 P70 P45...


