43
3.
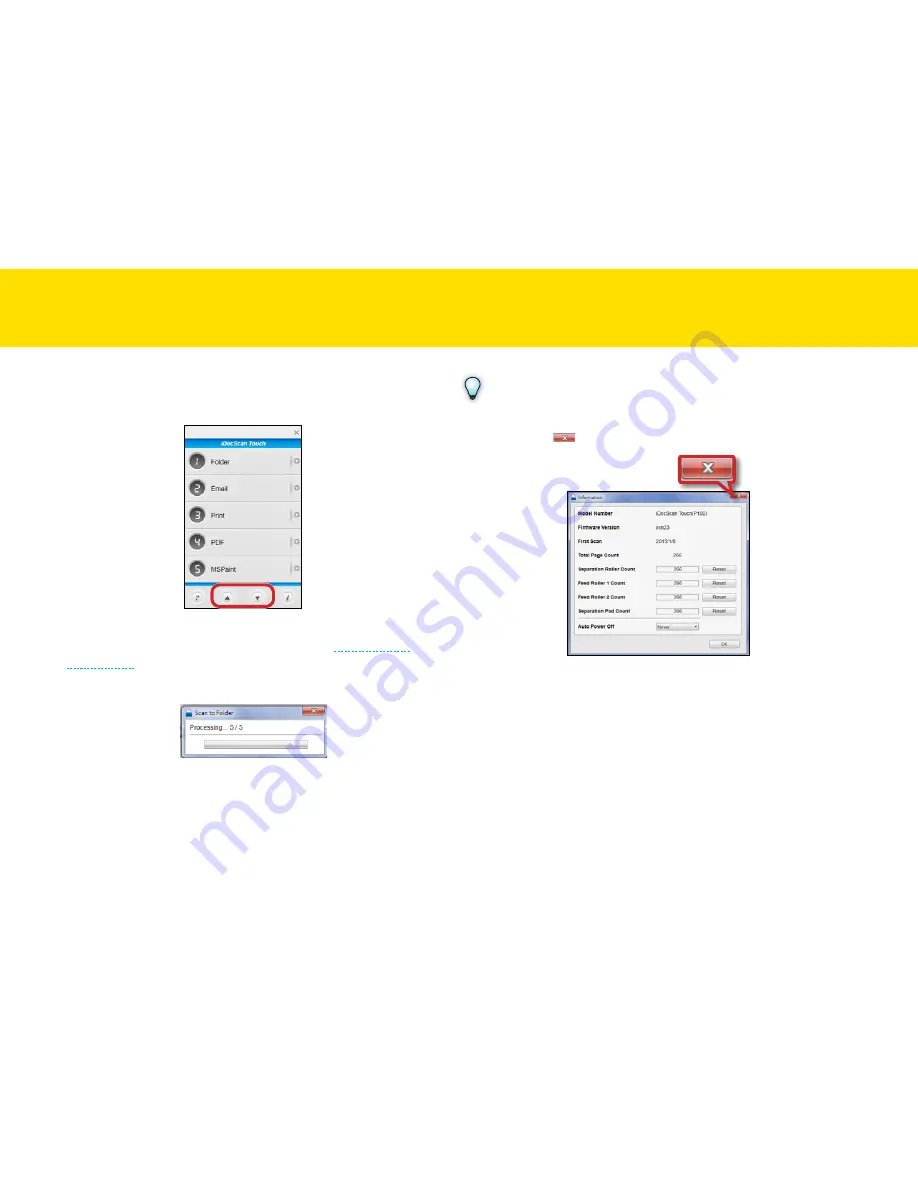
click the Up and Down arrows or use a mouse wheel to scroll
up and down through the Scan-to options (1~9) in the iDocScan
touch panel.
4.
click on a preferred scan option to start scanning to the destination
with the Settings you previously configured (see
Adjusting the
Setting tabs
).
the “Processing...” bar appears showing the current scan status.
5.
After scanning completes, the scanned image is saved and opened
according to the Scan-to option you select.
NOTES
you cannot scan when the Setting or the Information dialog box is
displayed. click [
] or
OK
to close the dialog box before scanning.
ScANNING USING IDOcScAN tOUch
(cONtINUeD)
Summary of Contents for idocscan p100
Page 70: ...P100 P70 P45...


