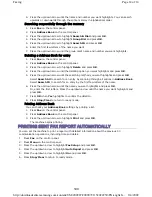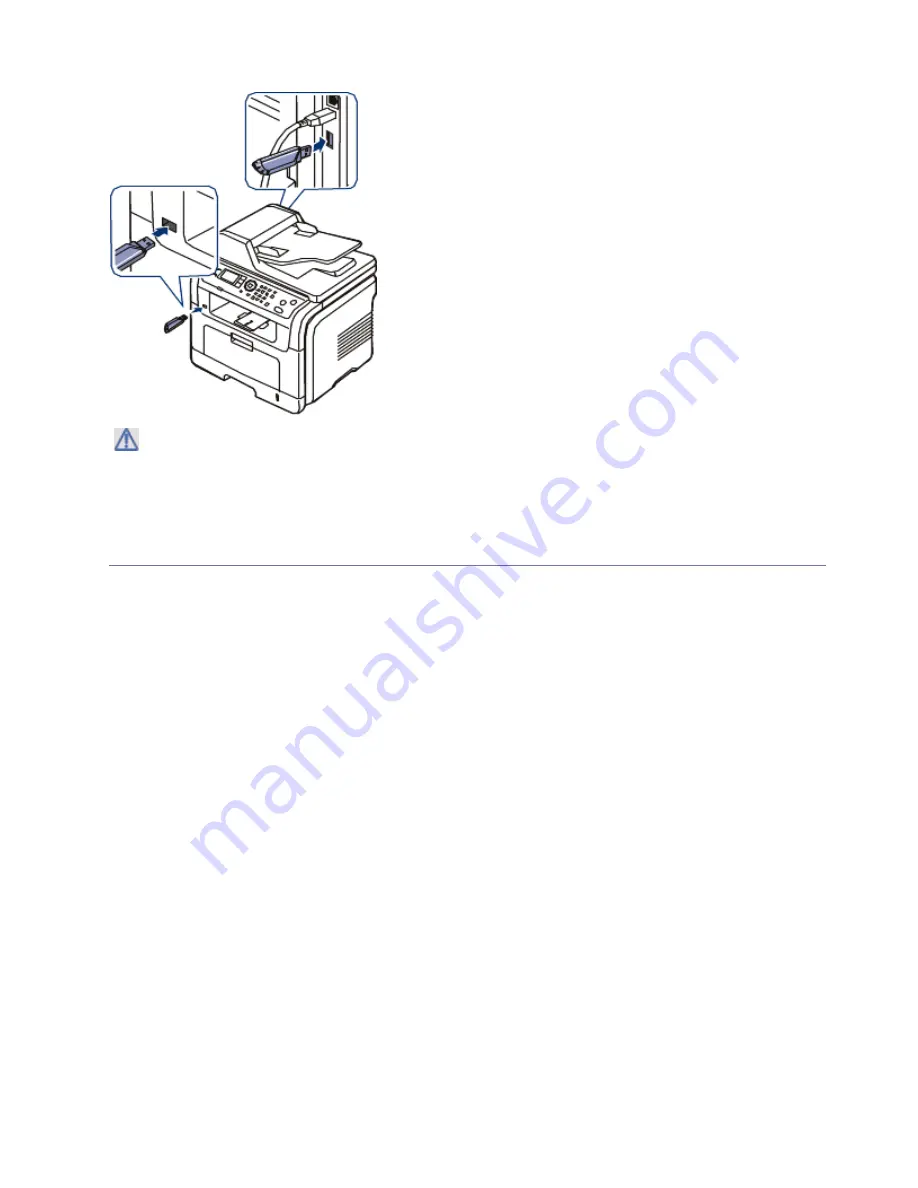
SCANNING TO AN USB MEMORY DEVICE
You can scan a document and save the scanned image onto an USB memory device. There are two
ways of doing this: you can scan to the device using the default settings, or you can customize your
own scan settings. When you scan a document, the machine uses the default settings such as the
resolution. You can also customize your own scan setting.
Scanning
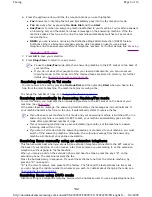
1. Insert a USB memory device into the USB memory port on your machine.
2. Load originals face up into the document feeder, or place a single original face down on the
scanner glass..
3. Press
Scan/Email
and press
OK
.
4. Press the up/down arrow to highlight
Scan To USB
and press
OK
.
Your machine begins scanning the original, and then asks if you want to scan another page.
5. To scan another page, press the left/right arrow to highlight
Yes
and press
OK
. Load an original
and press
Start
.
Otherwise, press the left/right arrow to highlight
No
and press
OK
.
6. After scanning is complete, you can remove the USB memory device from the machine.
Customizing Scan to USB
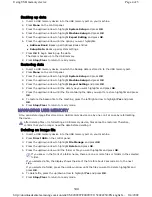
You can specify image size, file format, or color mode for each scanning to USB job.
1. Press
Scan/Email
on the control panel.
2. Press
Menu
on the control panel.
3. Press the up/down arrow to highlight
Scan Feature
and press
OK
.
4. Press the up/down arrow to highlight
USB Feature
and press
OK
.
5. Press the up/down arrow to highlight the setting you want and press
OK
.
You can set the following options:
z
Scan Size
: Sets the image size
z
Do not remove the USB memory device while it is in use. The machine warranty does not cover
damage caused by user’s misuse.
z
If your USB memory device has certain features, such as security settings and password
settings, your machine may not automatically detect it. For details about these features, see
USB memory device’s User’s Guide.
Page 2 of 5
Using USB memory device
8/4/2009
http://downloadcenter.samsung.com/content/UM/200907/20090721152022250/EN/english/...
142


