


Getting To Know Your Omnii
2 - 21
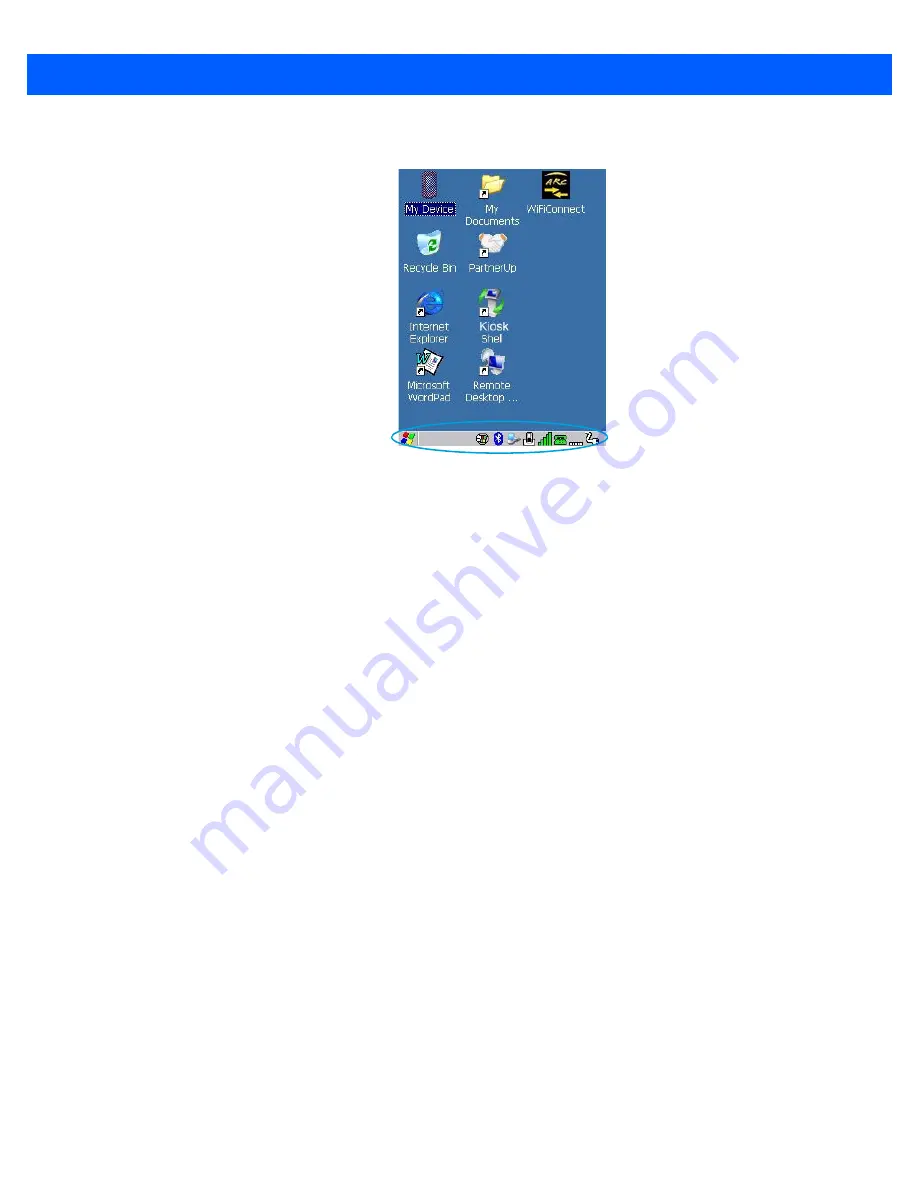
The Taskbar
The Omnii is equipped with a taskbar at the bottom of the screen. It displays icons through which you can view
the battery capacity and radio signal quality of your unit. If the hand-held is attached to a charger, cradle,
docking station, or Snap Module, an associated icon is displayed. In addition, the taskbar displays the applica-
tion(s) currently running on your unit.
The taskbar also displays active modifier keys: [SHIFT], [ALT], [CTRL], [FN] and [SYM]. Keys that have been
locked “on” are displayed with underlined letters. For example, if you have set the [CTRL] key lock to “on” in
the Keyboard menu and you press the key, it is displayed as an underlined Ctrl in the taskbar. (For detailed
information on modifier keys and keyboard options, see
“The Keyboard” on page 2-4
).
Using the Taskbar
A tooltip is displayed as each taskbar icon is highlighted. The tooltip provides the status of each icon.
If you’re using the touchscreen:
•
Tap and hold on an icon to display the icon's tooltip. Double-tap the icon to open the Control Panel dialog
box associated with the icon. For example, double-tap the battery icon to display a dialog box listing the
current battery capacity information.
On the keyboard:
•
Press
[Windows]
to display the
Start
Menu
.
•
Choose
Shortcuts
from the
Start Menu
, and then press the
[RIGHT]
arrow key to display the sub-menu.
•
Choose
System Tray
in the sub-menu.
•
Use the arrow keys to highlight the icon in the taskbar about which you’d like more information.
•
Press
[Enter]
to display the appropriate dialog box.
Customizing the Taskbar
To customize the taskbar so that it displays only those icons you require:
•
In the
Start
Menu
, choose
Settings
, and then
Taskbar
.
If you’re using the keyboard:
•
Press
[Windows]
to display the
Start
Menu
.
Summary of Contents for 7545MBW
Page 1: ...OMNII HAND HELD COMPUTER USER GUIDE WINDOWS CE 6 0 ...
Page 2: ......
Page 3: ...i OMNII HAND HELD COMPUTER USER GUIDE Windows Hand Held CE 6 0 8000211 G March 10 2014 ...
Page 6: ......
Page 18: ......
Page 25: ...About This Guide xix Figure 9 SE4600 Laser Warning Label Thi l b l i ffi d b l th i d ...
Page 26: ......
Page 28: ......
Page 38: ......
Page 158: ......
Page 188: ......
Page 214: ......
Page 216: ......
Page 226: ......
Page 228: ......
Page 231: ...Internal Imager Scanner Specifications D 5 SE965 Decode Zones ...
Page 243: ...D 17 Omnii Hand Held with Windows CE 6 0 User Manual SE4600LR Decode Zones ...
Page 244: ......
Page 246: ......
Page 256: ......
Page 258: ......
Page 268: ......
Page 270: ......
Page 286: ......
Page 292: ......
Page 294: ......
Page 305: ......


