28
41-621.1 HART
®
to Modbus
®
Adaptor Operating Manual
9.4.10
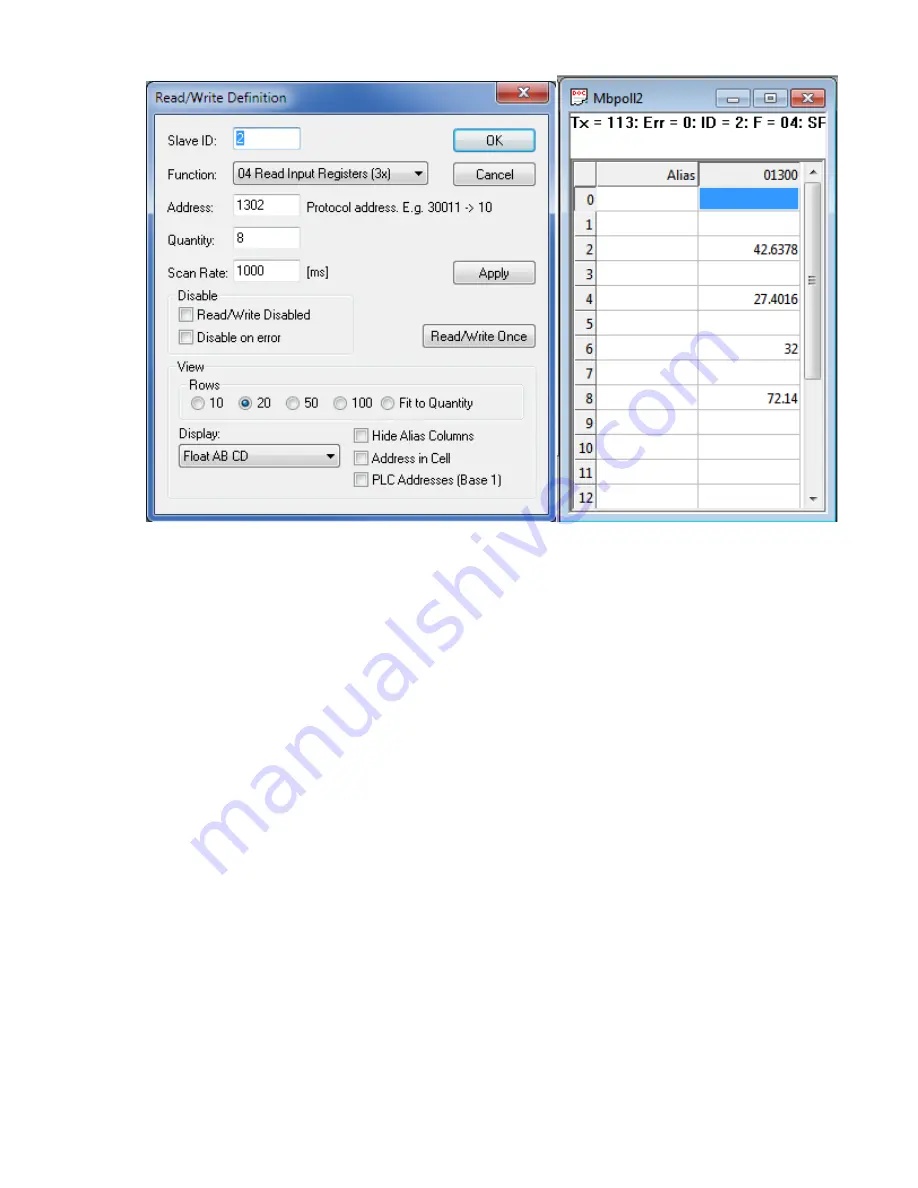
Verify that the values displayed
match the values shown on the device’s local user
interface.
9.4.11
For parameters that are defined as Holding registers in Appendix L, use Procedure 2 to
verify that a value can be written to the device and that the new value appears on the
local display of the device. To write a new value to the device, double-click on a value
that needs to be changed in order to open the Write Single Register dialog, enter the new
value, and then click on Send.
9.4.12
Repeat steps 9.4.9 through 9.4.11 for the other devices attached to the HMA. For each
device, the Slave ID entered in step 9.4.9 must match the Poll Address for that device.
The supported parameters for a device are listed in Appendices L through S.
9.4.13
If using more than one HMA, repeat steps 9.4.1 through 9.4.12 except disconnecting
HMA1 and connecting another HMA. Set the Poll Address of the new HMA to something
other than to be used for the other HART devices or HMAs. Repeat for any additional
HMAs.
9.4.14
Connect all HMAs to be used, following the setup in section 9.3.2.
9.4.15
Verify that communication can be made to all HART devices and HMAs and that the
correct data can be read from the Modbus master.
Summary of Contents for Jupiter JM4
Page 2: ......


