2-2
Service Manual
7510
Go Back
Previous
Next
Confirm the installation status
Be sure to check the following items before starting the troubleshooting procedures.
•
With the power cord unplugged from the wall outlet, check that the cord is free from breakage, short-circuit,
disconnected wire, or incorrect connection in the power cord.
•
The printer is properly grounded. Check the power cord ground terminal.
•
The printer is not installed at a place subjected to extreme temperature, extreme humidity or rapid changes
in temperature.
•
The printer is not installed close to water service, humidifier, heat generating unit, fire, in a very dusty
place, or a place exposed to air flow from the air conditioning system.
•
The printer is not installed in a place where volatile gas or inflammable gas is generated.
•
The printer is not installed in direct sun.
•
The printer is installed on a level and stable surface.
•
Media meets specifications and is installed properly.
•
Customer maintenance parts have been replaced at the specified intervals.
•
Check all attached options for proper attachment and electrical connection.
•
Refer to the
User’s Guide
for proper installation.
Power-on Reset sequence
The following is an example of the events that occur during the POR sequence:
1.
Turn the machine on.
2.
The Lexmark splash screen appears with a progress bar in the center until the code is loaded.
3.
The scanner exposure lamp flashes several times.
4.
The fuser cooling fan turns on.
5.
The fuser unit assembly lamps turn on.
6.
The RIP card assembly cooling fan turns on.
7.
Operator panel LED becomes solid.
8.
The transport motor turns on.
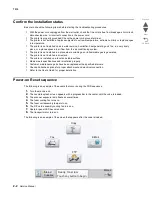
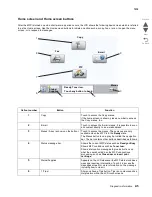
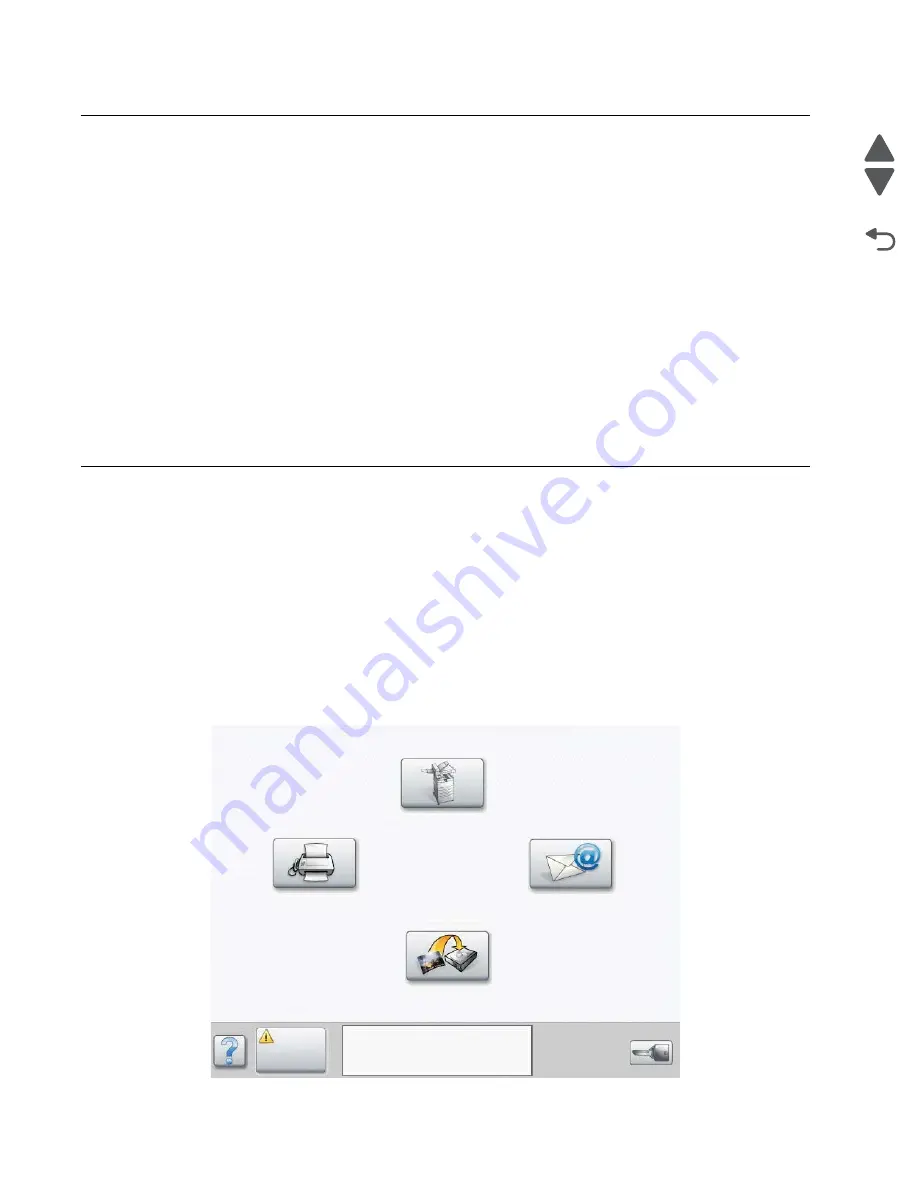
The following is an example of the screen that appears after the code is loaded.
Copy
Fax
FTP
Menus
Ready. Toner low.
Touch any button to begin.
Status/
Supplies
Summary of Contents for X945E
Page 20: ...xx Service Manual 7510 Go Back Previous Next ...
Page 25: ...Notices and safety information xxv 7510 Go Back Previous Next ...
Page 26: ...xxvi Service Manual 7510 Go Back Previous Next ...
Page 32: ...xxxii Service Manual 7510 Go Back Previous Next ...
Page 88: ...1 56 Service Manual 7510 Go Back Previous Next TTM theory ...
Page 97: ...General information 1 65 7510 Go Back Previous Next 3TM theory ...
Page 104: ...1 72 Service Manual 7510 Go Back Previous Next 1TM theory ...
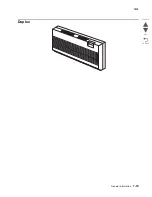
Page 111: ...General information 1 79 7510 Go Back Previous Next Duplex ...
Page 432: ...3 52 Service Manual 7510 Go Back Previous Next ...
Page 475: ...Repair information 4 43 7510 Go Back Previous Next E F ...
Page 483: ...Repair information 4 51 7510 Go Back Previous Next Connectors A ...
Page 623: ...Repair information 4 191 7510 Go Back Previous Next ...
Page 653: ...Repair information 4 221 7510 Go Back Previous Next ...
Page 714: ...4 282 Service Manual 7510 Go Back Previous Next ...
Page 715: ...Connector locations 5 1 7510 Go Back Previous Next 5 Connector locations Locations ...
Page 720: ...5 6 Service Manual 7510 Go Back Previous Next Printhead Polygon mirror motor ...
Page 725: ...Connector locations 5 11 7510 Go Back Previous Next ...
Page 726: ...5 12 Service Manual 7510 Go Back Previous Next ...
Page 729: ...Connector locations 5 15 7510 Go Back Previous Next Switch media size Switch TTM media size ...
Page 765: ...Parts catalog 7 31 7510 Go Back Previous Next Assembly 29 Electrical 1 3 5 9 2 10 6 4 8 1 7 ...
Page 770: ...7 36 MFP Service Manual 7510 Go Back Previous Next Assembly 32 Electrical 4 2 1 4 3 5 7 6 8 9 ...
Page 797: ...Parts catalog 7 63 7510 Go Back Previous Next Assembly 50 1TM feed unit assembly 4 3 5 4 1 2 ...
Page 802: ...7 68 MFP Service Manual 7510 Go Back Previous Next Assembly 53 1TM drive and electrical ...
Page 804: ...7 70 MFP Service Manual 7510 Go Back Previous Next Assembly 54 3TM covers 3 5 2 4 1 ...
Page 812: ...7 78 MFP Service Manual 7510 Go Back Previous Next Assembly 58 3TM drive and electrical ...
Page 815: ...Parts catalog 7 81 7510 Go Back Previous Next Assembly 60 TTM media trays 3 5 4 3 7 2 6 8 1 ...
Page 824: ...7 90 MFP Service Manual 7510 Go Back Previous Next Assembly 67 TTM drive and electrical ...
Page 828: ...7 94 MFP Service Manual 7510 Go Back Previous Next ...
Page 836: ...I 8 Service Manual 7510 Go Back Previous Next ...
Page 844: ...I 16 Service Manual 7510 Go Back Previous Next ...

