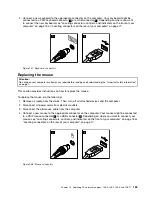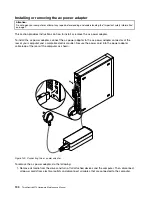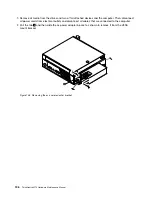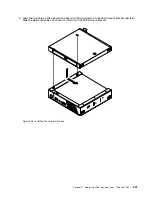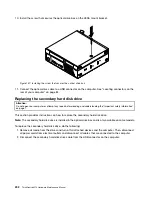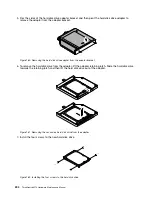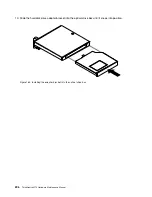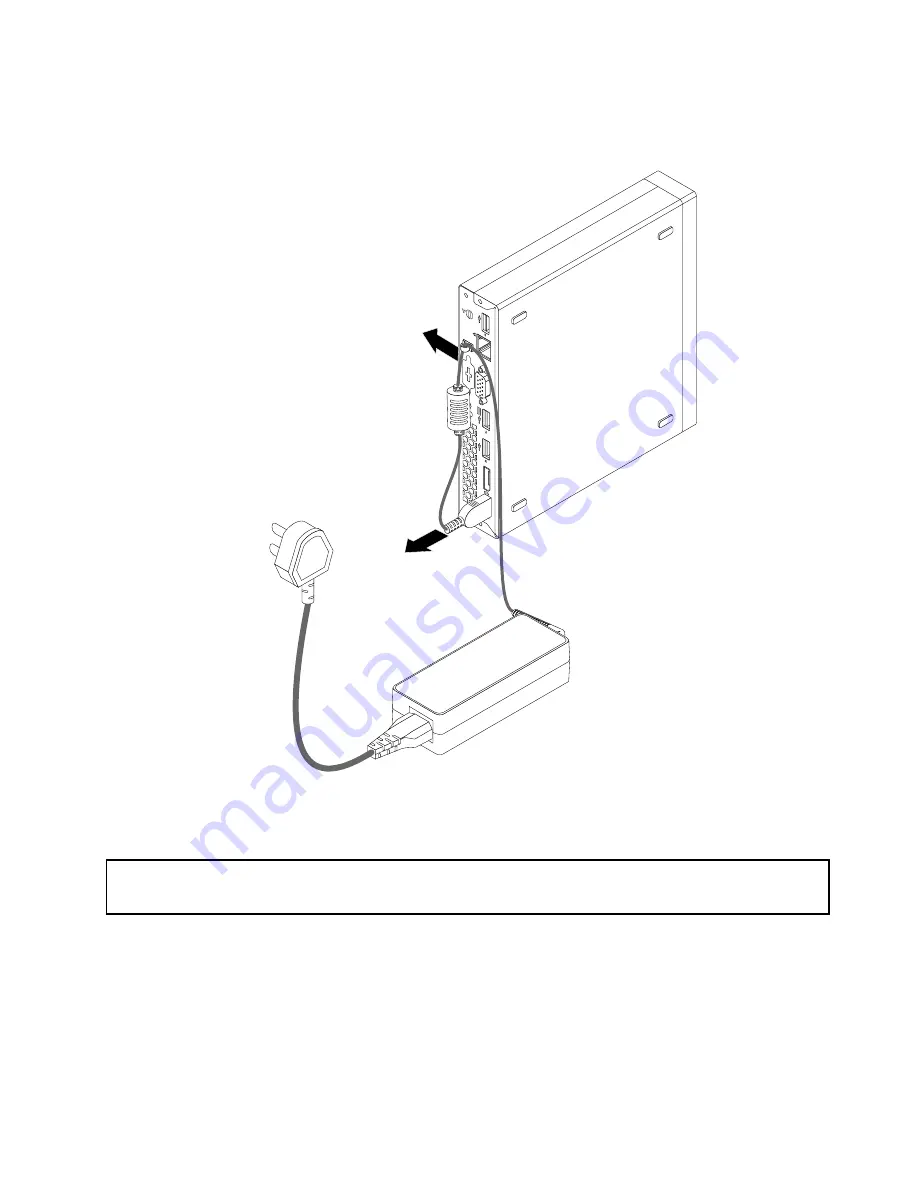
2. Remove the power cord from the ac power adapter cable loop at the rear of the computer and then
disconnect the ac power adapter cable from the computer.
Figure 141. Disconnecting the ac power adapter
Installing or removing the vertical stand
Attention:
Do not open your computer or attempt any repair before reading and understanding the “Important safety information”
on page 1.
This section provides instructions on how to install or remove the vertical stand.
Note:
The vertical stand and Video Electronics Standards Association (VESA) mount bracket are optional
parts. If your computer comes with the VESA mount bracket installed, ensure that you remove the VESA
mount bracket before you install the vertical stand. To remove the VESA mount bracket, see “Installing or
removing the VESA mount bracket” on page 193.
To install the vertical stand, do the following:
Chapter 11
.
Replacing FRUs (machine types: 10AX and 10AY)
191
Summary of Contents for 10AX
Page 6: ...iv ThinkCentre M73 Hardware Maintenance Manual ...
Page 8: ...2 ThinkCentre M73 Hardware Maintenance Manual ...
Page 15: ...Chapter 2 Safety information 9 ...
Page 19: ...Chapter 2 Safety information 13 ...
Page 20: ...1 2 14 ThinkCentre M73 Hardware Maintenance Manual ...
Page 21: ...1 2 Chapter 2 Safety information 15 ...
Page 26: ...1 2 20 ThinkCentre M73 Hardware Maintenance Manual ...
Page 27: ...1 2 Chapter 2 Safety information 21 ...
Page 30: ...24 ThinkCentre M73 Hardware Maintenance Manual ...
Page 34: ...28 ThinkCentre M73 Hardware Maintenance Manual ...
Page 40: ...34 ThinkCentre M73 Hardware Maintenance Manual ...
Page 74: ...68 ThinkCentre M73 Hardware Maintenance Manual ...
Page 92: ...86 ThinkCentre M73 Hardware Maintenance Manual ...
Page 140: ...134 ThinkCentre M73 Hardware Maintenance Manual ...
Page 194: ...188 ThinkCentre M73 Hardware Maintenance Manual ...
Page 248: ...242 ThinkCentre M73 Hardware Maintenance Manual ...
Page 258: ...252 ThinkCentre M73 Hardware Maintenance Manual ...
Page 259: ......
Page 260: ......

