

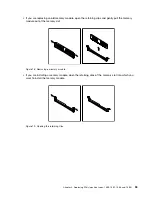


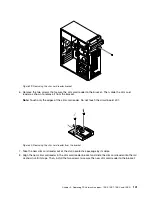

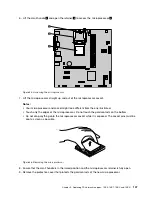

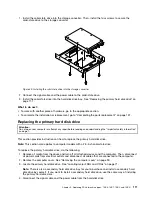


Figure 29. Removing the slim card reader bracket
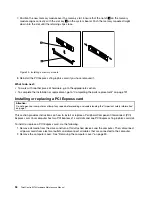
6. Remove the two screws that secure the slim card reader to the bracket. Then, slide the slim card
reader as shown to remove it from the bracket.
Note:
Touch only the edges of the slim card reader. Do not touch the circuit board of it.
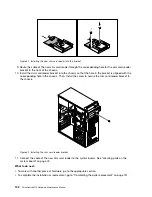
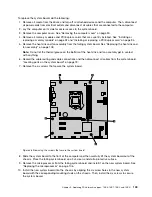
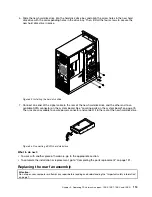
Figure 30. Removing the slim card reader from the bracket
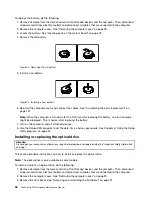
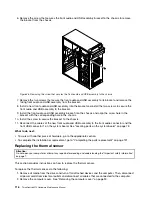
7. Take the new slim card reader out of the static-protective package by its sides.
8. Align the new slim card reader in the slim card reader bracket and slide the slim card reader into the rail
as shown until it stops. Then, install the two screws to secure the new slim card reader to the bracket.
Chapter 9
.
Replacing FRUs (machine types: 10B0, 10B1, 10B2, and 10B3)
101
Summary of Contents for 10AX
Page 6: ...iv ThinkCentre M73 Hardware Maintenance Manual ...
Page 8: ...2 ThinkCentre M73 Hardware Maintenance Manual ...
Page 15: ...Chapter 2 Safety information 9 ...
Page 19: ...Chapter 2 Safety information 13 ...
Page 20: ...1 2 14 ThinkCentre M73 Hardware Maintenance Manual ...
Page 21: ...1 2 Chapter 2 Safety information 15 ...
Page 26: ...1 2 20 ThinkCentre M73 Hardware Maintenance Manual ...
Page 27: ...1 2 Chapter 2 Safety information 21 ...
Page 30: ...24 ThinkCentre M73 Hardware Maintenance Manual ...
Page 34: ...28 ThinkCentre M73 Hardware Maintenance Manual ...
Page 40: ...34 ThinkCentre M73 Hardware Maintenance Manual ...
Page 74: ...68 ThinkCentre M73 Hardware Maintenance Manual ...
Page 92: ...86 ThinkCentre M73 Hardware Maintenance Manual ...
Page 140: ...134 ThinkCentre M73 Hardware Maintenance Manual ...
Page 194: ...188 ThinkCentre M73 Hardware Maintenance Manual ...
Page 248: ...242 ThinkCentre M73 Hardware Maintenance Manual ...
Page 258: ...252 ThinkCentre M73 Hardware Maintenance Manual ...
Page 259: ......
Page 260: ......